Sunday, October 31, 2021

Other Hand Work

Besides hand quilting and hand applique, I work on other hand projects sometimes. I have a dishcloth going at all times using cotton yarn. Knitting is a nice change from hand quilting or applique.

This is the latest dishcloth finish. I used up yarn ends for this one. I've posted my pattern before but here is the info again.

I don't know where I found the pattern I am using now, I do know it was a free pattern from where ever I found it. Seed Stitch Dish Cloth - With a size #6 circular needle cast on 40 stitches. Row 1 & 2 – knit. Row 3 & 4 – Knit 2 *K1 P1 repeat from * across to last 2 stitches k2. Repeat rows 1 – 4 for pattern until measures 9” (same as bottom edge), ending with Rows 1 & 2. Bind off.  

I've started using a size 4 needle so the knitting is more tight. This does make a smaller dishcloth but it's still large enough to get the dishes clean.

Back in 2015 I hand quilted an embroidered wall hanging called Red Radiance. The embroidery had started in the fall of 2014, I think. I had sewed the little HST's at home then sewed everything all together at the guild retreat that winter. You can read about my Red Radiance journey here.

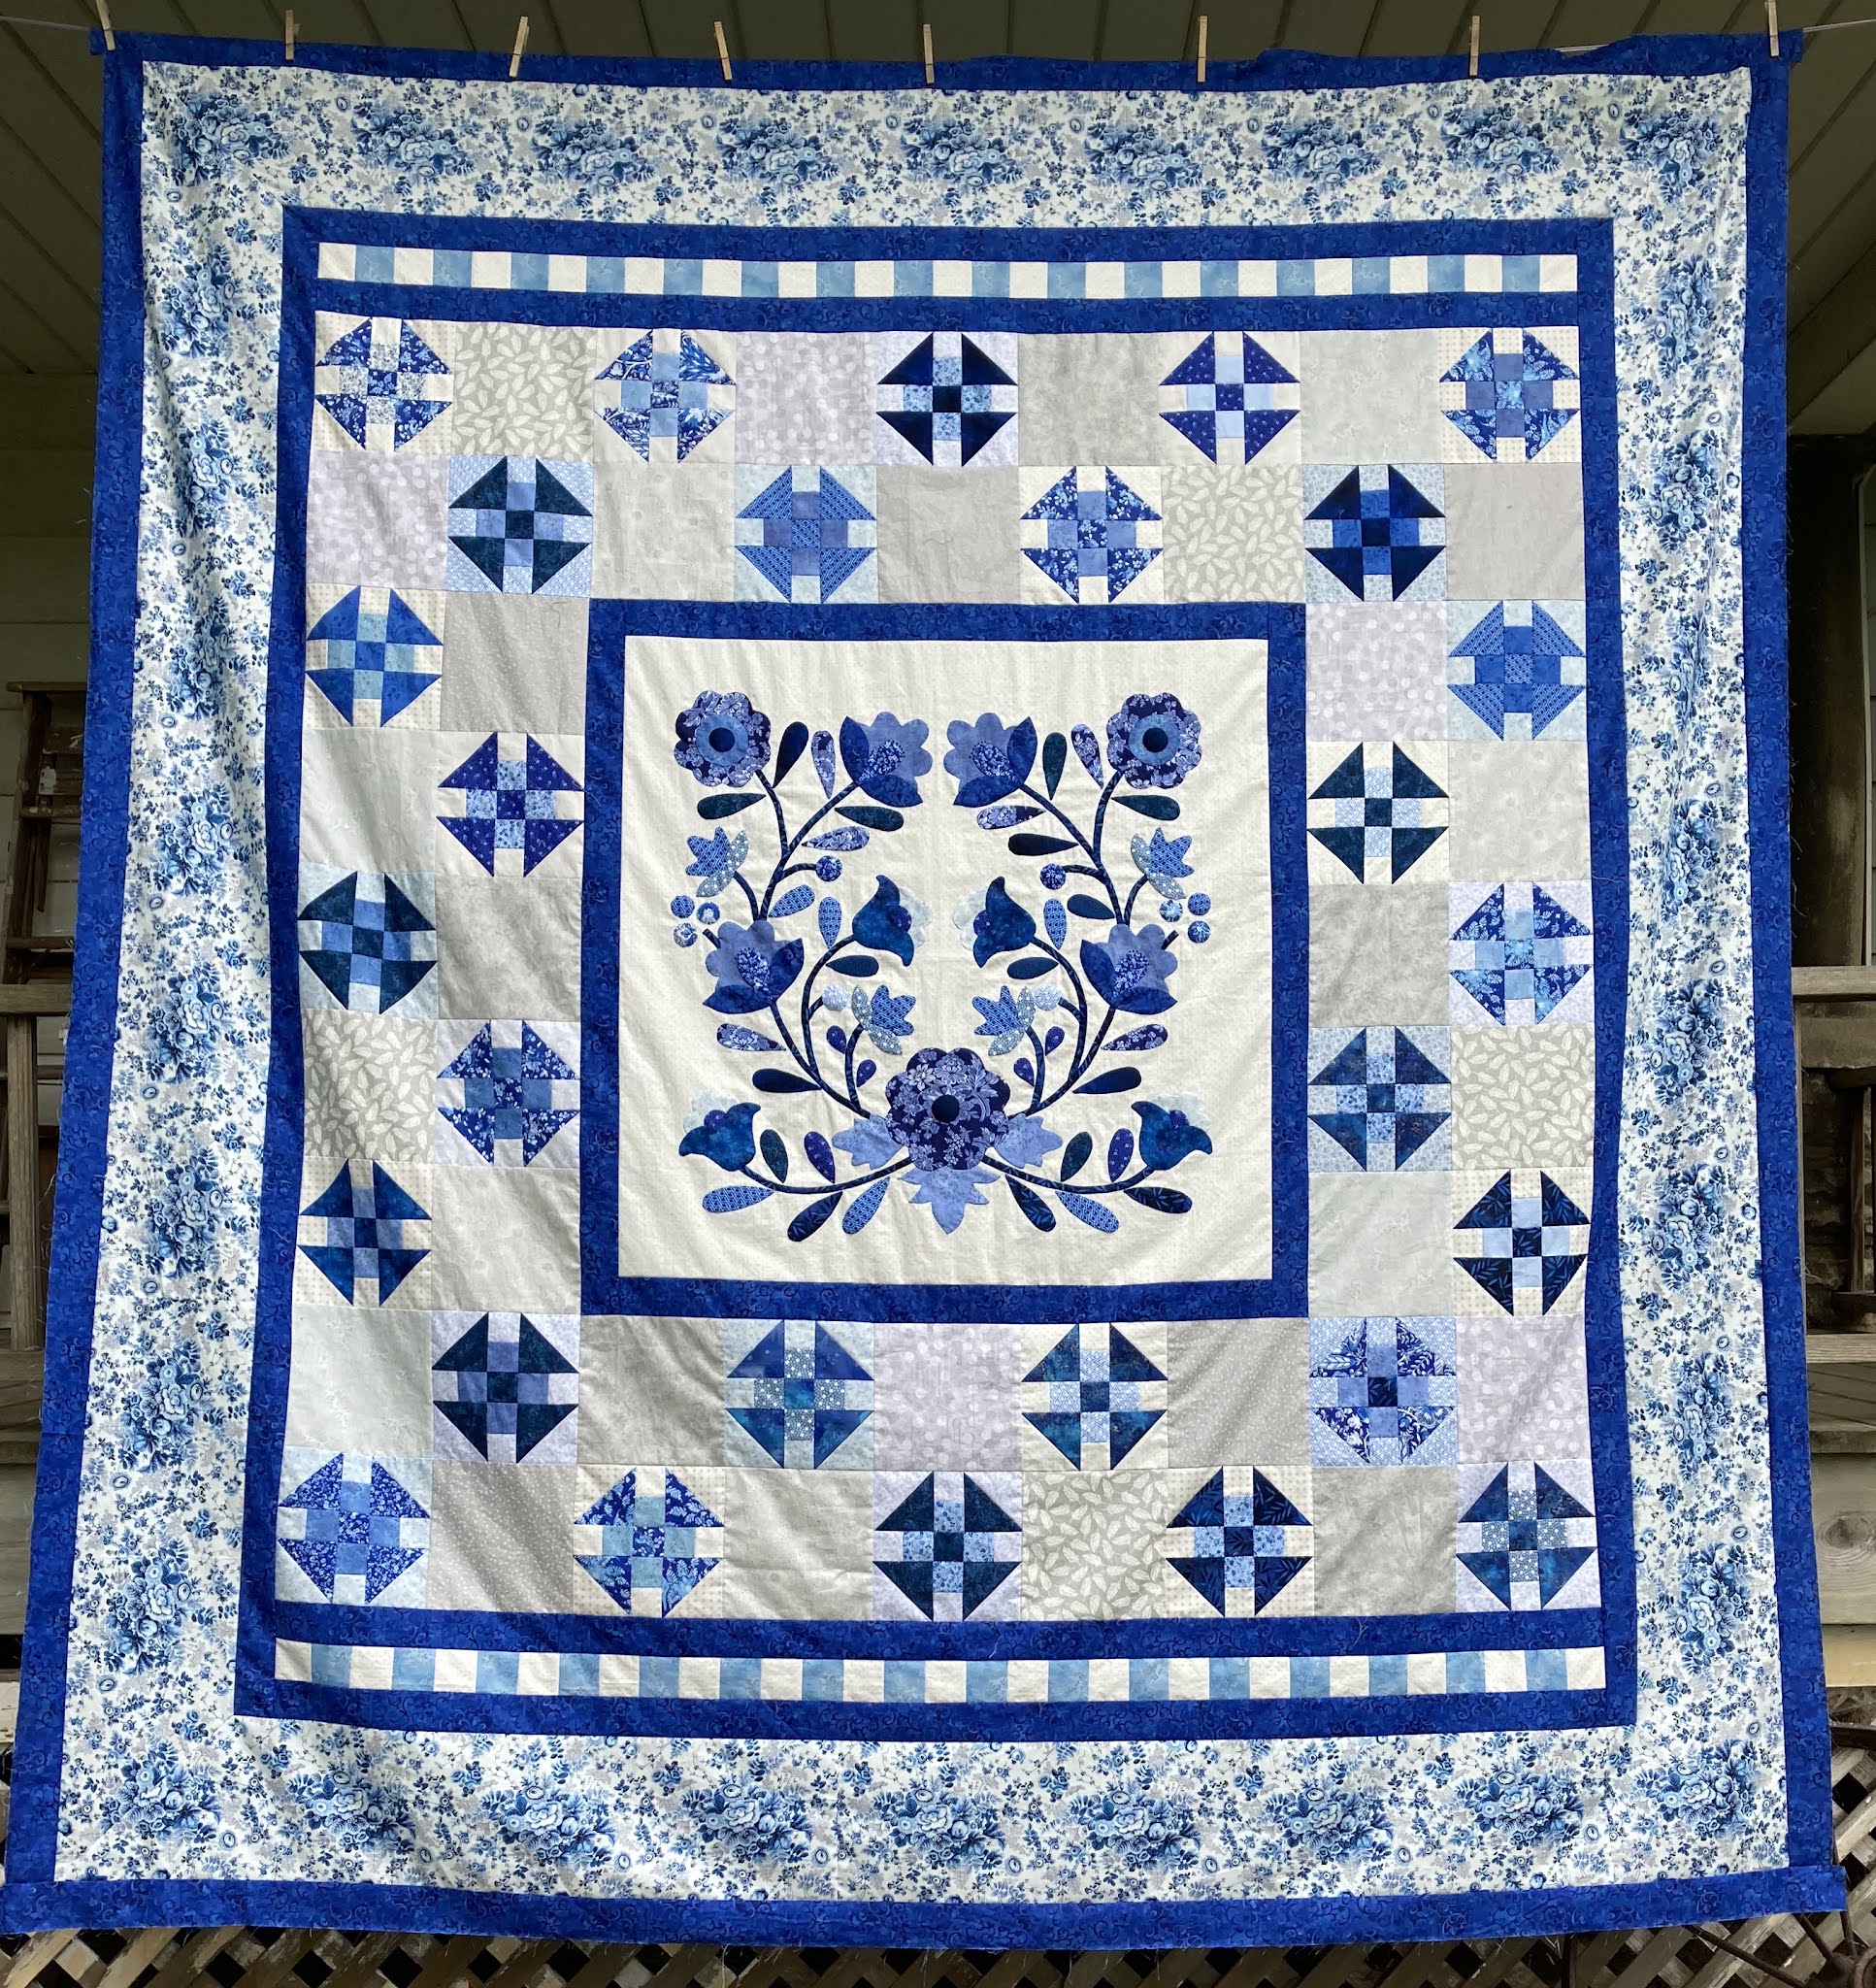
It has taken me 6 years to finally sew a sleeve on the back so I can hang it in the living room. This isn't really autumn looking but so it is. I'm just ahead for the Christmas season, Valentine's Day too.

The pattern was from the December 2000 issue of American Patchwork and Quilting. I no longer have the issue, I started wondering what this wall hanging would look like in blue. I gave the magazine away, I didn't want to start another one!

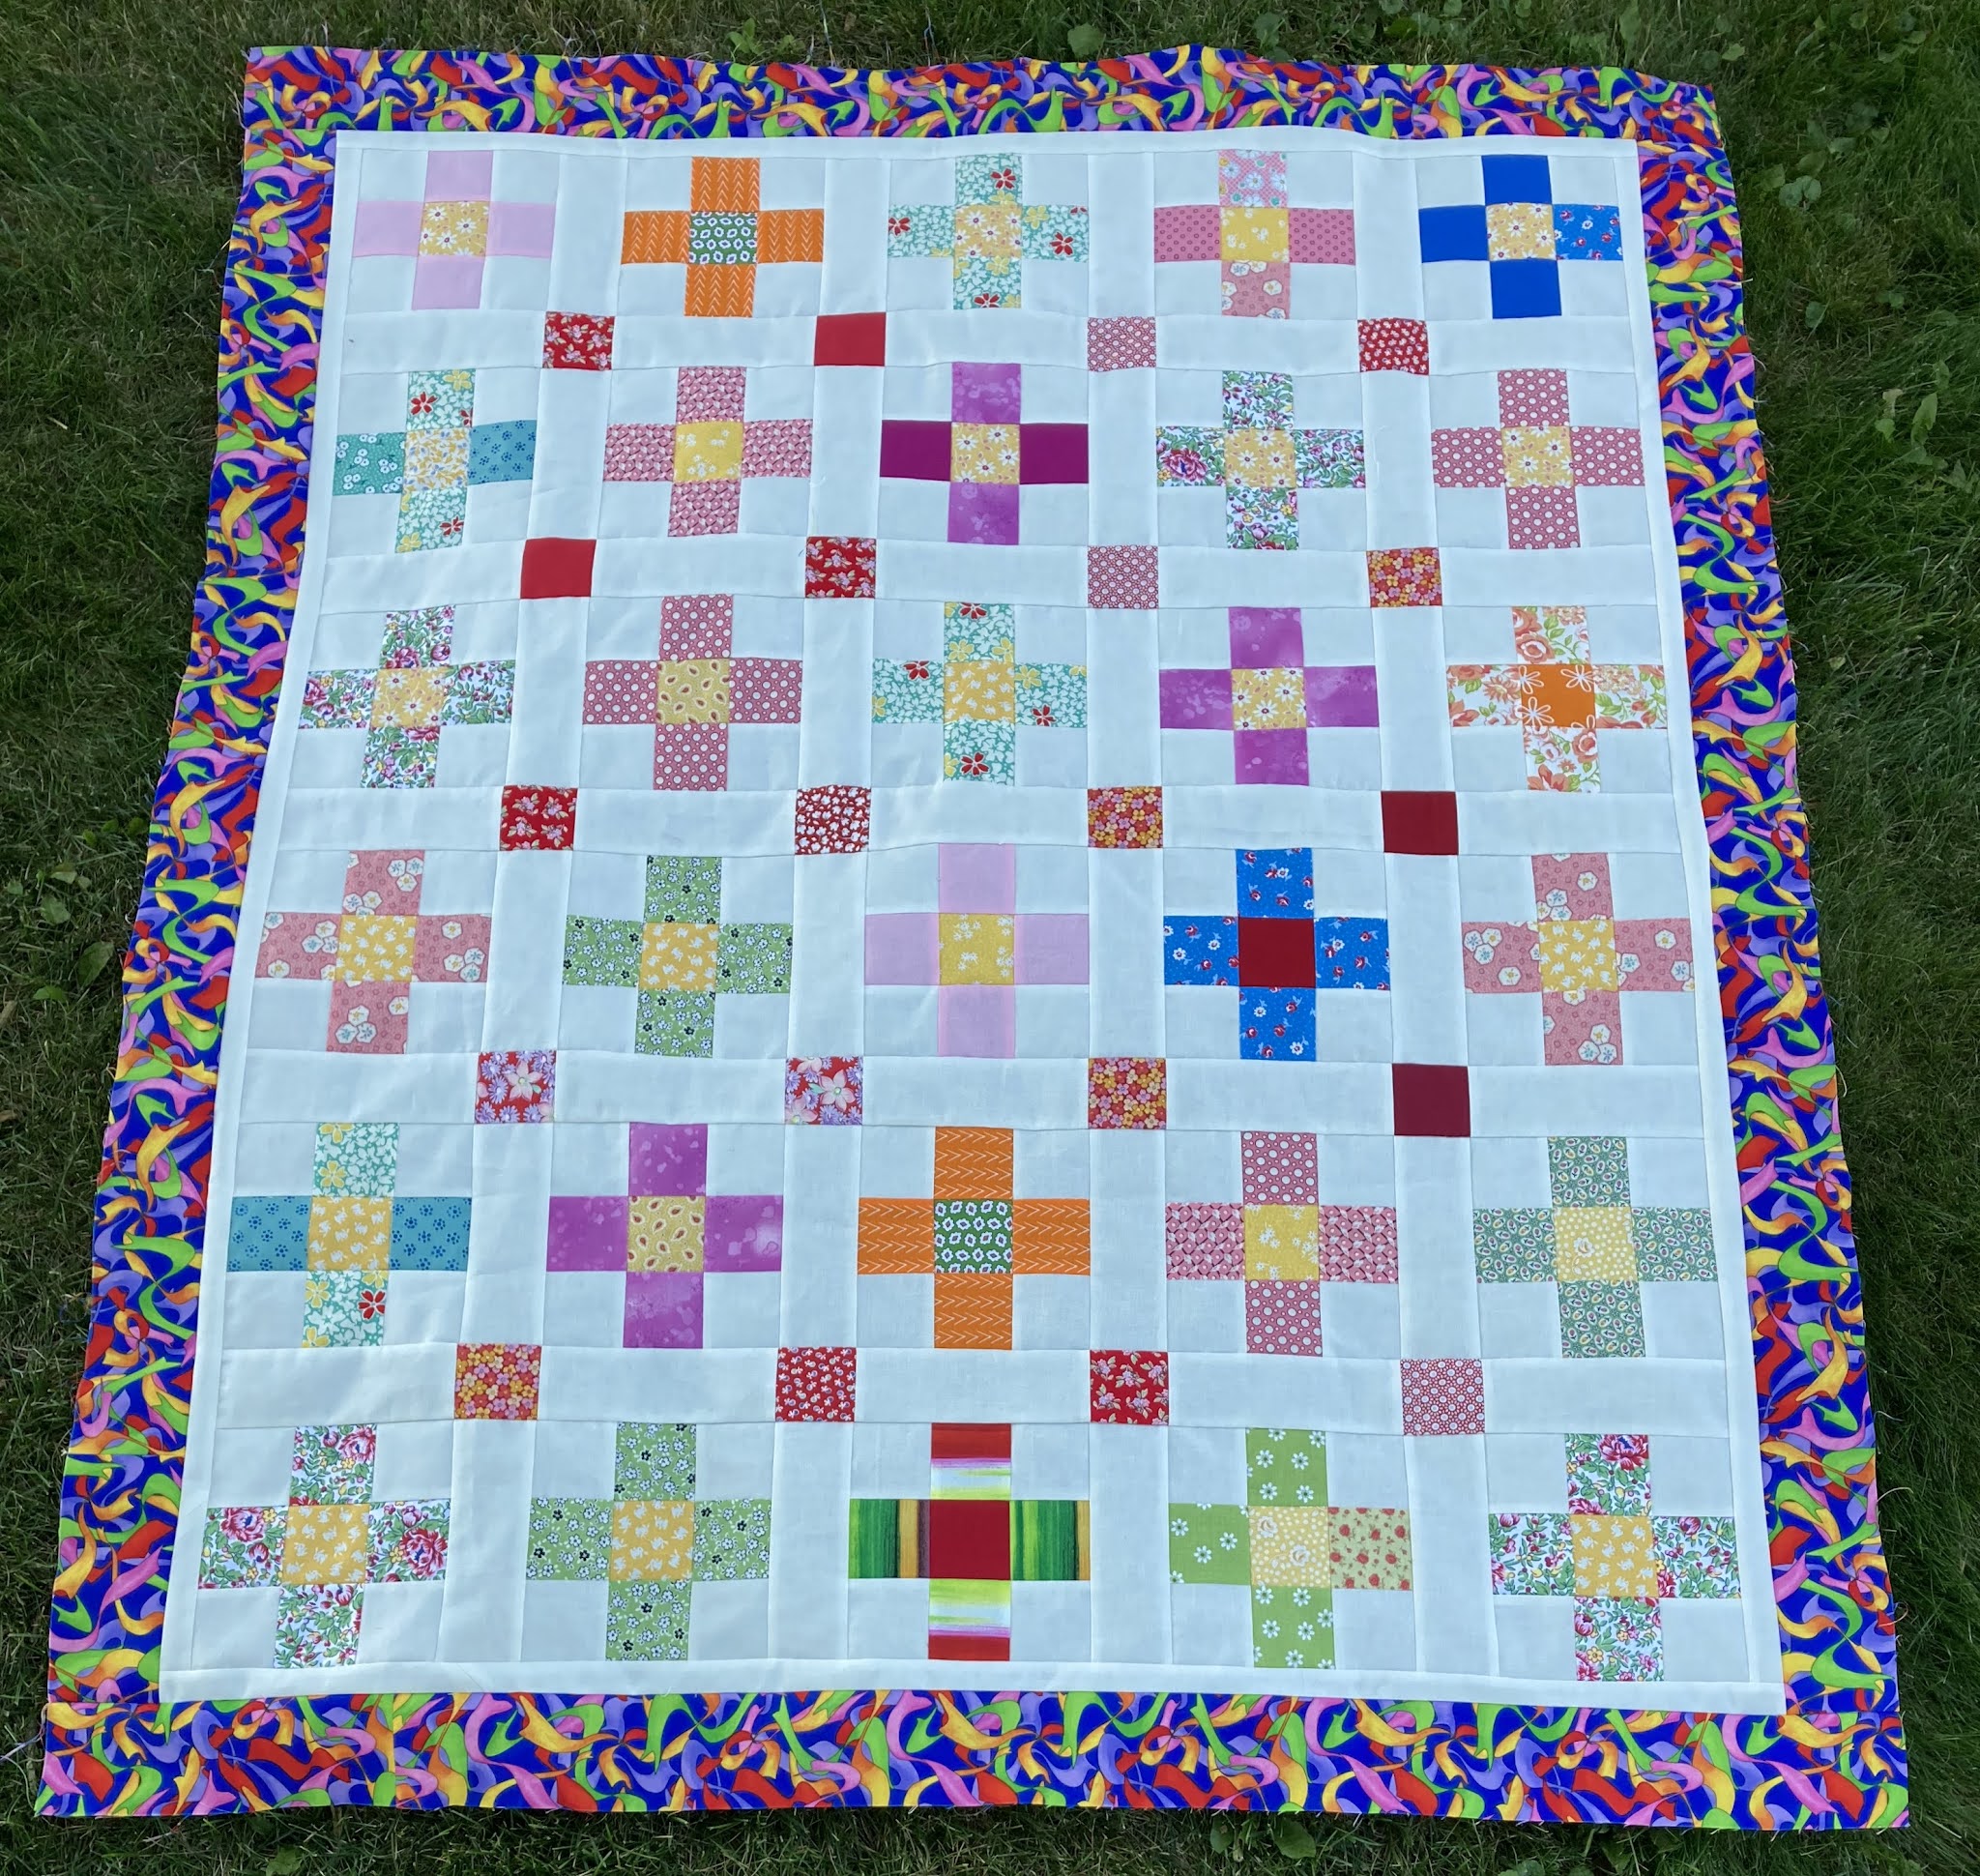
These weren't major projects but just some variety from my normal hand work.

Linking to Patchwork & Quilts, Kathys Slow Stitching Sunday, Show & Tell Monday, Monday Making, Handmade Monday, Design Wall Monday

Friday, October 29, 2021

Scrappy Patchwork with Yellow

While I was sewing on other projects, I started sewing the twosies together for scrappy patchwork with yellow. I know I had originally said I was going to use the method Becky used for her Checkered! quilt but I've changed in mind. I couldn't handle the thought of cutting off the outside edges of those side blocks.


I'm piecing my quilt going row by row. This is the slow method but it suits me fine. I'll get tired of going slowly sometime and then just sit and piece the quilt just to get her done. Leader & Enders are a good idea but I can only drag out a project for so long!

I cut yellow 5" squares diagonally to make 4 triangles. The bias is on the point, straight of grain will be on the outside of the rows. I made the yellow squares larger than they need to be. I trim off the yellow fabric that extends above the square. This way I have a good edge of yellow for straight trimming when the quilt is finished and I won't need to worry about my binding covering points. I'll show a close up of what I'm talking about sometime.

I did some preliminary figuring and I needed over 1200 squares or 600 something twosies. I decided I had better see how many more twosies I need to make so I counted out piles of ten, with ten of ten in the row and had six rows. I have so many extra twosies! I'll probably make a second quilt but use a straight setting.

I had toyed with the idea of taking these blocks along to Phoenix in December and working on the rows at my daughter's apartment but I've changed my mind about that. These squares just make too much of a mess! 


Wednesday, October 27, 2021

Flower Patch Mystery Quilt, Blocks 2 & 3

Block 2 of the Flower Patch Mystery has been pieced. I admit it's not perfect but it's pieced. I was watching an interesting movie while piecing and wasn't always paying attention to what I was doing.

I could have made the bird into a bluejay but I thought cardinals always bring so much joy in winter, so I added red to my fabric collection. 

Here is block 3.

Since I added the red to block 2, I went ahead and made the tulip red. I got the shades of red mixed up so we'll just call it a variegated tulip.

I think the leaves are so neat, so delicate looking!

Linking to Flower Patch MysteryTo Do TuesdayMidweek Makers, Stitch Sew & Show Wednesday Wait Loss, Put Your Foot DownNeedle & Thread Thursday

Sunday, October 24, 2021

Welsh Beauty


I rolled! It took awhile but I finished the row I was quilting last week. Isn't it lovely!

I made the picture extra large so you could view it better. 

I love the texture when I gently move my fingers across the quilted section.

And here are pictures of the swags and the corner.

The swags look so elegant!


I like all the quilting design except for the zigzag there with the feathers.

If I had thought ahead, i would have changed the zigzags into curves but I didn't so they are they way they are.

Friday, October 22, 2021

Blue Split 9 Patch Quilt

One of my 100 day challenges was to sew together the blocks for blue split 9 patch. Split 9 patch was Bonnie Hunter's 2013 Leader and Ender Challenge. The pattern is here under Bonnie's free patterns listing.


The blocks have been sewn together into the main body of the quilt and measures 85" by 96". I'm going to stop for now. There will be a border added sometime but I'm planning on this quilt being a wedding gift. I need to find out what size bed to finish the flimsy for. This quilt will definitely be long arm quilted.

Looking at the picture, I see I have two blocks in the same row turned wrong. I'll get those corrected before I add the border. This pattern is a definite challenge to orient the blocks!

Linking to Put Your Foot Down, Needle & Thread Thursday, Peacock Party, Whoop Whoop Party, TGIFF!, Finished Or Not Friday, Off the Wall Friday, Brag About Your Beauties, Patchwork & Quilts, Oh Scrap

Sunday, October 17, 2021

More Welsh Beauty

A lot has been completed on Welsh Beauty since it's my sole focus for hand work.

When I'm quilting, I like to quilt the cross hatching in an area first then fill in with the blue thread. It's just my preference.


The above picture is the right corner. 

I've quilted 5 of the swags.


I get so much pleasure watching the quilting design come to life. You can see the stencil marked on the fabric but quilting adds such depth.

Friday, October 15, 2021

Lady Jane, the Finish

I purchased the floral fabric specifically for the border. I had a challenging time cutting it accurately so I could match the design.

The border is attached but it's not the best match job I've ever done but it's finished! I added an outside darker blue border, it really makes the floral fabric sing.


I will probably hand quilt this quilt sometime and gift it to one of the grandchildren. Right now the flimsy measures 90" by 99".

The border fabric is from the Tea Service 2 fabric collection from Connecting Threads. The rest of the fabrics in the quilt came from my stash.

The pattern for Lady Jane is found here.

Linking to Put Your Foot DownNeedle & Thread Thursday, Peacock Party, Whoop Whoop Party, TGIFF!, Finished Or Not Friday, Off the Wall Friday, Brag About Your Beauties, Oh Scrap

Tuesday, October 12, 2021

Lady Jane

I'm working on Lady Jane again. I have altered the pattern to make the quilt larger. I made this decision after I had already cut the fabric for the center applique. Fortunately I always cut the fabric for applique background fabric larger than what the pattern requires. I trimmed the applique center to 34" and added a 2" finished dark blue border. 

The pattern has a striped border and I actually bought a stripe fabric to use. When I laid the cut strips next to the applique, I didn't like how it looked so I just used the blue fabric.

I had puffed the circles with batting while appliqueing them. It did make trimming the center a little challenging.

The churn dash blocks on my quilt finish at 7.5". The pattern has 3 rows of blocks on the top and bottom of the center. I only have 2 rows each. If I had added those two rows, the quilt would be 15" longer than wide. I don't want a quilt that long.

I could have added a bottom row of pieced blocks and squares but I didn't want to make more blocks.

Instead I pieced a checkerboard border and another strip of the blue to add a total of 8". The center now measures 71" by 79".

Most of the fabrics I used for my quilt came from my stash. I didn't order the fabrics used in the original quilt. The square blocks are all gray fabrics. Some of the gray I had in my stash, I did purchase a few others to have more variety. I didn't add any dark grays, I wanted to keep it light and happy.

The next step is to add the outside borders. 

The pattern for Lady Jane can be found here.

Linking to To Do TuesdayMidweek Makers, Stitch Sew & Show Wednesday Wait Loss, Put Your Foot Down

Sunday, October 10, 2021

Hearts & Wreaths, Blocks 3 & 4

 Block 3 of Hearts & Wreaths has been appliqued! It's so relaxing to applique these leaves in the evening. I'm getting into the routine and they applique fast!


Block 4 has also been finished. The darker hearts in the center of this block slightly overshadow the leaves. When all the blocks are sewn together into the flimsy, they will look fine though.


Some people like to see what the back of applique looks like. You can't really see much, just the colored thread. I haven't cut the background fabric out behind the hearts. As of now, I'm planning on stitching in the ditch around the hearts, not in the hearts. I'll have to decide for sure before I put the quilt in the quilting frame. If I would decide to stitch inside the hearts, the extra layer of fabric makes small stitches challenging.


I've said I know how I want to quilt this quilt eventually when it's finished. All the leaves, hearts and black embroidered circle will be stitched in the ditch. It's the space where the four corners meet that I'll quilt some special designs. I see some feathers happening in those spaces.


If you look at the circle embroidery of the top two wreaths and compare them to the bottom two, the top circles are slightly more bold. Those two were embroidered using a chain stitch. This was an experiment to see if back stitching showed as well as the chain stitch, it doesn't. The rest of the blocks will be embroidered using the chain stitch. 

I had planned on appliqueing 4 blocks then deciding if I want to make a larger sized quilt. I enjoyed appliqueing the first block so I went ahead and purchased all soft yellow fabric I'll need for the rest of the quilt.

It will be awhile before I have block 5 completed. I want to cut the background fabric into squares for applique and then zigzag the edges to keep them from fraying. 

After that, I need to mark the circles for embroidering and then the hearts and leaves.

I'll keep on appliqueing 4 blocks at a time but I'll also need to cut leaves for those 4 blocks. My friend Elaine is also creating this same quilt. She suggested it would be a good idea while prepping the leaves for the wreaths, to also cut leaves for the outside border. Those leaves are a different size than the wreaths.

There are also small leaves in the border but many of you gave me the great suggestion to embroider those when I first showed this project which is what I plan to do. 

The only problem with this project is I'm enjoying myself so much that I've been neglecting my hand quilting! I'll have more time to quilt Welsh Beauty until I get all the prepping completed.

Friday, October 8, 2021

Jumbo Granny Squares Crib Quilt

Back in June I pieced two purple jumbo granny squares to be used in a crib quilt. I've pieced two more blocks and finished piecing the crib quilt. The fabrics used in last two blocks had nothing to do with the RSC color of the month. I just made two blocks that I thought would look nice, they do contain purple!

I thought adding some pink fabrics would add a nice touch. As you can see, not all my squares are matching fabrics but they work!


The block below is my favorite of the 4 blocks. That blue fabric with the red roses just looks good.


I especially like the center of this block. I had a small piece of the 2.5" printed border left from the Caught Up in Stitches quilt. I fussy cut these cute butterflies and now that fabric is all used!


I'll machine quilt this crib quilt this winter and it will be donated to The Center for their well baby program. Right now the quilt measures 42.5" but I'm sure it will shrink during quilting.


Tuesday, October 5, 2021

More 9 Patch Quilts

I sewed a LOT of 2.5" strips to make 9 patch blocks for crib quilts. The orange 9 patch was the first one. For the 2nd and 3rd quilts, I actually used a pattern!

I recently purchased the book Scrap School by Lissa Alexander and decided to make a smaller version of the County Fair quilt. I had already made the 9 patches using 2.5" squares.

I glanced at the directions and made sure I cut the side triangles the correct size and started sewing the blocks together. Everything went great until I tried to sew the side triangles onto the rows, they didn't FIT! So I checked the pattern again. I thought the quilt was based entirely 2.5" squares and strips, wrong! 

I certainly wasn't going to take these rows apart to trim the sashing so I improvised and finished the flimsy. It measures 35.5" by 47".

Then I started the next quilt making sure I used the correct sashing size. Those triangles fit the sides perfectly. I sewed the rows together, pressed the center then sewed the corner triangles onto the quilt. Something was off on two of the corners. 

After checking the pattern, I realized I had sewn a sashing piece onto the outside of those two corners. I sewed the triangles on anyway them trimmed the outer edge of the quilt. You wouldn't even know it wasn't supposed to be that way. This quilt measures 42.5" by 54".

By now I had enough of the Country Fair pattern and arranged the rest of the blocks in a 5 by 6 straight set. 

I was digging around in a box and found some older fabric that needs to be used for borders. 

This little quilt measures 45" by 53".

Now I have 3 more little quilts to quilt this winter. I'm done piecing 9 patches for awhile. 

After I clean up the sewing room, I'm going to trim the applique center for Lady Jane and see how long it takes to piece this flimsy. My 100 days are going fast!

Linking to To Do Tuesday, Stitch Sew & Show Wednesday Wait Loss, Put Your Foot Down, Needle & Thread ThursdayOh Scrap

Sunday, October 3, 2021

Welsh Beauty Progress

I finally have an update on Welsh Beauty. The hand quilting has been slow because I'd rather applique in the evening but if I'm ever going to finish quilting this quilt, I need to start quilting every day.

Since I'm right handed I quilt from right to left but I'm going to show the pictures from the left side of the quilt to the right side.

This is the left side. Since the quilt is preprinted with blue marking, it's hard to differentiate between the cream thread and the blue thread. All crosshatching is quilted with cream thread, the swags, feathers and flowers are quilted with blue thread.

In between the left side and the right side, there are 8 swags that look the same. I'm not going to show you each individual swag. The swags come to a point with a flower at the point. Those flowers will be quilted in the next pass across.


And we're finishing with the right side of the quilt.


Here is a link to the first post about Welsh Beauty. In the post I wrote about about whole cloth quilts, the fabrics, threads, batting and backing. 


I was in Wakarusa last week and took pictures of the quilt garden. They don't leave the garden in place to die a natural death, they'll remove all the plants some time in October. I'll take an end of the year picture if the plants are still there the next time. The flowers in the center don't show much color.

Linking to Patchwork & QuiltsKathy's Slow Sunday Stitching,  Oh Scrap, Show & Tell Monday, Monday Making, Handmade Monday, Design Wall Monday, BOM's Away