Tuesday, February 28, 2023

SAHRR, Round 6

Round 6 is the final round of the SAHRR. The pinwheel block was selected for this round. I chose to make 1 pinwheel because I already had a bunch of HST's in the orphan box. I sewed 4 HST's into a pinwheel.


I used flying geese strips to border the block. She measures 16.5" now, finishing at 16".


I mixed up the corner squares on the borders and didn't realize it until after I had sewn the geese to the pinwheel. Oh well.

When the SAHRR started, I pulled the light background orphans out of the orphan box. I have used most of those orphans in this quilt.

Next week is the display of the quilt flimsys. I know my quilt won't be quilted but I will have a flimsy to show you. My quilt has been made in a row by row fashion.


Sunday, February 26, 2023

3/4" Hexies

Here are more hexie flowers to show you. They're made with 3/4" hexie papers.

This first one is my favorite, I love the blues with those purples! Doesn't this look old?


These medium blues seem to mix with any fabric color!


This block isn't as pretty as the others. I'll set it next to the pink block, they'll work together.


I've been asked how big are the flowers? Measuring across the center, they are 9.25".

These fabrics are from the civil war fabrics box, I'm not making a dent at all!

The white amaryllis has started blooming. I always think these flowers look like Easter lilies.

Friday, February 24, 2023

SAHRR, Round 5

The block for the 5th round of the 2023 SAHRR is a square in a square block. Of course I'm not making simple square in a square blocks, mine all have pieced centers.

These little stars are extra blocks left from piecing Star Dance.


The next block is made from extra HST's that were in the orphan box. I've always like the broken dishes design so I made one.

This block was originally made for my Nearly Insane quilt. 

Another star from Star Dance.

After I added the triangles to the sides of the blocks, I added sashing to bring the smaller blocks to the same size as the largest block, 10", 9.5" finished.

I've sewn the blocks together and made a row. The applique block was a practice machine applique block that I don't remember making. I didn't add one of the square/square blocks so I would have room for the applique block. There is also another broken dishes block that I just sashed and added.

The dark blue, turquoise, pale blue sashing was leftover border from another quilt.

I didn't think about how awkward it would be to take pictures when I placed the cutting table in front of the display wall. That cutting table is going to get moved sometime, it's on the list at least.

This won't be the exact placement of the rows. I'll make a final decision after the blocks are made for round 6.

Linking to SAHRR Linky PartyNeedle & Thread Thursday, Put Your Foot Down, TGIFF!, Peacock Party, Whoop Whoop Party, Finished or Not  Friday, Off the Wall Friday, Beauty Pageant, Patchwork & Quilts, Scrap Patches

Tuesday, February 21, 2023

Sweet Kisses

The first group of Sweet Kisses blocks have been pieced but they're not all aranged on the display wall. And yes, it's another Christmas quilt but it's not as obvious as the other Christmas quilts I've made recently.

This quilt is utilizing a Christmas charm pack I purchased years ago, I have no idea how many years ago. I did need to supplement the charm pack with fabrics from my stash, no way was I going to buy another charm pack then have some squares leftover.

The background fabrics are from my stash.

There are a lot of little pieces in this quilt and it took a while to get them all cut. The blocks do sew up faster than I thought they would.

Here is a link to the Sweet Kisses pattern. I don't know that you will be able to tell this is a Christmas quilt since the fabrics are cut into such small pieces but it feels good to finally have used that charm pack!

Linking to To Do TuesdayMidweek Makers, Wednesday Wait LossNeedle & Thread Thursday, Put Your Foot Down, Life in the Scrap Patch

Sunday, February 19, 2023

Quilting Lady Jane

I've quilted across Lady Jane again, hopefully the color of the photos will be of better quality this time.

The individual colors are better this week but there is still a slight yellow tint in the pictures of the blocks. The colors in the above picture are the true colors.


This is the left side border of the quilt. I think you can actually see the quilting for once.


The next row across will include some of the center medallion, this quilt is so much fun to quilt!

Here is a link to the Lady Jane pattern.

The temperatures have been warmer and the snow melted several weeks ago. My amaryllis are blooming and add color to the dreary days.

The orange amaryllis are so lovely but that 2nd from the left one is a lovely variegated red. All of the plants have a 2nd bud and there are a couple plants that will be in bloom soon. I always like it when they bloom in January/February, they bring so much joy and color to winter days when the sun isn't shining.

Linking to Kathys Slow Stitching Sunday, Stitching Stuff, Oh Scrap, Magic Crafts, Sew & Tell,  Handmade Monday, Design Wall Monday, Craftastic Monday, Monday This 'N That,  Monday Musing

Friday, February 17, 2023

SAHRR, Round 4

Round 4 of the SAHRR (Stay at Home Round Robin) was flying geese. Of course I foundation paper pieced my geese, so much more accurate, for me anyway.

My geese are still in strips. I'm not sure how they'll be used, if I'll sew them together into one or two blocks or if they'll be filler blocks in the row by row quilt I'm making.

Each individual goose finishes at 2" by 3". I drew my own  piecing papers.

An added challenge to my SAHRR quilt is I pulled all the light background orphan blocks from the orphan box and adding them into my quilt. This quilt is going to be charity quilt so the size needs to be 60" by 80".

I took a picture to show you my progress. The picture has a yellow tint and looks better in real life. Those are shadows in the very top row.

A lot of orphans have been used. I am adding fabric for filler and that is just fine. Did you notice, I did use 2 of the flying geese strips.

These rows are 60" wide. I added the height of each row, they added up to 56", just 24" more to go! There are still plenty of orphans to be used.

This won't be the most beautiful quilt I've ever made but it will keep someone warm who needs a comfort quilt, that's the important thing.

Last December a friend and I went to a quilter's home who was preparing to move and was downsizing her fabric stash. While sorting through the fabrics, someone handed me a medium sized tub and told me "this looks like it belongs to you".

I opened it and it was full of blue fabrics! My love of blue is very well known. Most of fabrics I'm using in this quilt are from that tub. It's fun to be using new to me fabrics. 

Linking to SAHRR Linky partyNeedle & Thread Thursday, Put Your Foot Down, TGIFF!, Peacock Party, Whoop Whoop Party, Finished or Not  Friday, Off the Wall Friday, Beauty Pageant, Patchwork & Quilts

Tuesday, February 14, 2023

Garden of Quilts, Thanksgiving Point

Last September I flew to Salt Lake City to visit my friend Deanna. I made sure my visit coincided with the 2022 Garden of Quilts at Thanksgiving Point in Lehi, Utah. If you click the link, it will take you to information about the 2023 quilt show. I couldn't find information from the 2022 show.

There were over 600 quilts on display at the show, most of them outside on clothes lines. It was beautiful to see all these quilts with the sky as a backdrop.

The day Deanna and I visited, we arrived just before the show opened and we viewed every single quilt in the show, all 600 of them! That was a lot of walking!

Of course there were a variety of vendors and it was fun to see all the goodies they had to offer. But I was very aware of limited space in my suitcase and didn't buy much but I did purchase a few treasures that caught my eye.

The Quilted Hugs book by Jill Finley of Jillily Studio caught my eye.


The Painted Daisies quilt in the book is especially attractive. They did have fabric kits for the quilt but I decided the book was enough.

Another favorite from the book was Toy Parade, such a cute crib quilt. There are so many cute quilts in this book.

Remember a few weeks ago I said I was prepping another Christmas quilt? The name of the pattern is Sweet Kisses designed by Gigi of Gigi's Thimble which was also purchased at the quilt show.

There are a lot of pieces in this project, I won't be sewing this one up in a week. Gigi also blogs, here is a link! 

I guess this post was just a long way to show you the newest project in progress. Sweet Kisses, isn't that a wonderful name to announce on Valentine's day?

Linking to To Do TuesdayMidweek Makers, Wednesday Wait Loss, Needle & Thread Thursday, Put Your Foot Down

Sunday, February 12, 2023

Quilting Lady Jane

The first row of the churn dash blocks with the plain alternate block have been quilted.

Here is the whole row.

When I take a picture of the whole row, the colors are true. But when I take an individual picture, the blocks have a yellowish tinge! The next time I'll turn off the overhead lights and see if that makes a difference.

This gray block is the first gray block on the bottom of the row. Can you see the quilting texture?

I'm stitching in the ditch for the churn dash blocks. This block is the first bottom churn dash block in the top photo.

Friday, February 10, 2023

Wintersweet Finish Again!

I know I showed you the wintersweet flimsy I made last week and said was finished but I wasn't satisfied. I just didn't think it looked completed so I took the time and finished the chain. It didn't take long to do, just a morning of sewing.

Doesn't this look better?


Here is what it looked like without the chain finished, made the way the pattern says.


I added twelve partial 9 patch blocks, four 4 patches and 16 background fabric rectangles that measured 4.5" by 14.5". Wintersweet now measures 83" square. I'm not planning on adding an outside border.

In my last wintersweet post, I said the binding was going to be red. I've changed my mind, the binding is now going to be a variety of green fabrics.

The free pattern for Wintersweet is found here on Cake Stand Quilts website.

Linking to Needle & Thread Thursday, Stitch, Sew & Show, Put Your Foot Down, TGIFF!, Peacock Party, Whoop Whoop Party, Finished or Not  Friday, Off the Wall FridayPatchwork & Quilts

Tuesday, February 7, 2023

Self Binding, a Tutorial

Ladies from my church knot comforter tops on Wednesday nights. I don't help with the knotting but I do donate comforter tops and help with binding.

We don't make separate binding for the comforters, we turn the backing fabric to the front then use that for binding. I was never pleased with my corners then I remembered a Eleanor Burns program from years ago. She showed how to self bind with mitered corners.

It took me awhile to remember how to do it. I'm going to share the process with you and this way it will be in writing so I can review it for myself.

After the top is knotted, you trim the batting to the edge of the top then cut the backing. You need to cut the backing twice the size of what you want to show on the top. If you want to show 1/2" binding, you cut the backing fabric at 1".

The backing fabric for this tutorial was trimmed at 1.5", the binding that shows on the top of the comforter will be 3/4".

On the inside of each corner, mark 3/4" lines and 1.5" lines. (Whatever size you want your binding to be, the outside lines are half the size of what the backing is trimmed to.) You've made a square inside of these lines.

Eleanor recommends folding the fabric over and pressing the 3/4" line which is a good idea. I don't do that because the batting in these comforters is polyester. Polyester and a hot iron don't mix well together for me.

Lay a ruler so a line intersects the intersections of the square and mark a line on top of the ruler.

Make sure the lines goes through the 3/4" lines on both sides.

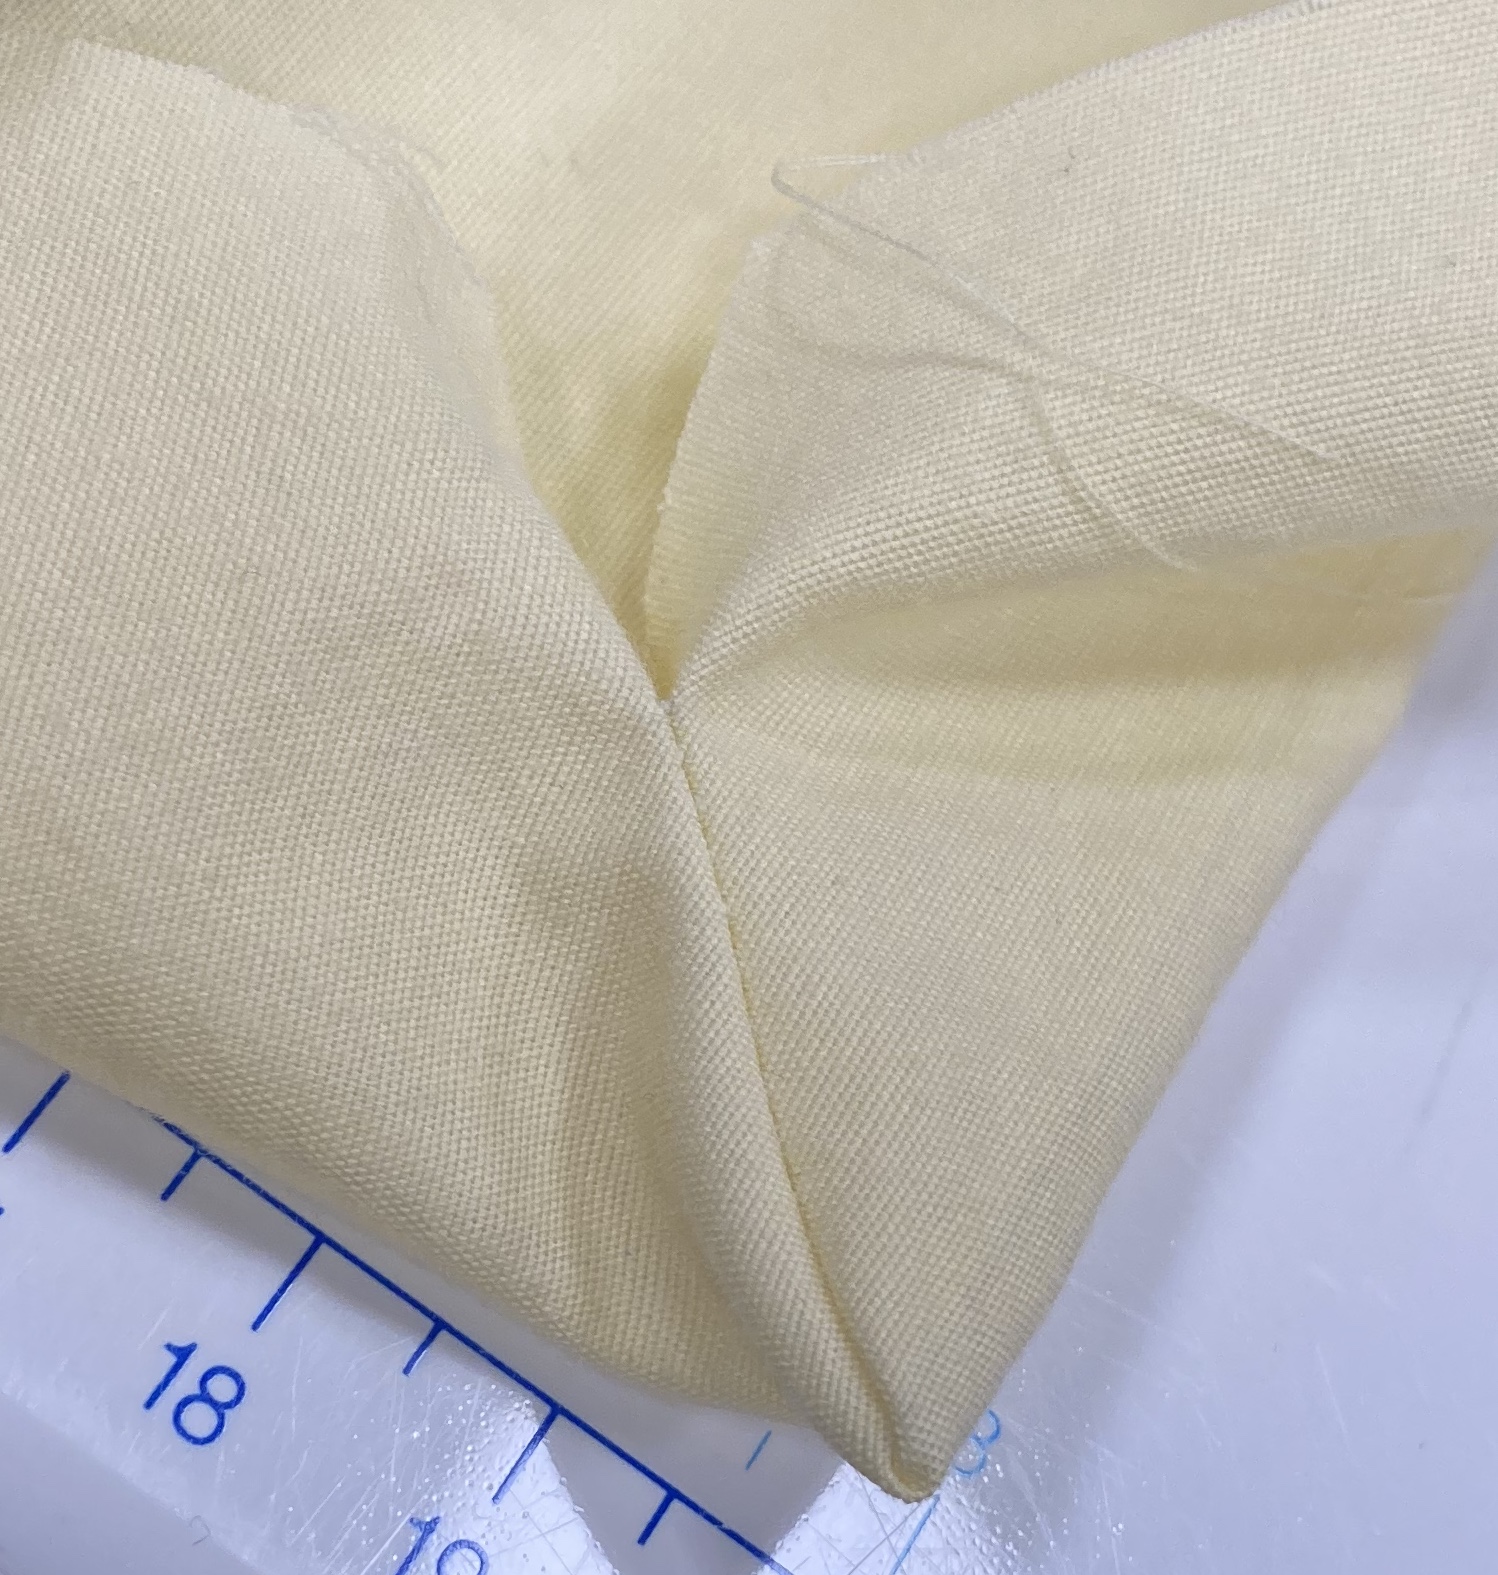
Fold the corner so it makes a triangle and pin like shown.

Stitch the line starting at the 3/4" line, make sure you back stitch.


Trim the edge to a scant 1/4".


Turn the corner right side out. Use a blunt pointy thing to push out the mitered corner.


Carefully push the comforter top and binding into the corner. You will need to use something to push it into position and smooth the fabric.


Fold the binding to the edge of the comforter top then fold over. Clip to hold the binding in place.


Stitch along the edge of the binding. These corners look so nice!


Maybe you already knew how to make these corners but it was a new technique to me!

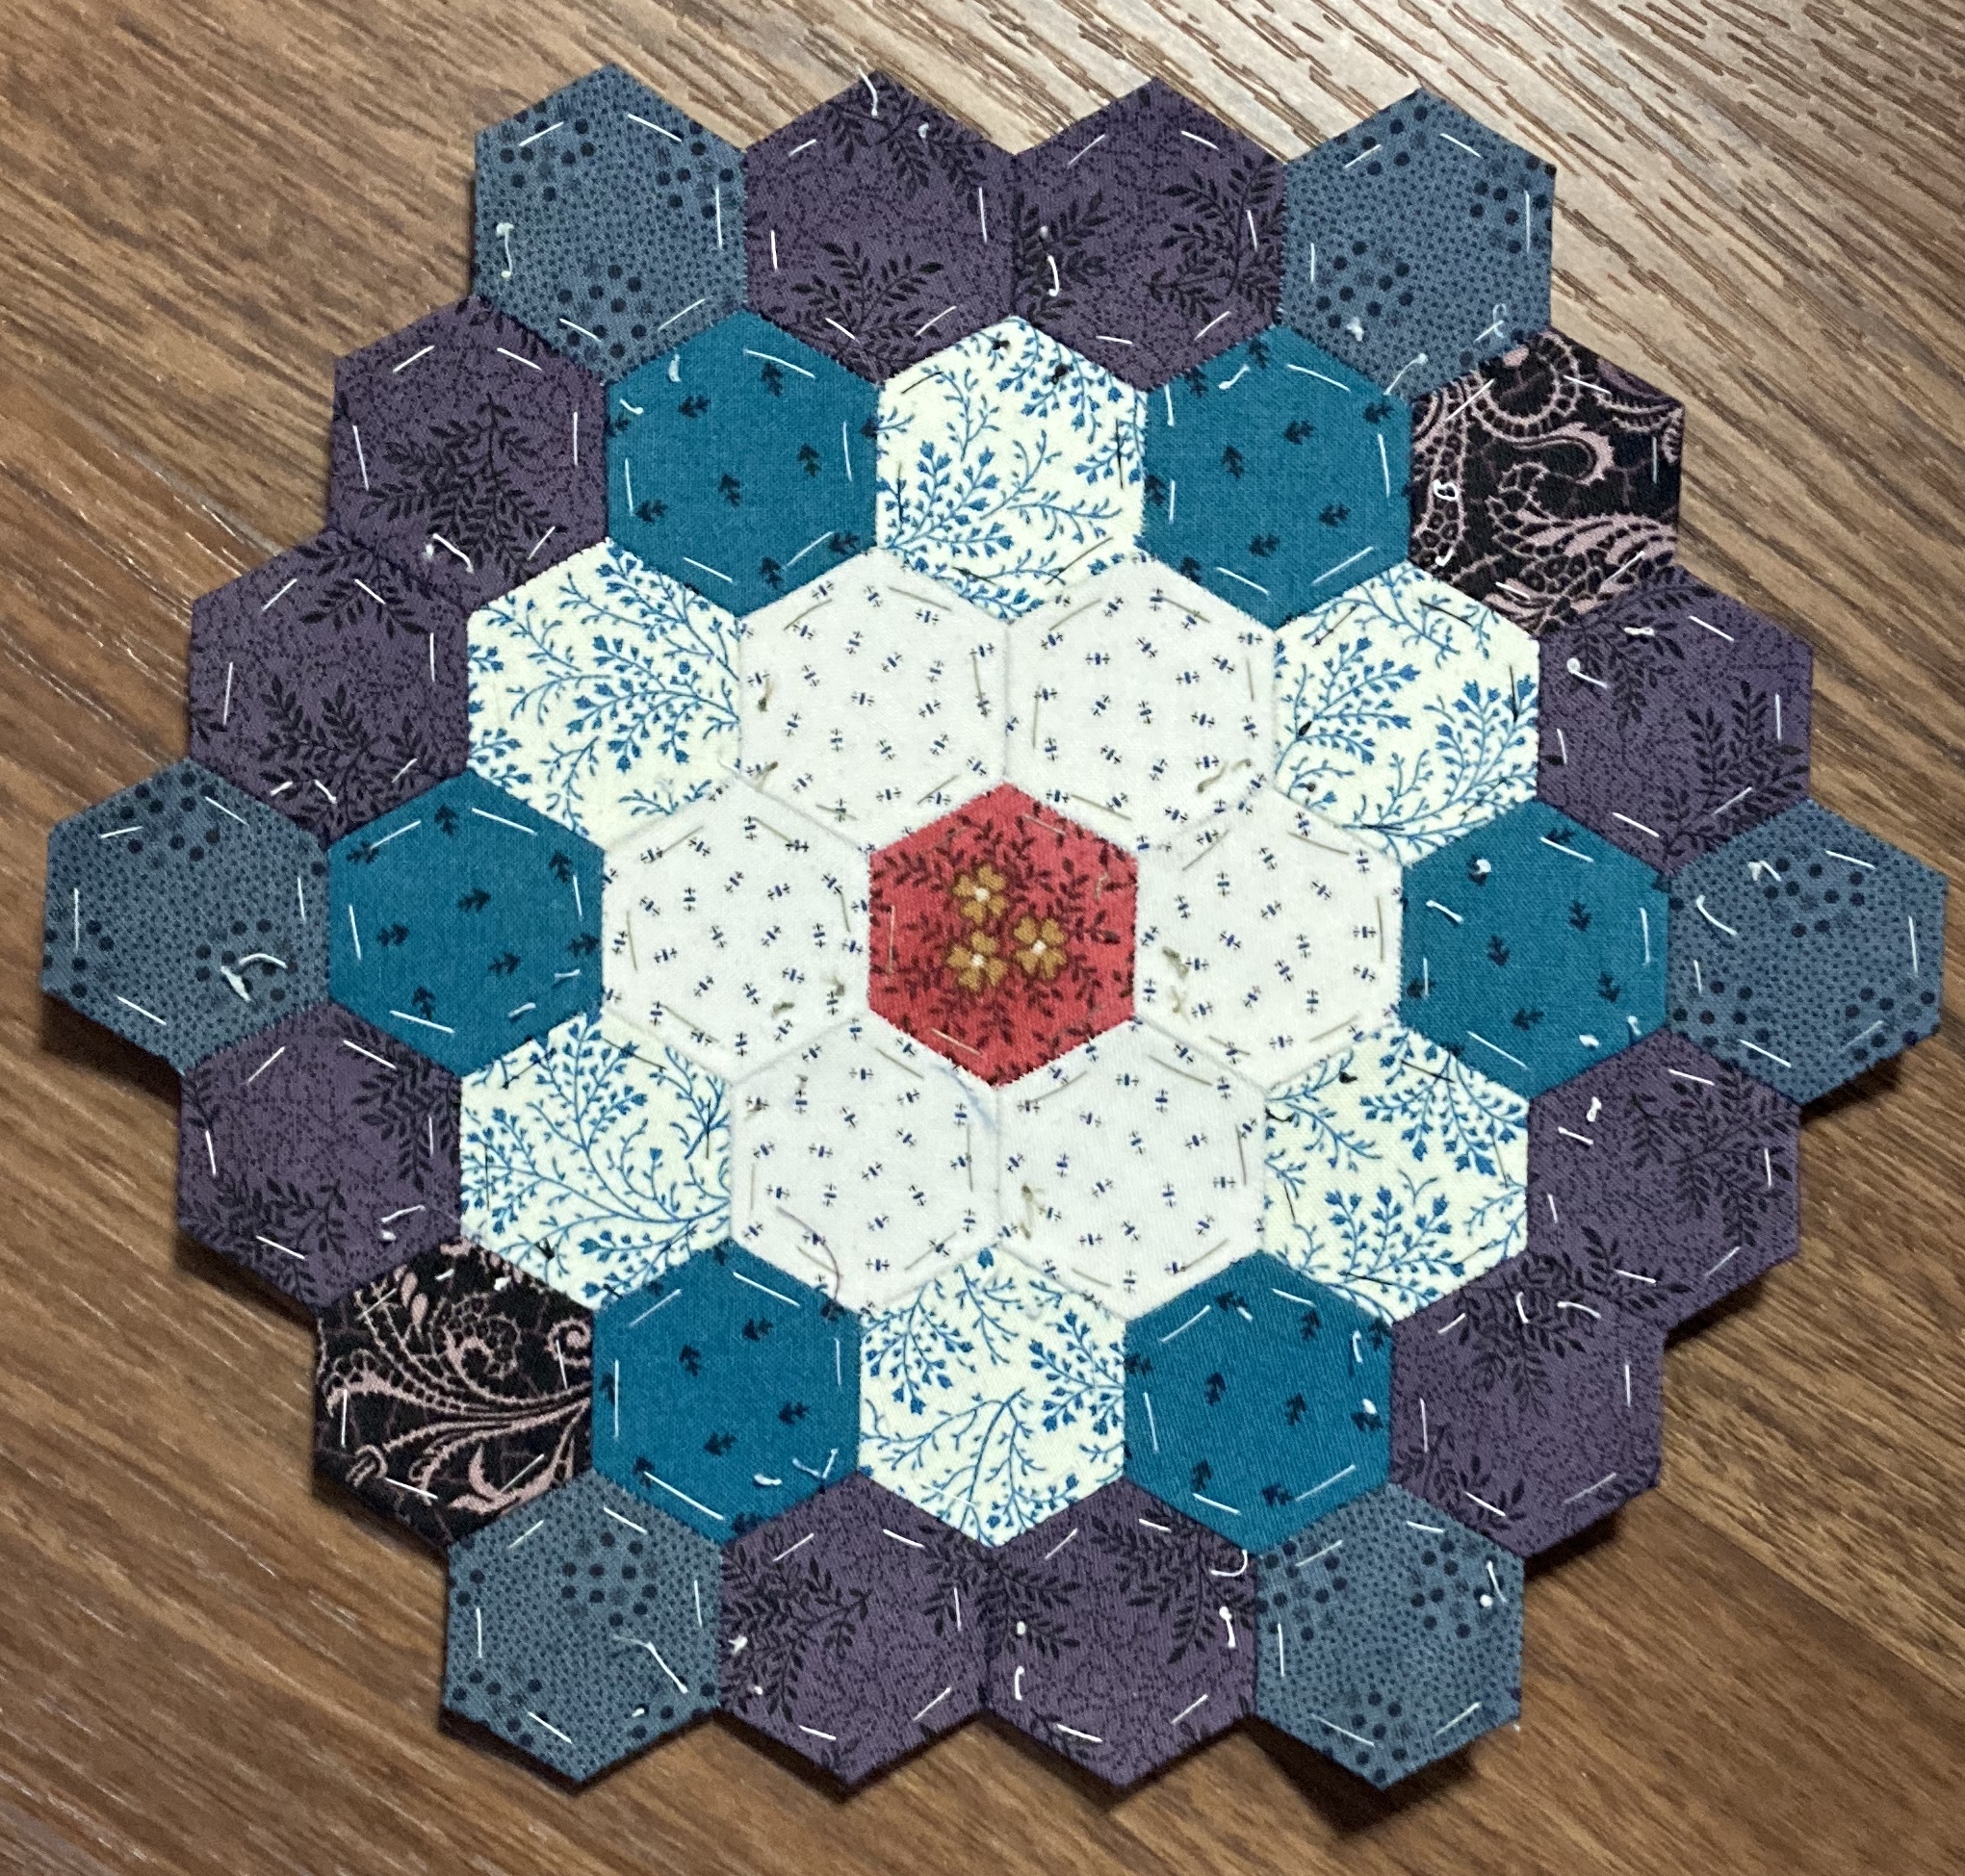
I sewed bindings on 3 comforters. This first one is one of the tops I made and donated. I pieced these blocks in conjunction with the RSC last year.


The next two comforters were not completely knotted but I sewed the bindings anyway. The thread was already positioned for the knots. I think Carol was thinking about her trip to Florida and away from the Indiana cold and snow!


I returned these comforters to church last Sunday. The knotting will be finished Wednesday evening.

Monday, February 6, 2023

SAHRR Round 3

Round 3 of this year's SAHRR was to make hour glass blocks. I cut the squares for my hour glass blocks at 5.5" then made large HST's. Chris gives a tutorial on how to make hour glass blocks on her SAHRR post.

I trimmed the blocks to 4.5", they measure 4" finished.

My large hour glass block measures 16.5". This block will be in row 2 of my quilt.

Row 1 of my quilt is partially finished. It measures 40.5" now but I'll add more on each side to bring the width measurement to 60".

The checkerboard pieces came from the orphan box, so nice they were already pieced!

Here are some of the bits and pieces that will go into my quilt.

I didn't really intend to make  blue & white quilt but that seems to be what is happening!

Linking to 2023 SAHRR, To Do Tuesday, Midweek Makers, Wednesday Weight Loss