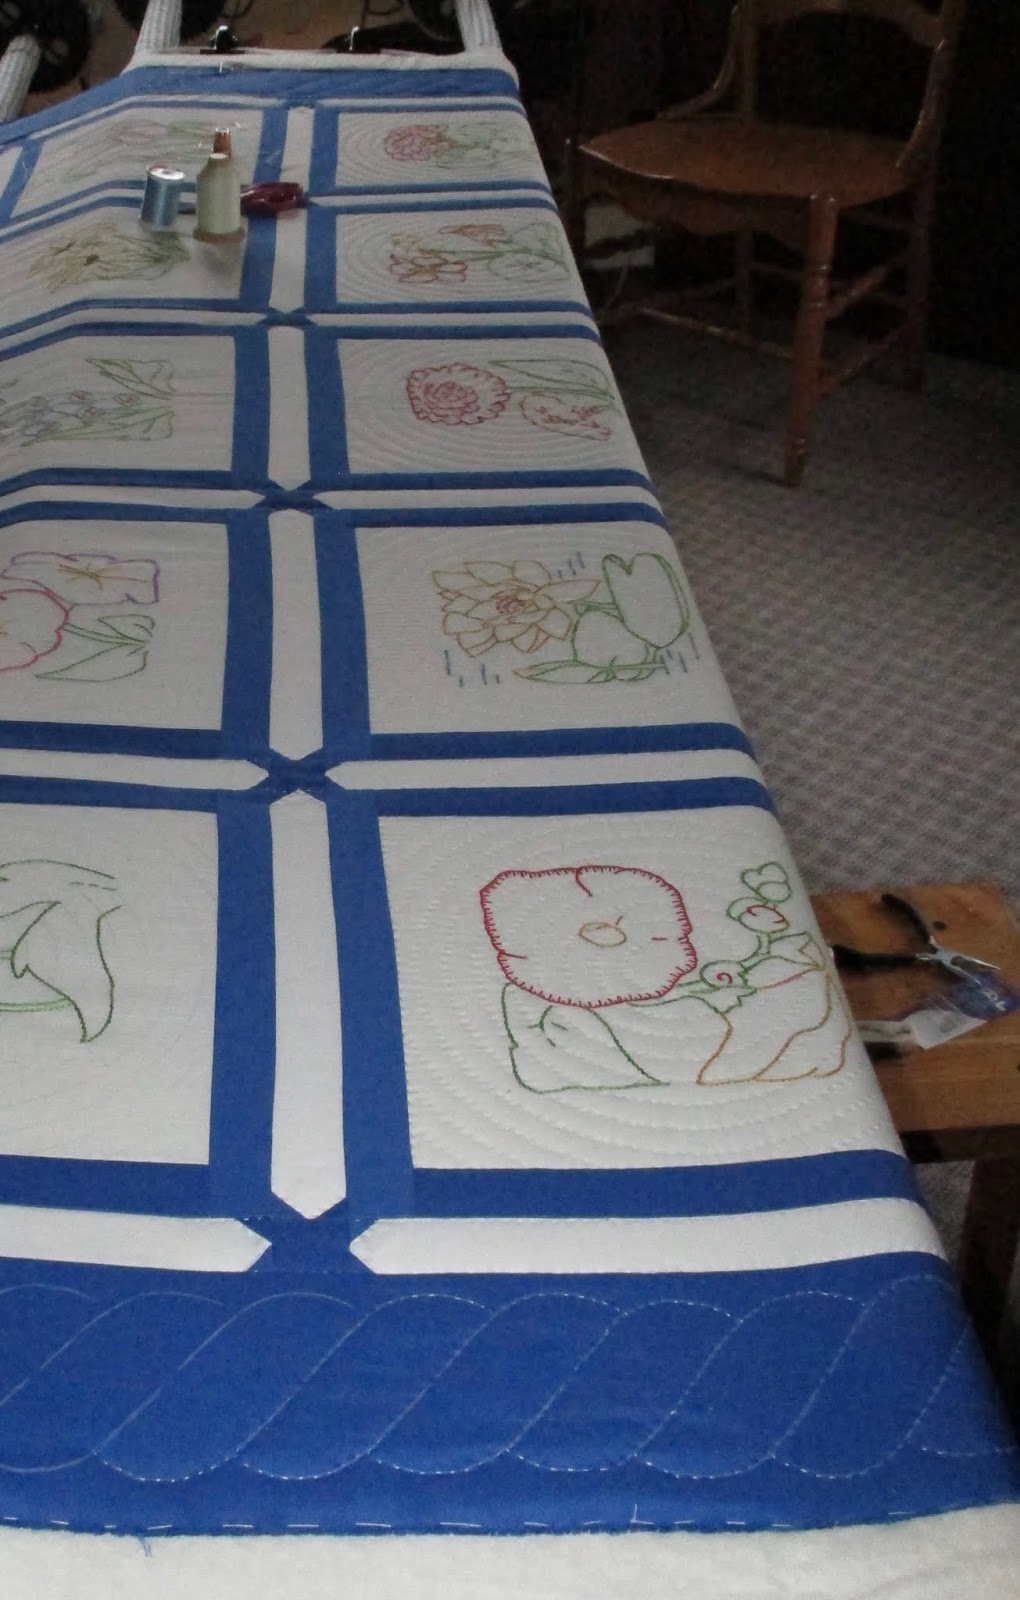
The second row of Grandma's Embroidered blocks is completed.
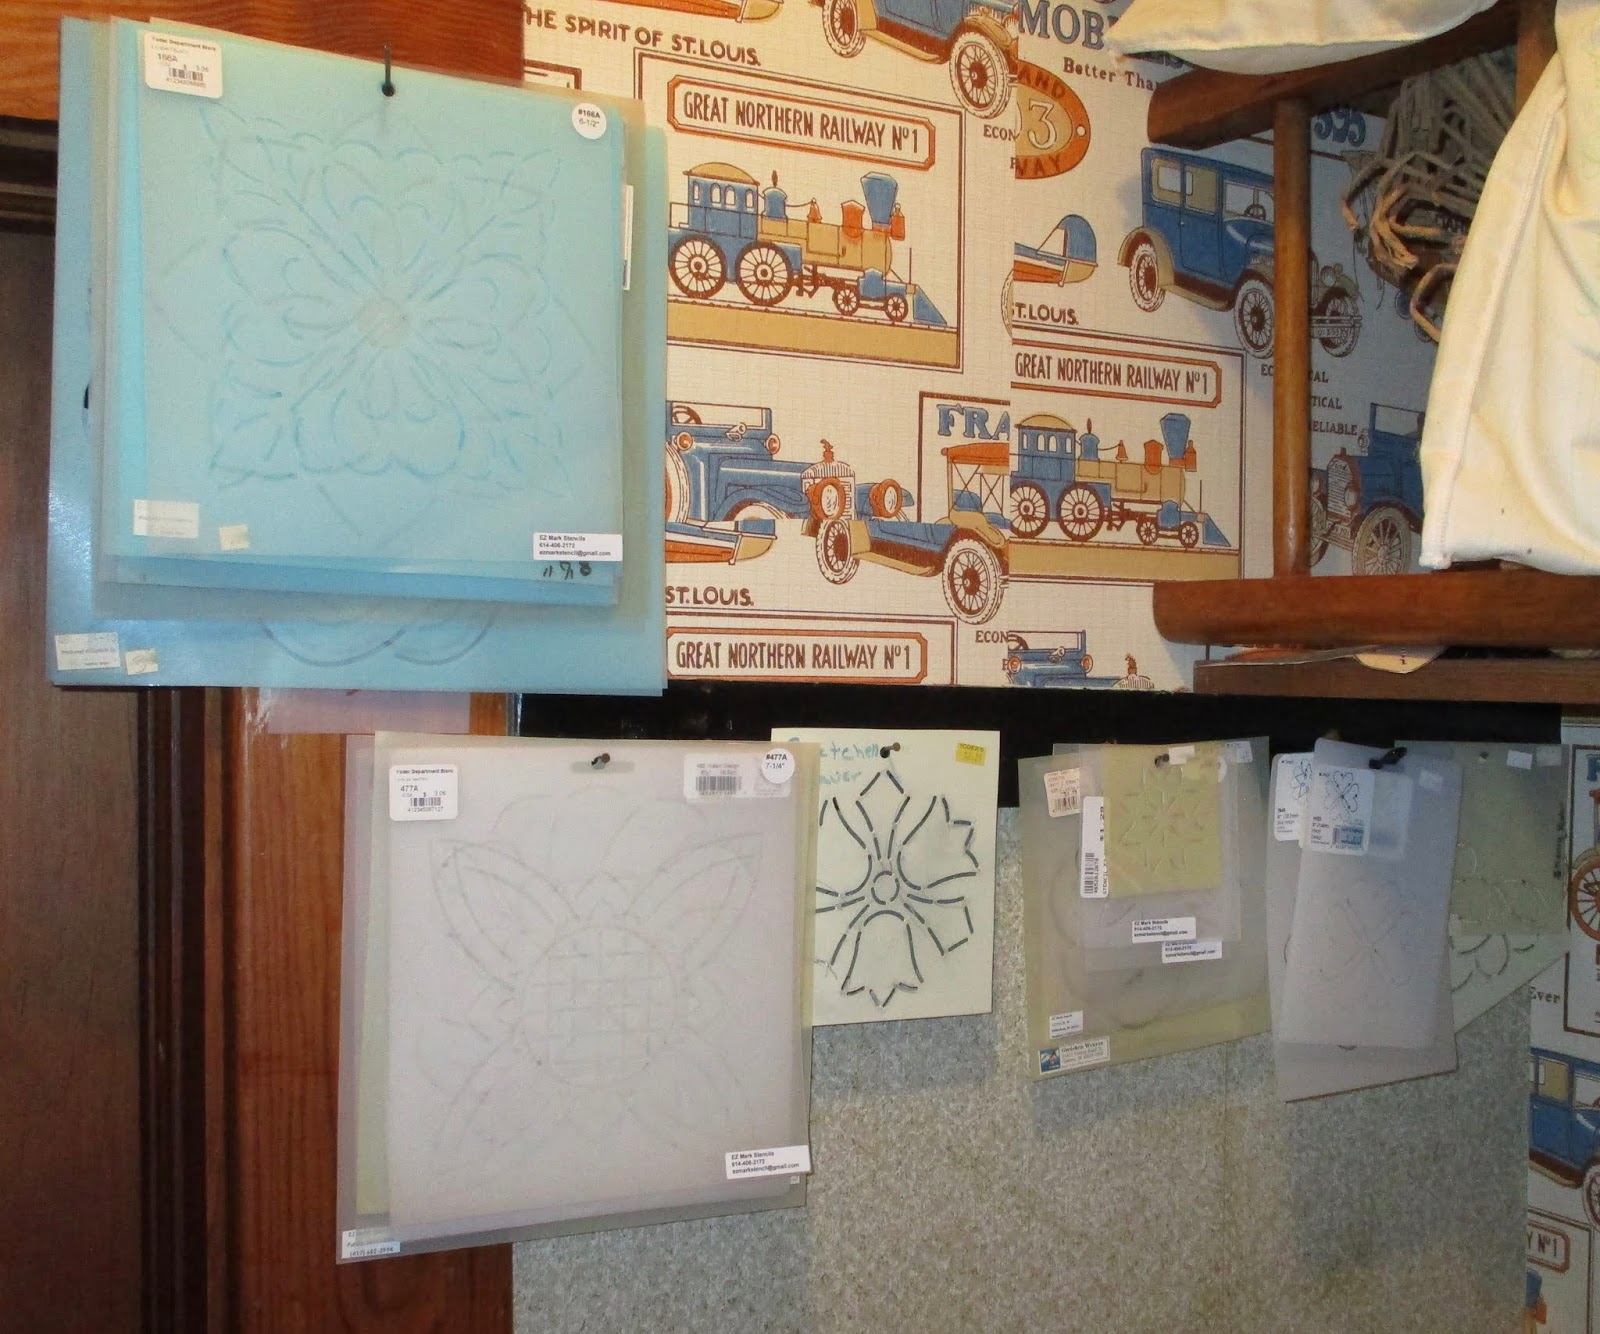
Recently I was asked how I store my quilting stencils so I'm showing you. They're hanging in the to be quilted closet.
I live in a old farm house which has large closets. Most of the closets are wallpapered.
As you can see, I'm not one to spend time matching seams in a closet and in this closet I used whatever wallpaper was leftover from other wallpapering adventures.
I just pounded nails into a strip of wood and that was good enough. If you do this, make sure you use headless or small headed nails.
I didn't take a picture of the larger stencils which hang on the wall behind the to be quilted flimsies.
They are organized by size and whether they're for an individual block or a border.
The circle stencil would ordinarily hang with the large stencils but it's next to the door in case I need it while quilting Grandma's blocks. And I did need it, I missed a circle while marking.
Also stored in this closet is batting but I'm not going to show you that.
Linking to Kathy's Slow Sunday Stitching, Patchwork & Quilts, Show & Tell Monday, Monday Making, Design Wall Monday
The RSC color for May was dark greens but I sewed all the greens for Modern Amish earlier this year when the color was light/bright greens.
So instead of dark green, I pulled fuchsia fabrics and sewed blocks. I had taken a picture earlier in May to show you but it disappeared into the abyss somewhere never to be found.
Since pink is the color for June, I'm ahead for once! Here is the 2nd photo of my fuchsia blocks for Modern Amish.
There is one more color I want to use in this quilt, I think I'll go ahead and sew them in June. I'm ready to get this quilt into the flimsy stage. I'm really bad at BOM's, I get tired of dragging the project out, I want to get it finished now!
Linking to UFO Busting, Scrap Happy Saturday
The Moda Love flimsy is finished and measures 63" by 83". To finish the center, I added a cream border, a checkerboard border and finally a brown outside border.
A dark brown outer border would have looked better but someone gave me yards of the medium brown fabric so I used it.
This is a not so great photo of the flimsy on the porch glider.
This flimsy is a comforter top and will be donated to the MCC comforter bash to be knotted this fall if life is somewhat back to normal.
Earlier posts about this project are here and here.
This is a link to the free Moda Love pattern in 3 sizes.
The star center was pieced from a charm pack which fits in with Sarah's Charmed I'm Sure!, Hands 2 Help 2020 challenge.
Sometime I will use this design for another charity quilt but I think I'll add log cabin blocks to the top and bottom for length.
I've had these flannel pieces waiting for several months to have the edges finished by zigzagging. They're finally finished so there are 4 large sized receiving blankets washed and ready for delivery to the Family Christian Family Development Center in Nappanee to be used in the well baby program.
Linking to Peacock Party, TGIFF!, Brag About Your Beauties, Finished Or Not Friday, H2H 2020, Oh Scrap
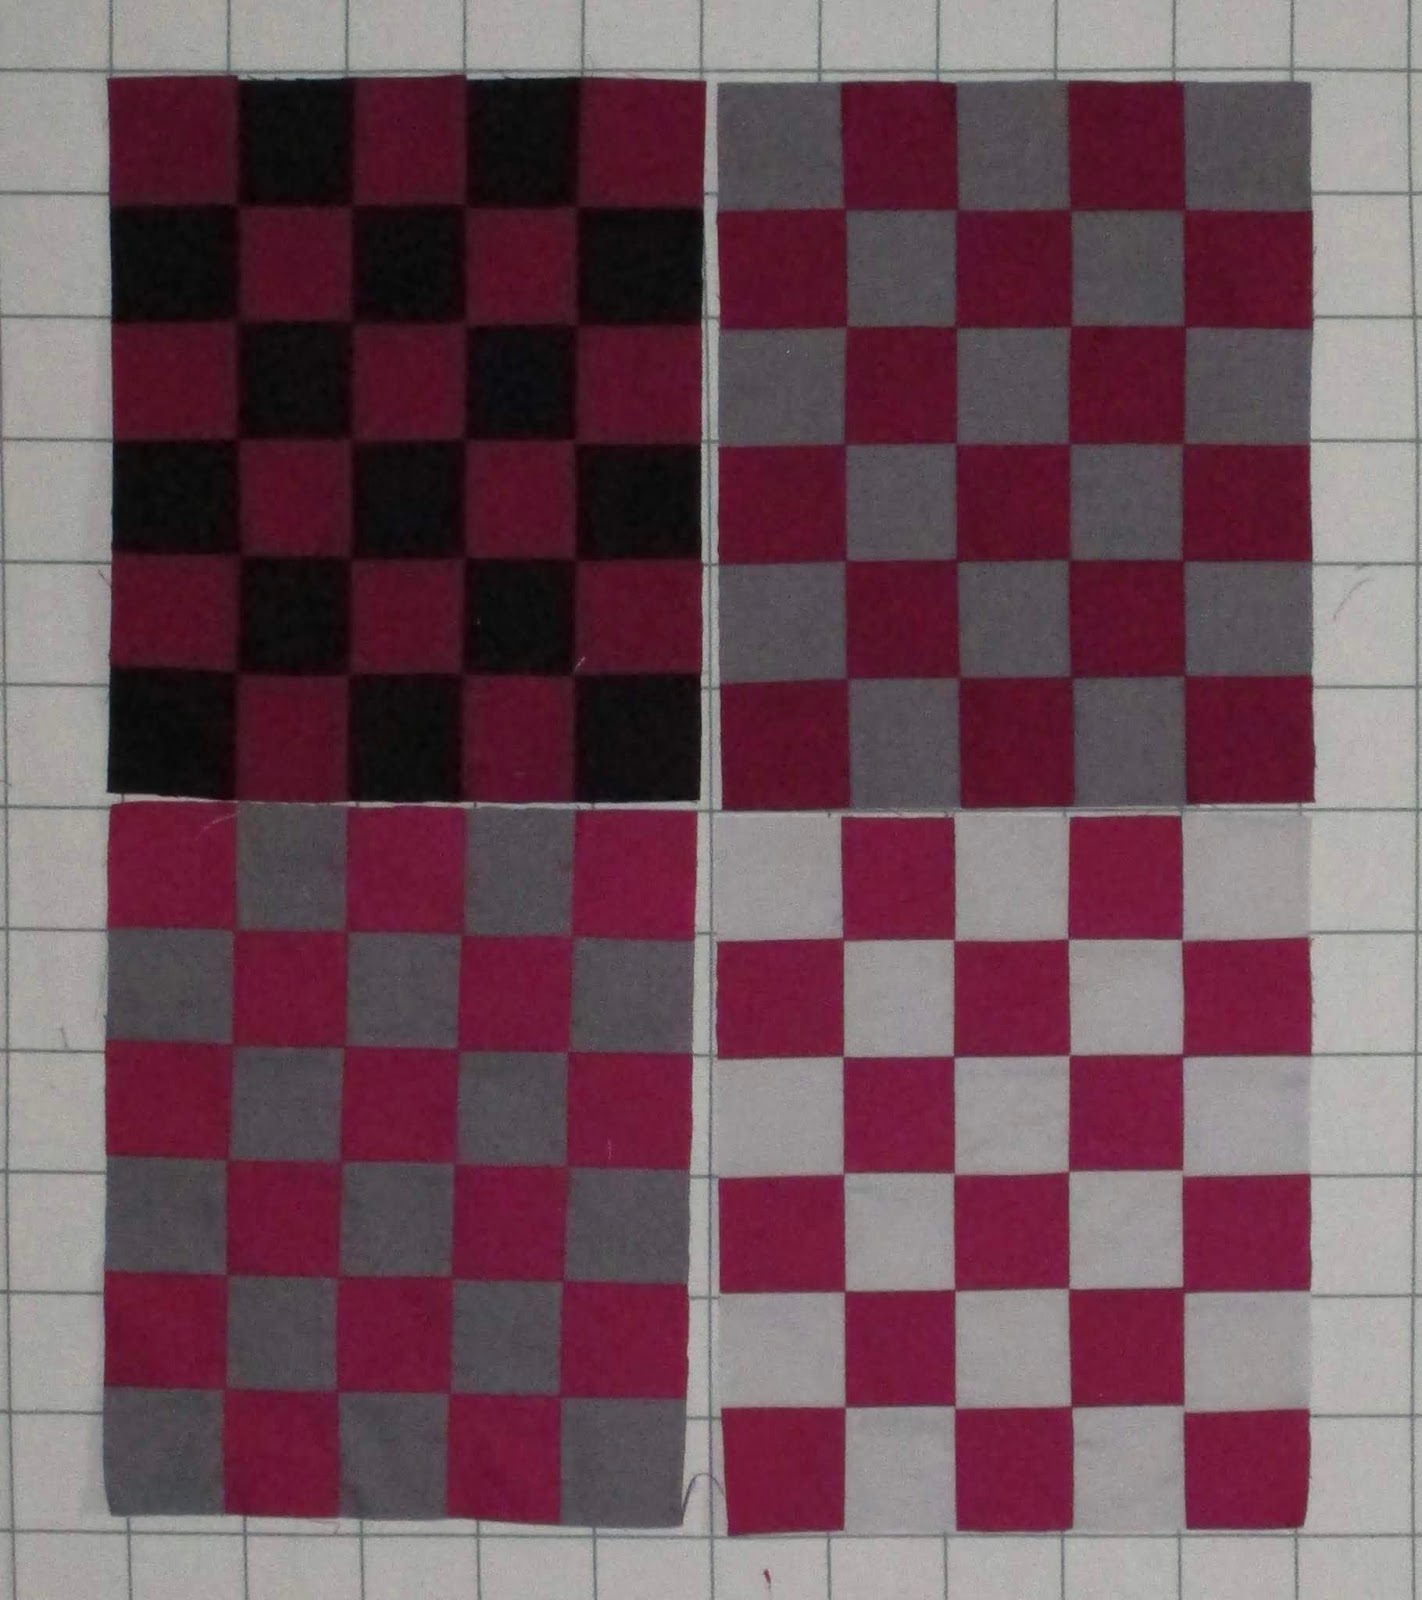
I'm not working on a major project right now. Spring is a busy time of year so I've started piecing 9 patches as an easy start & stop project.
I'm making lots of 3" finished 9 patches. I make most of my 9 patches with strip piecing.
I'm piecing both types of patches.
Fabrics left over from other projects are being used.
The blue 9 patches are for Bonnie Hunter's Double Delight pattern.
Of course I'm making this a full sized quilt, there will be more patches than I need but you can never have too many 9 patches.
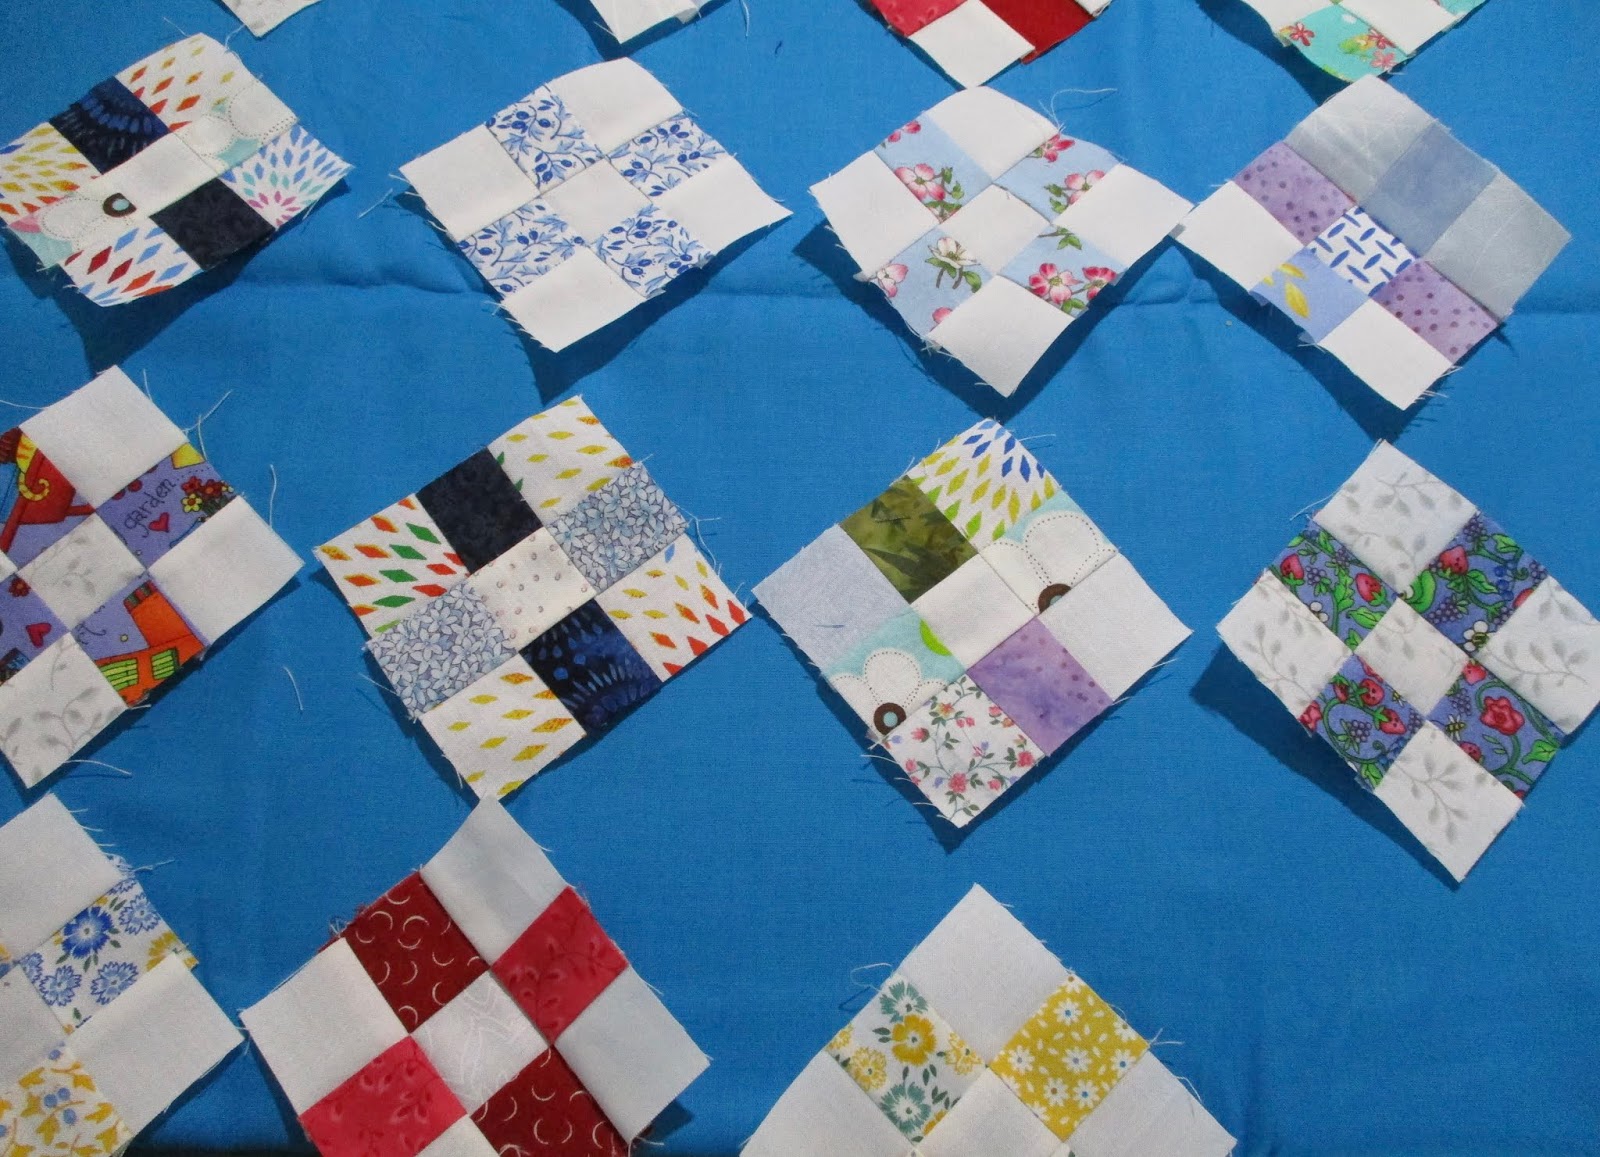
The light cornered 9 patches are for this quilt. Nine patches with squares in between, easy peasy.
This fabric looks blue but it is actually turquoise.
I'm not sure what the black patches are for but I envision something with dark reds and golds.
There are 3 tray full of 9 patch sections ready to be sewn.
Linking to To Do Tuesday, Midweek Makers, Wednesday Wait Loss, Clever Chameleon, Put Your Foot Down, Needle & Thread Thursday, Confessions of a Fabric Addict
Row 1 of Grandma's Embroidered blocks is quilted.
Picture of the whole row.
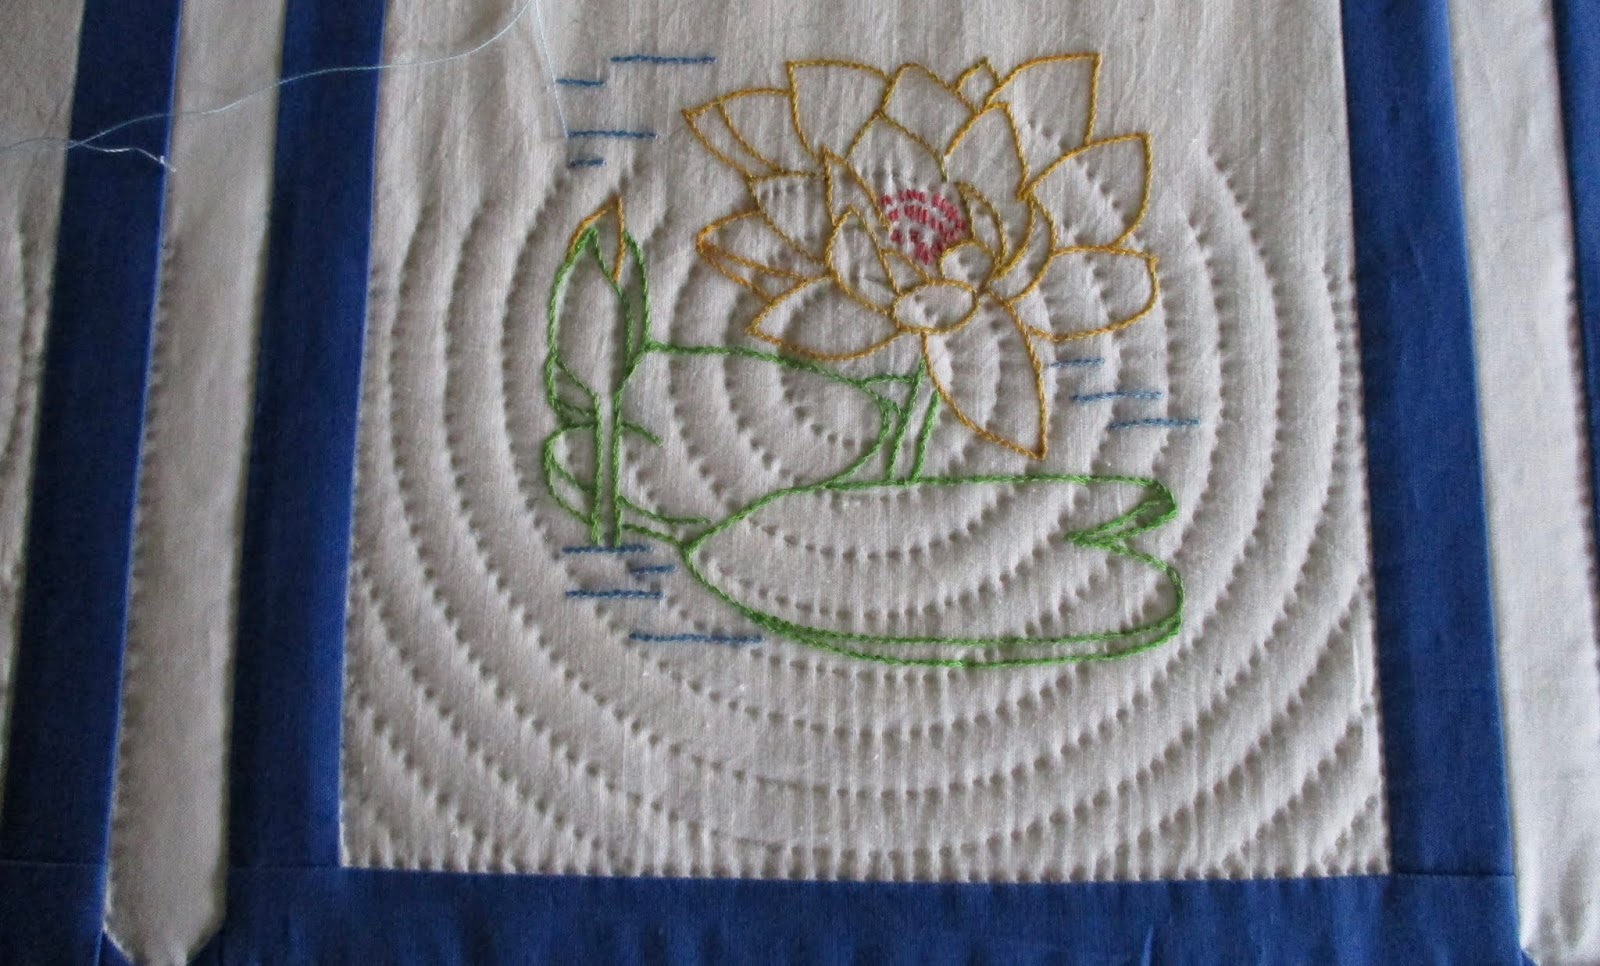
Pictures of the individual blocks.
I was asked last week about whether I quilt over the embroidery. No, I don't at least I try not to. I took pictures and will try to explain how I stitch.
I quilted up to the edge of the embroidery. Stick down with the needle just to the side of where the needle came up and stick under the embroidery. Just take 1 stitch and pull the thread through.
Stitch down and up, just make 1 stitch.
Stitch down slightly off of where you had stitched up.
Turn your wrist to stitch up and push the needle through making sure you come up along the edge of the embroidery.
Here I've stitched across the embroidery to show you what it looks like.
You need to remember this photo is enlarged and the stitch isn't as big as it shows.
Probably no one would ever notice this stitch if you left it in the quilt.
I've removed the stitch on top of the embroidery and did the stick down then up under the embroidery.
Hope this answers your questions.
Hand Quilt Along is an opportunity for hand quilters and piecers to share and motivate one another. We post every three weeks, to show our progress and encourage one another. If you have a hand quilting project and would like to join our group contact Kathy at the link below.
Kathy, Margaret, Tracy, Deb, Susan, Nanette, Edith, Sharon, Karrin, Gretchen, Kathi, Bella, Daisy, Connie, Monica and
Linking to Kathy's Slow Sunday Stitching, Oh Scrap, Bambi's Show & Tell Monday, Monday Making, Design Wall Monday, BOM's Away
Midnight Blues is now in the flimsy stage and is hanging in the to be quilted closet until it's turn to be hand quilted.
This looks a lot like an old antique quilt which is where Jayne got the idea.
I knew how I wanted the borders even before I started piecing the blocks. I was going to have a 5" finished cream background border with an appliqued gentle curving vine with lots of leaves in the various blue fabric.
But while quilting the Floral Triangles border, I changed my mind, I decided I was going to make a border like this in Midnight Blues quilted with various blue threads.
So I attached the cream 5" finished border then added the blue side borders. I laid the quilt on the floor to measure before cutting the last two borders, looked at it and thought it looks awful!
No picture!
I removed the blue borders then trimmed the cream background to 1" finished then added the blue borders, perfect! I like it. Sometimes our plans just don't look right.
Yes, I know, the long sides have selvages. Don't get yourself in a tizzy, they will be cut off before the binding but that won't happen for a long time.
I leave the selvages on so there is more stability in the quilting and also because I don't feel like zigzagging the edge.
Right now the flimsy measures 90" by 97" but of course it will be small after trimming.
My idea for my quilt came from this post on Jayne's blog. She made her blocks finish at 6" while my blocks finish at 4-1/2".
I started making the shoofly blocks when Bonnie Hunter started her shoofly challenge last summer. I didn't use Bonnie's shoofly design, my blocks are made the regular way.
As I predicted, Bonnie's quilt (actually quilts since she made 2 of them) is bright and colorful while my quilt is not but we're both very happy with our own quilt.
Here's a picture of the waiting to be quilted closet.
Some of these quilts will be hand quilted, some of the smaller ones will be quilted with my sewing machine.
Some, like the redwork embroidery in front, are waiting to be sewn into a quilt.
Several years ago, a blogger showed her waiting to be quilted closet, I think she had at least 30 quilts in waiting. She had used metal pants hangers, you know, the kind that things can easily slide off of.
Since I have grandchildren who love to play hide & seek and this closet seems to be the most popular hiding spot, I decided not to go with the metal easy slide off hangers. I purchased my hangers at Target. They are shaped like regular hangers but they're thicker and they are felt coated, no slipping! They come in various colors but I thought white was the way to go.
In case you're wondering why the heifers weren't in the picture of the quilt, I moved over to the right and took this picture. They were grazing behind the quilt!
Linking to Peacock Party, Confessions of a Fabric Addict, TGIFF!, Brag About Your Beauties, Finished Or Not Friday, UFO Busting
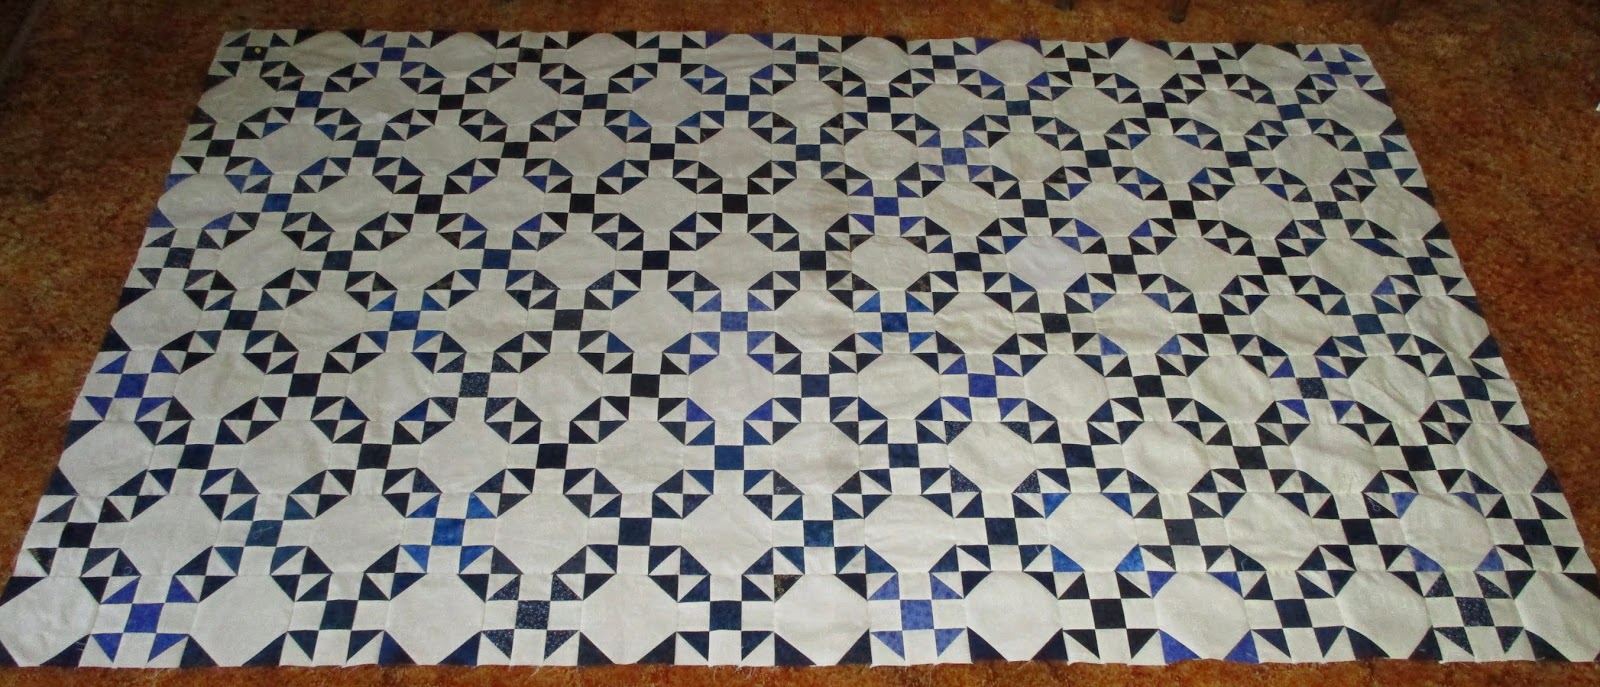
The center for Midnight Blues is completed, now to add the borders.
You can't probably see it in the photo but when I made the snowballs, the cream fabric of one block was sewn backwards. It immediately popped out and waved at me when I laid the center of the floor. I'll remove that block and insert one of the leftover blocks. Some mistakes don't bother me but this one did.
The center measures 77" by 85-1/2", the rows are set 17 blocks by 19 blocks and the blocks finish at 4-1/2".
Isn't it interesting how two different blocks can make such a neat design?
Linking to To Do Tuesday, Midweek Makers, Wednesday Wait Loss, Clever Chameleon, Put Your Foot Down, Needle & Thread Thursday
Hand quilting is going well and this project shouldn't take months because it is a wall quilt and not a queen sized bed quilt. After quilting last Saturday evening, I was ready to roll.
Solid fabrics always show quilting so nicely.
Here are the individual blocks after quilting them.
When I was sewing these blocks together, I turned this block around and around trying to decide which way was the correct way. I never did come to a satisfactory decision.
It is the way it is, life goes on!
Whoops, do you see where quilting was missed? I'll go back and quilt that edge before I roll.
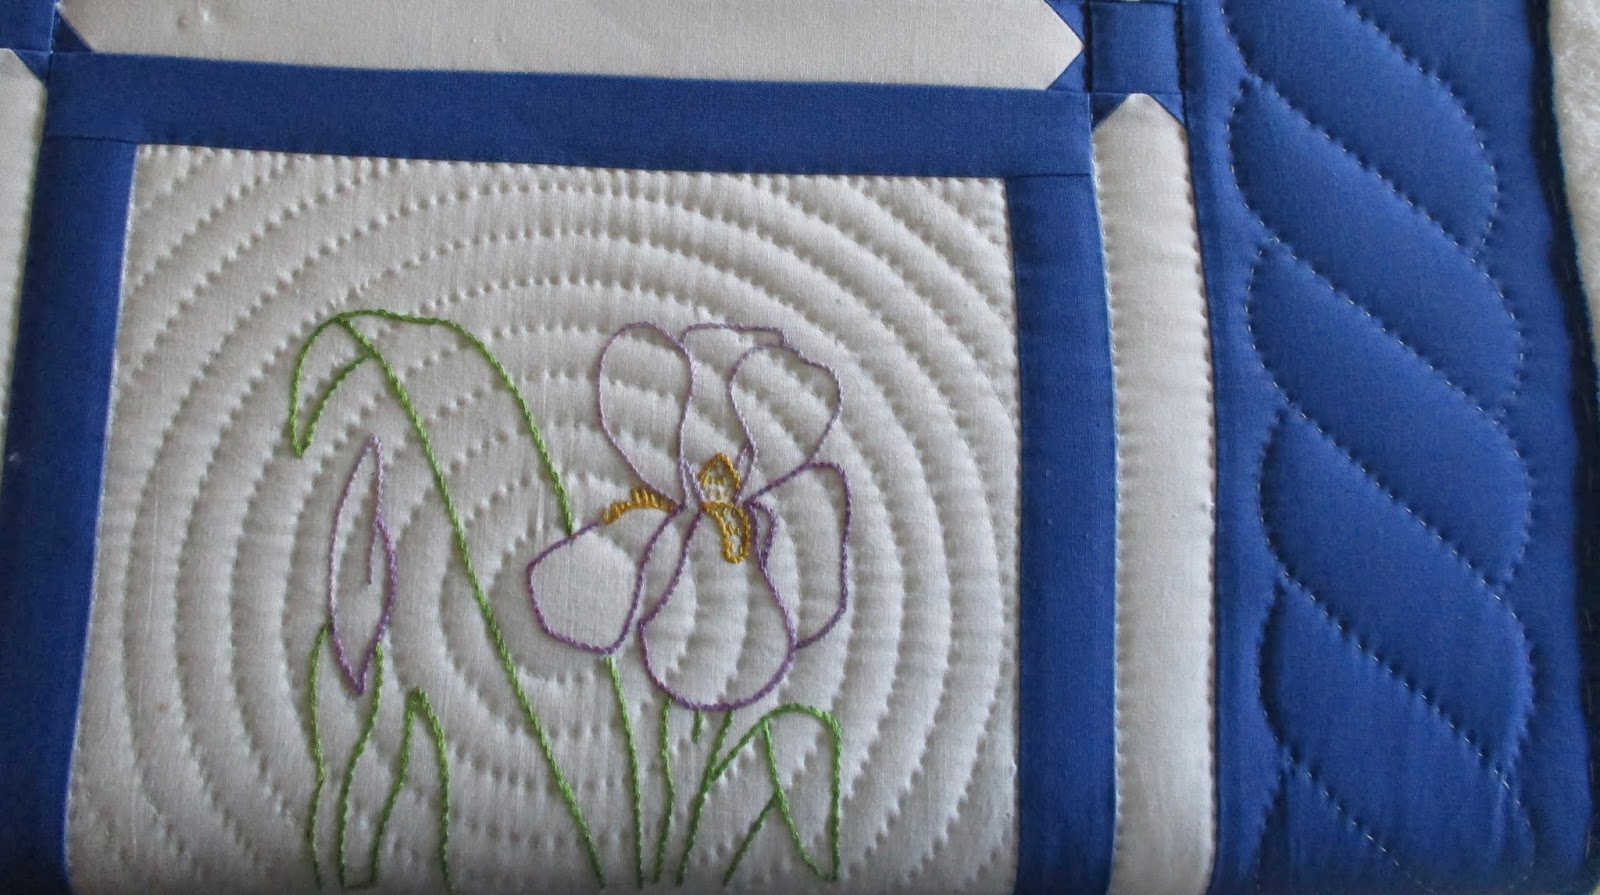
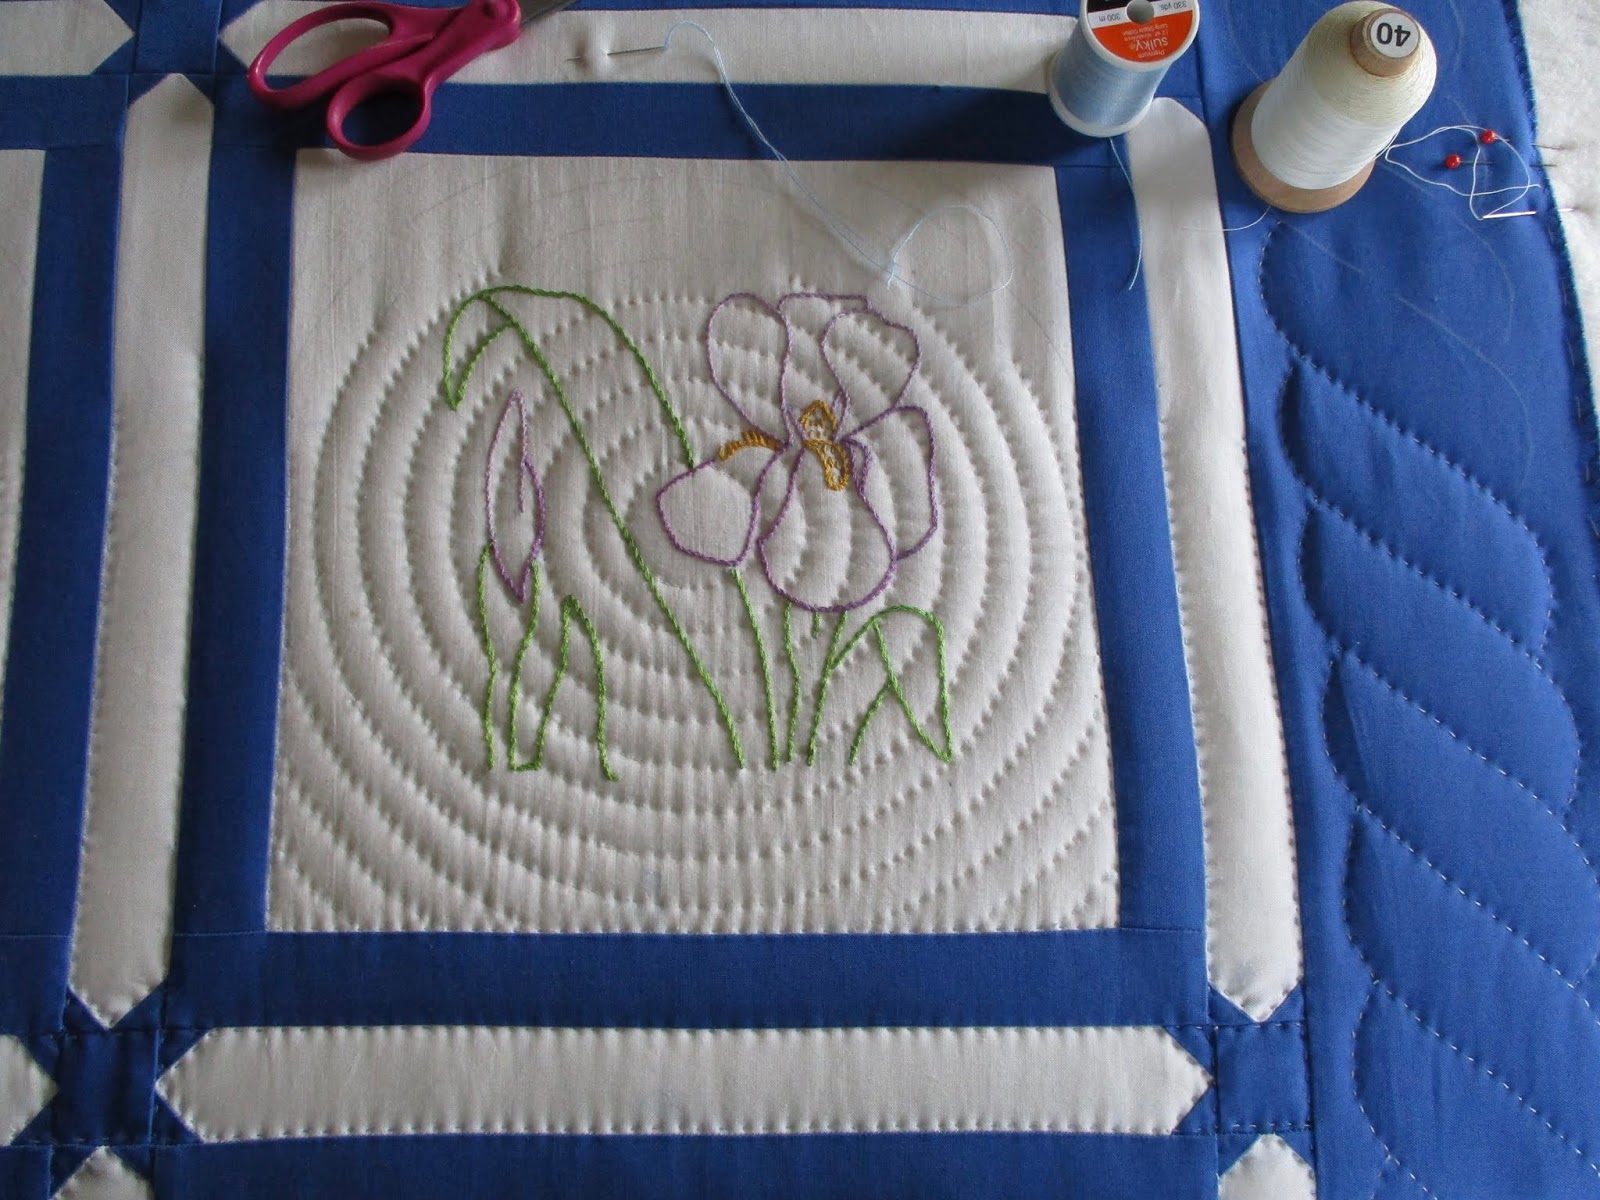
I'm using regular quilting thread in the embroidered blocks. The design shows but I wanted a neutral color for the background. I want the focus to be on the embroidery.
I had thought of stitching around all the embroidery but that would leave too much unquilted background so I decided on the circle stencil. I like it.
The full length photo.
I had assumed Grandma embroidered these flowers on muslin but I don't think so. Whatever this fabric is, it's a tightly woven, high thread count fabric.
Here is my needle after the first stitch on the embroidered blocks, remember, that needle is 1" long in real life.
Linking to Kathy's Slow Sunday Stitching, Oh Scrap, Bambi's Show & Tell Monday, Monday Making, Design Wall Monday, BOM's Away
Since the fast and easy projects have been pieced and are at the long arm quilter, the next project to be progressed is Midnight Blues.
I last posted about Midnight Blues in December 2019 when I showed the snowball blocks made at the Jane Stickle November retreat.
The snowball blocks are the alternate blocks to the shoofly blocks I made for Bonnie Hunter's shoofly block challenge.
My pattern is based on this quilt by Jayne. She gave her quilt a different name but I decided on Midnight Blues for my quilt.
My plan had been to sew these blocks together at this year's Jane Stickle retreat in April but we all know how planned activities in April went this year. I did tentatively think about saving this project for the November retreat this fall but decided I want it finished NOW!
The individual blocks finish at 4-1/2". Sewing a row 17 blocks by 4-1/2" is just too fiddly. I'm sewing the center section in 4 parts then sewing the sections together. The picture below is the top left section.
Below are the top two sections sewn together.
The width measurement is 77" which is actually what it should be!
I like dark blues and have lots of small fabric pieces left from former projects. There are over 20+ blues in this quilt. What is amazing is when I look at the fabric, I remember the quilt it was used in!
Linking to Peacock Party, Confessions of a Fabric Addict, TGIFF!, Brag About Your Beauties, Finished Or Not Friday, UFO Busting