I am often asked questions about hand quilting and the frame I use so putting the quilt in the hand quilting frame is the focus of this post. This way when I'm asked, I can refer people to this post. Warning! This is going to be a very long picture heavy post.
First of all, there are many different types of hand quilting frames. Karen does a lot of hand quilting and her frame is different from mine. Kathi is also a hand quilter, she has pictures of her frame in this post. Our frames are similar in that they are stationary and we roll each section as it is completed but there are differences.
Our frames are very different from a person who sits in their easy chair and uses a hoop. For questions about hoop quilting, I suggest you contact Kathy.
My quilting frame is a Grace frame but they no longer make hand quilting frames. Hintenberg is another possible source for hand quilting frames, google it!
A stable quilting frame isn't better than a hoop, it's about what your preference is and whether you have room for the frame.
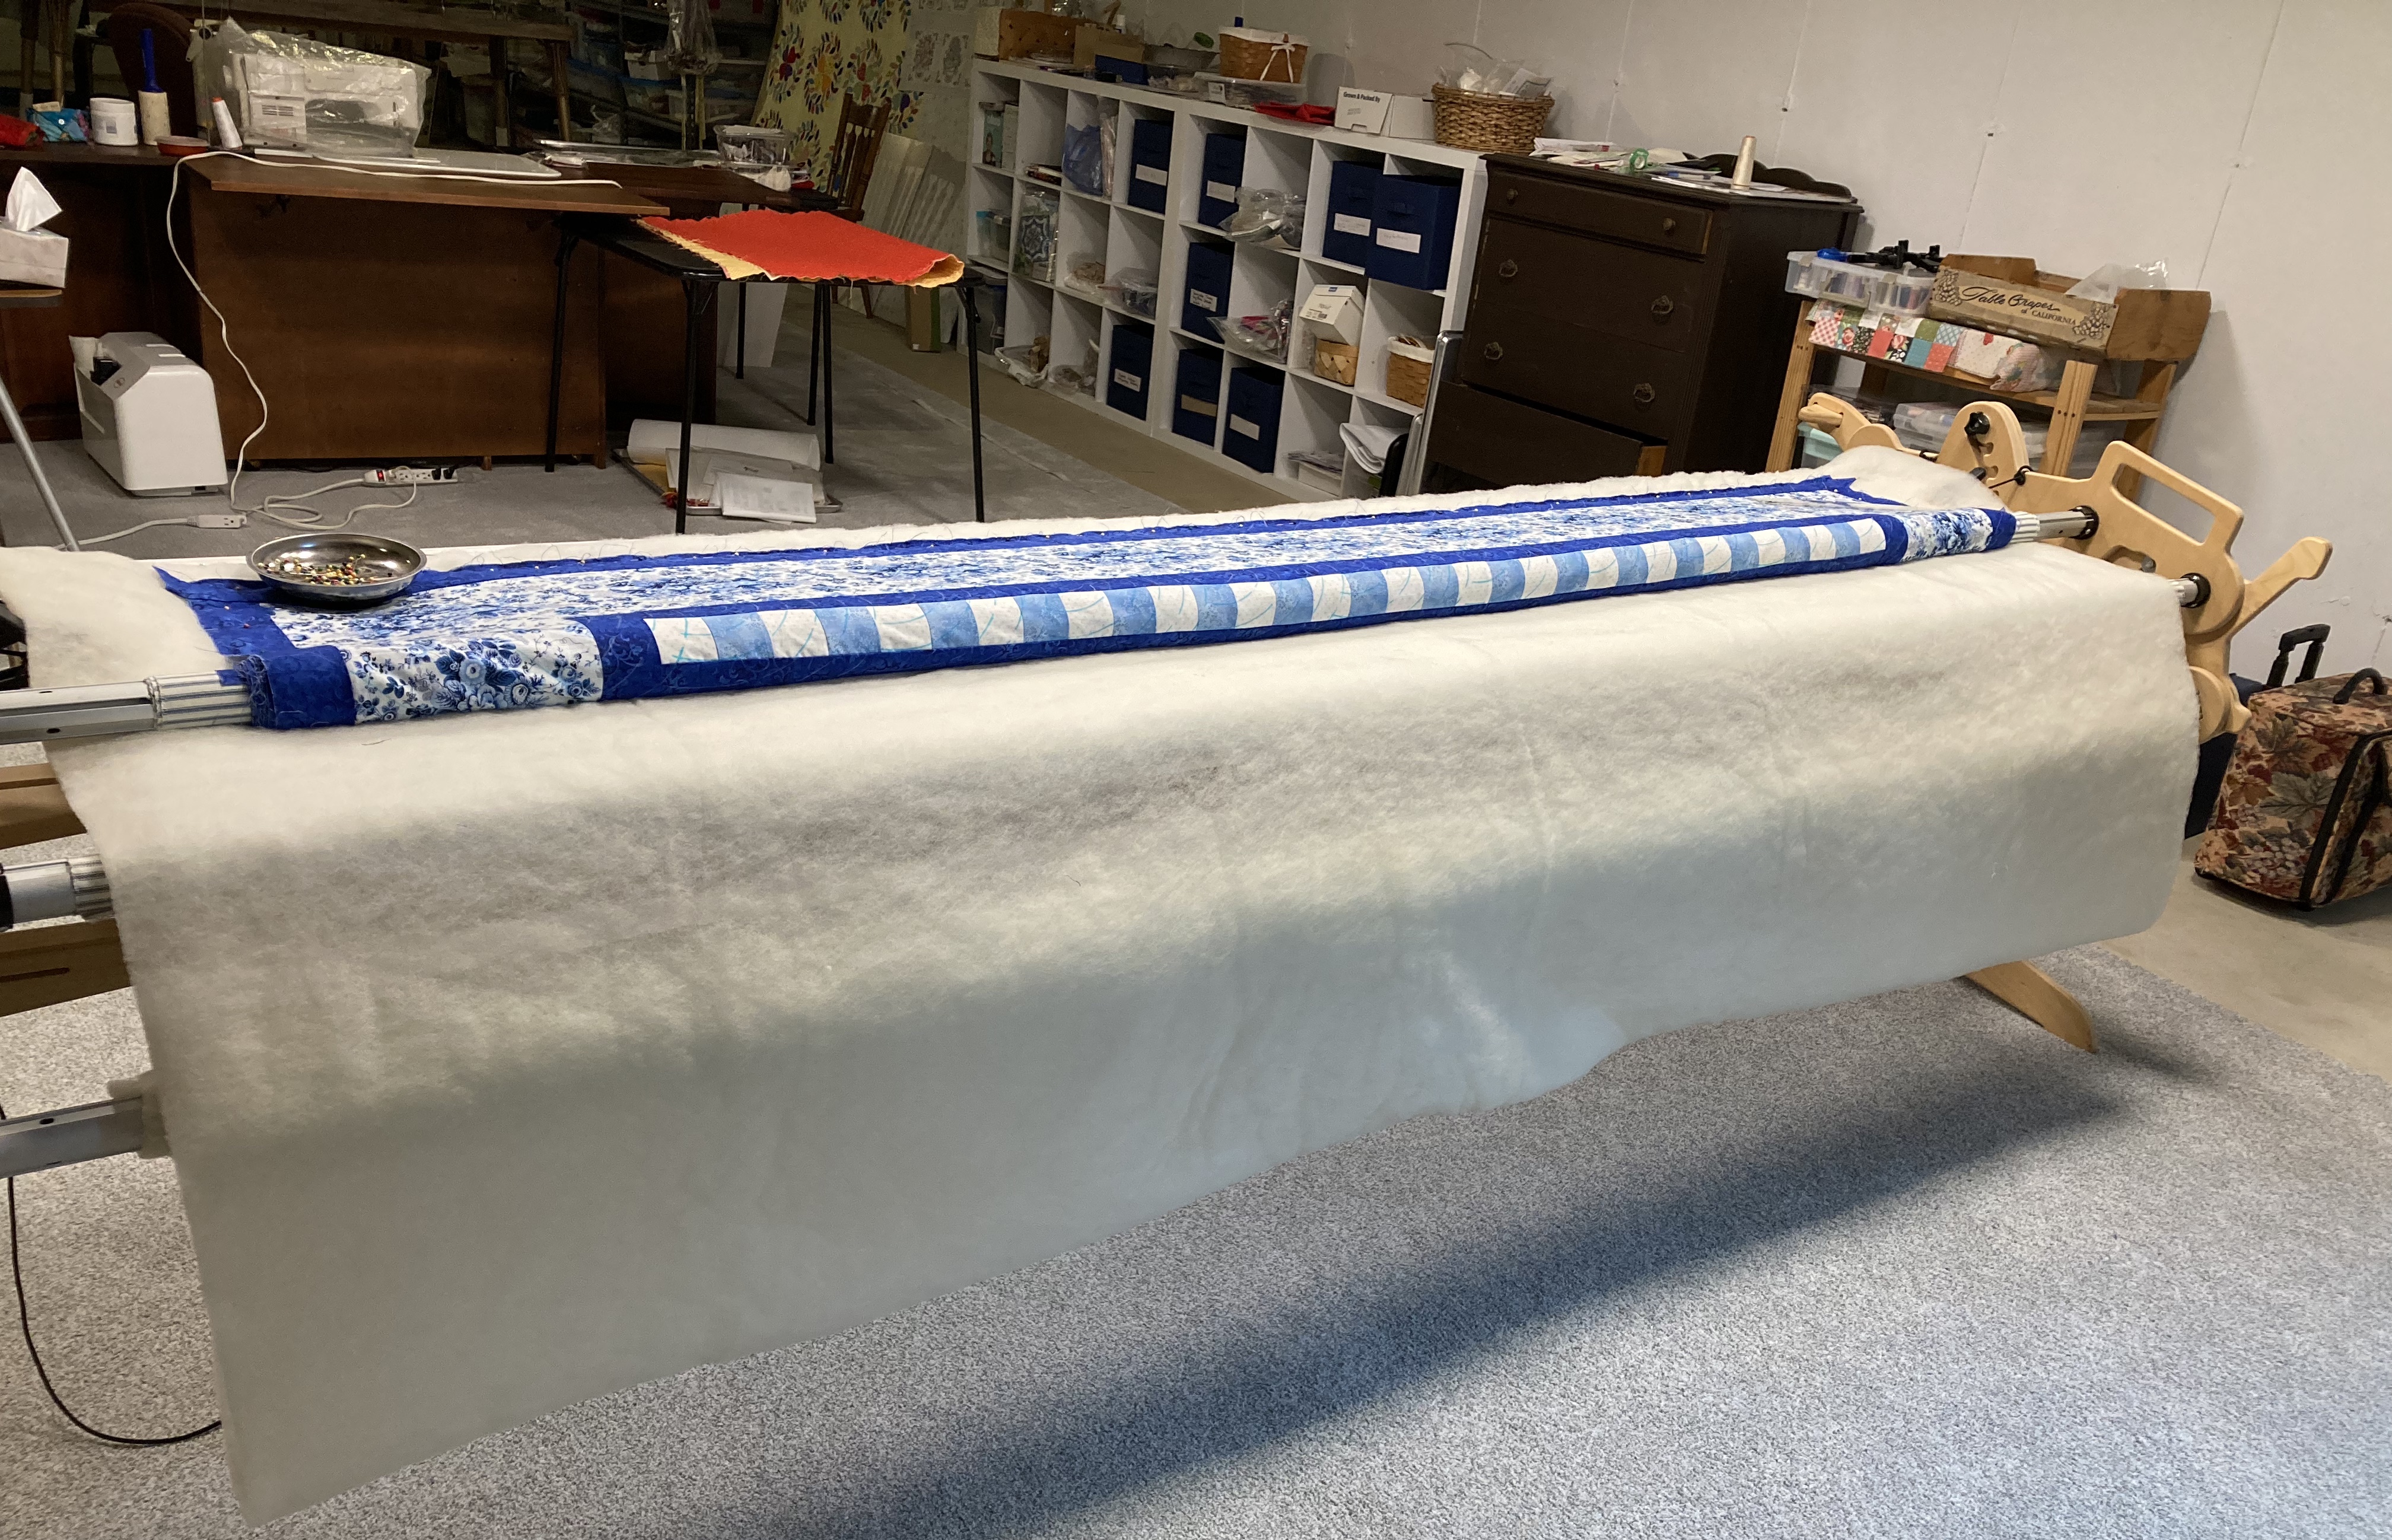
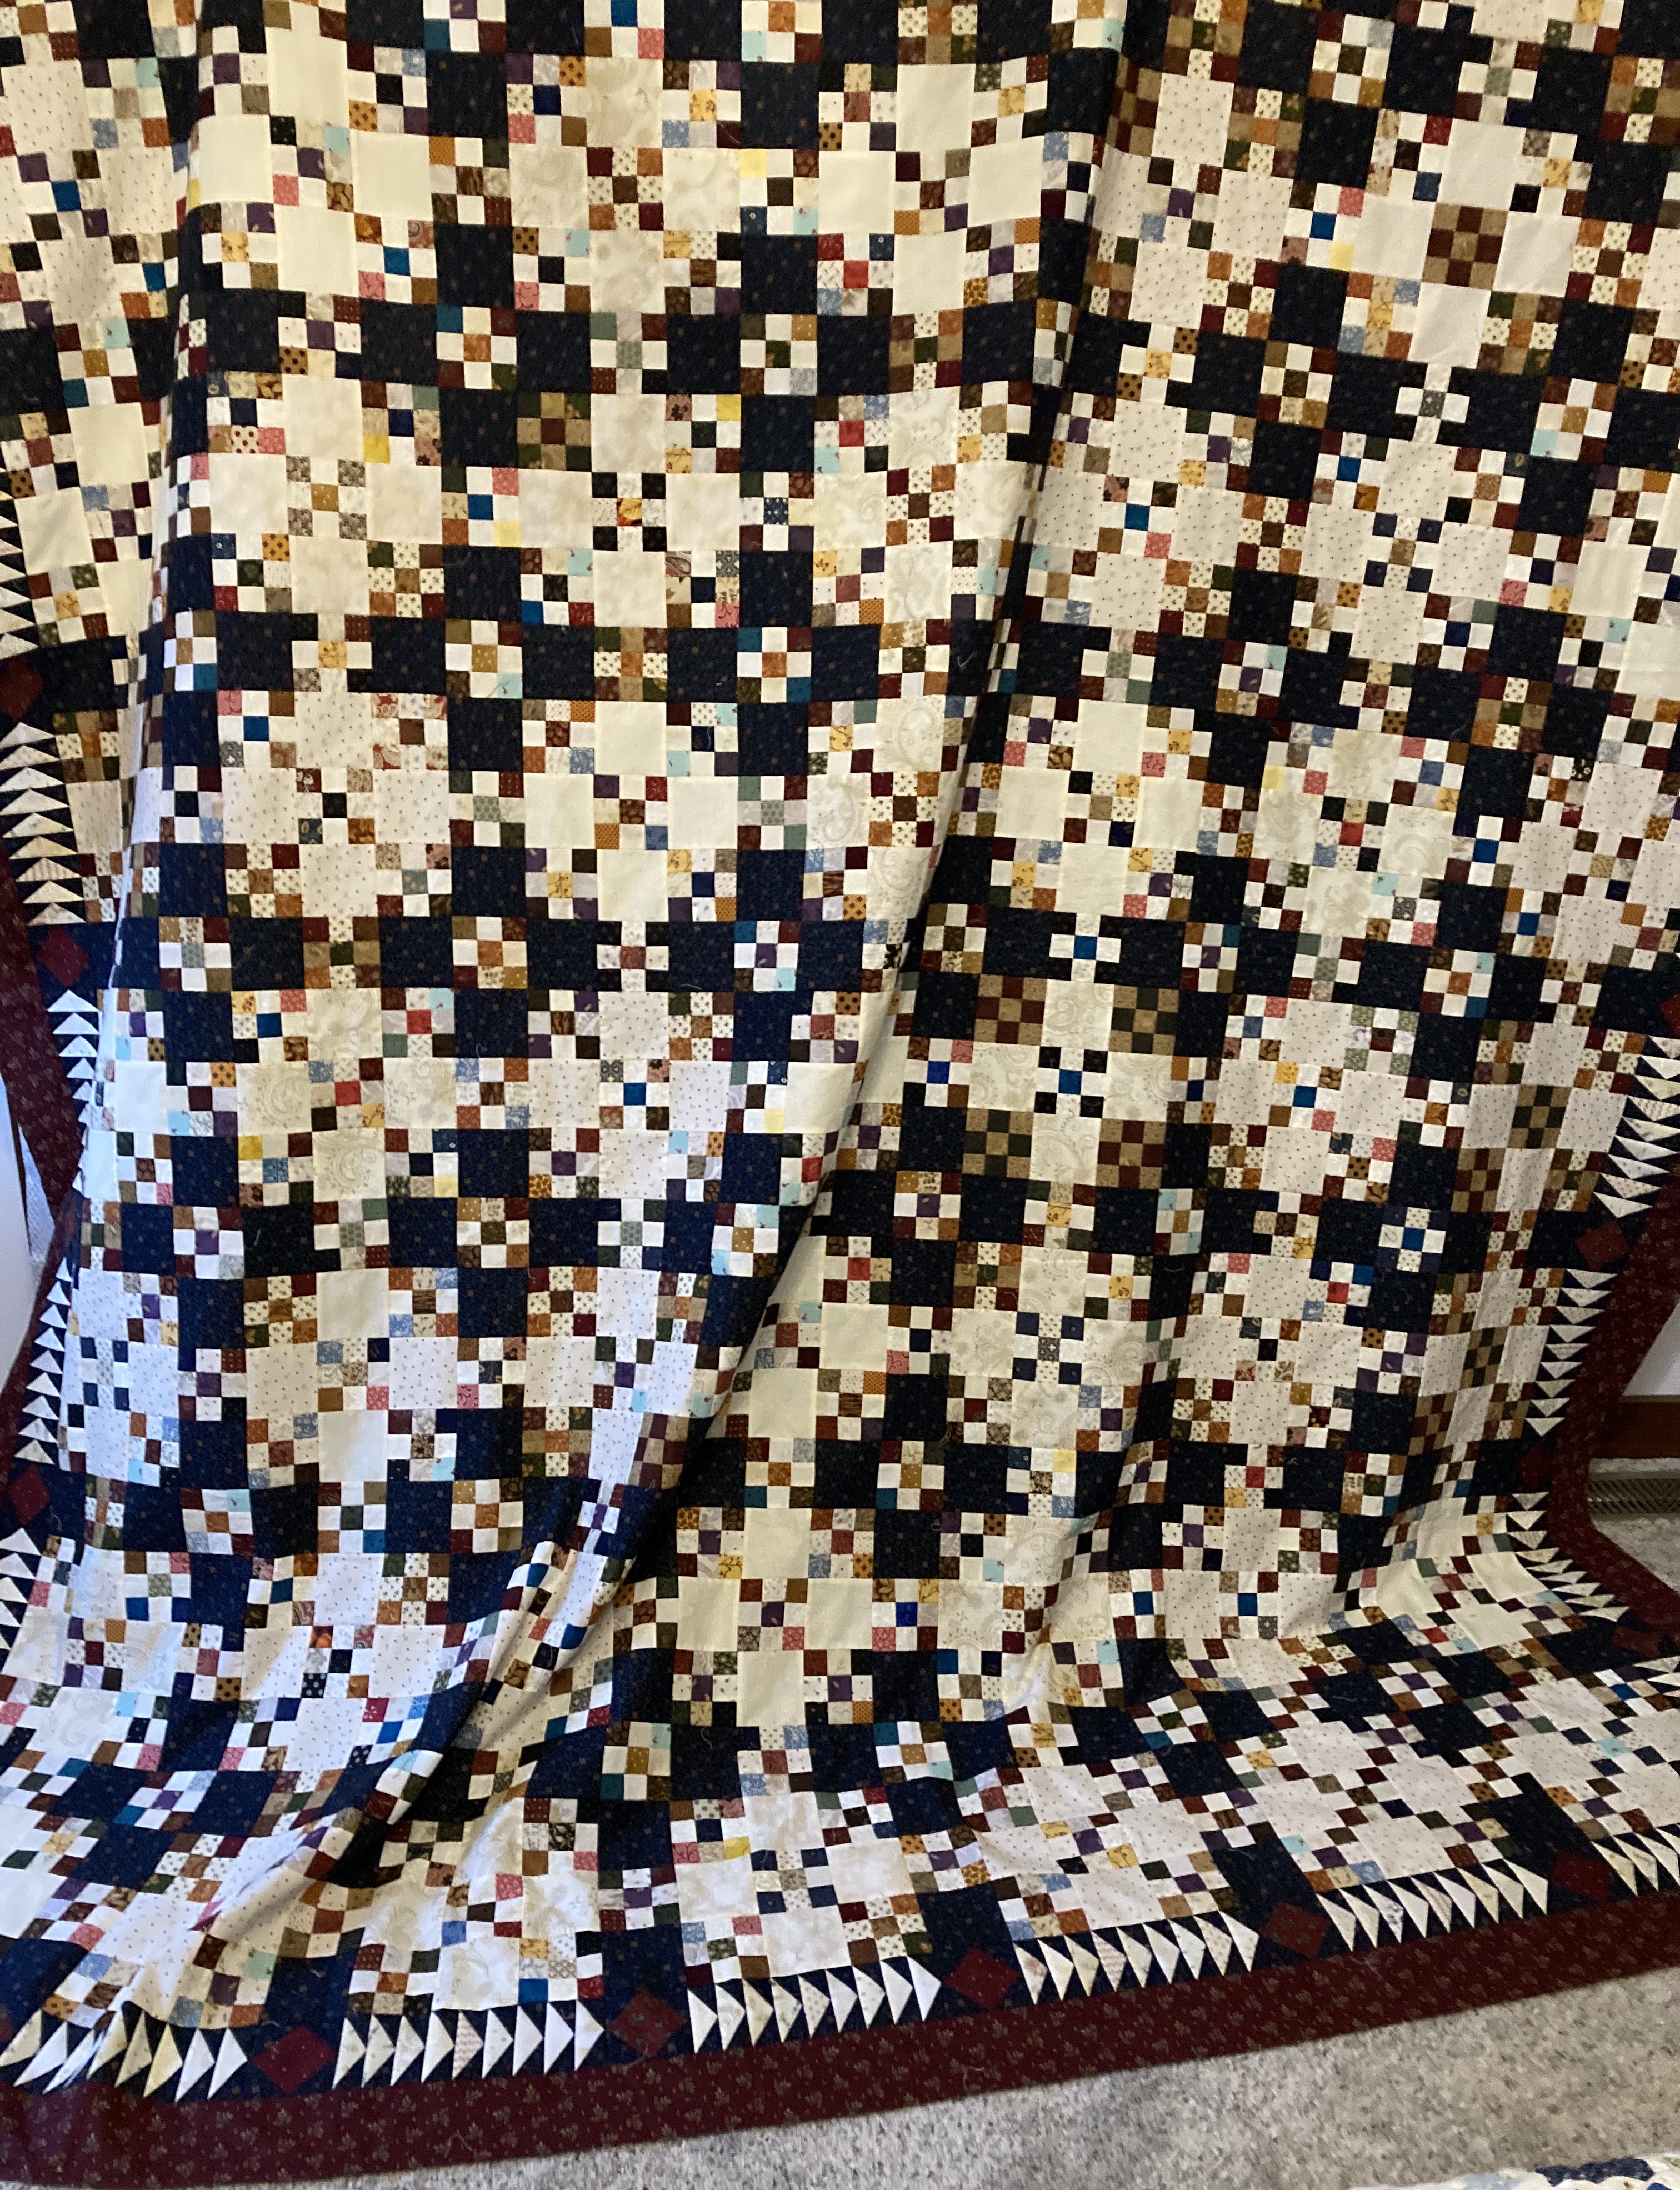
So follow along while I put Lady Jane into my quilting frame. This is a process that can take several hours. Time and care spent carefully installing your quilt is important, at least to me. I would imagine a long arm quilter would say the same thing.
My frame has 4 rollers, roller 3 (going from the front of the frame towards the back) is for the backing fabric.
Lay the backing fabric on the front roller then pull under the second roller. Start to pinning it in place on the 3rd roller. Make sure your fabric is wrong side up!
After it's pinned in place, I measure to make sure the sides of the roller are evenly space from each edge. Very important to have your fabrics centered!
Then I pin to the front roller, again making sure the fabric is centered and evenly space from the sides of the frame. After the front side is pinned, I carefully roll the front roller and roll the backing fabric onto the front roller. I'm smoothing the fabric as I roll and make sure it rolls evenly. One the fabric is on the front, I can adjust any unevenness onto the back roller.The below picture show all the fabric rolled onto the front. The ticking fabric roller in the center is the roller the top of the quilt will pin onto. The ticking fabric in the back is for the batting.
Once you have all the unevenness pinned out, roll the fabric from the front roller onto the backing roller (roller #3).See how nice and smooth the backing fabric is? This is what you are aiming for. Measure the front again and make sure it is centered.Now you're going to add the batting layer. From the backing, pull the batting toward the front UNDER the top roller. Make sure the batting is centered then pin in place.
Evenly spread the batting in the back so it isn't wrinkled.I don't pin the batting onto the 4th roller yet, that won't happen until the quilt top is is in place.Now we're finally ready to install the quilt top. I mark my quilting before installing but some quilters mark as they quilt. Again, that is your preference and there is no right or wrong way.
First I pin the quilt onto the front roller, on top of the batting and backing fabric. I always let an inch or so of batting show because that's my preference.
Measure again and make sure you're keeping the front roller centered. I can't over stress how important it is to be centered for even rolling when you are quilting!
Once that is pinned in place, I pin the other end onto the 2nd quilt roller, again I measure to make sure it evenly centered.
Now it's time to carefully roll the top onto the 2nd roller.After the quilt top has been rolled onto the 2nd roller, you roll all 3 layers onto the front roller. If you have any fullness in the quilt top after rolling, repin the quilt top to the 2nd roller. After you are satisfied everything is smooth, roll the 3 layers back onto their respective roller. I told you this is time consuming but you will be so glad you spent this time being careful. It really makes a difference when you are quilting.
Now the side clamps are fastened and I baste through all 3 layers along the edge of the quilt top as far as I think I can reach.
Since the top has been loaded, now I can pin then roll the batting onto the 4th roller.
Do you trim your batting before you put your backing and quilt into the frame? I don't. I trim after the top is pinned into the frame but only where the quilt has been basted. I trim after each roll.I don't cut the patting off, I just lay it to the back. When it gets too long, then I cut it off.
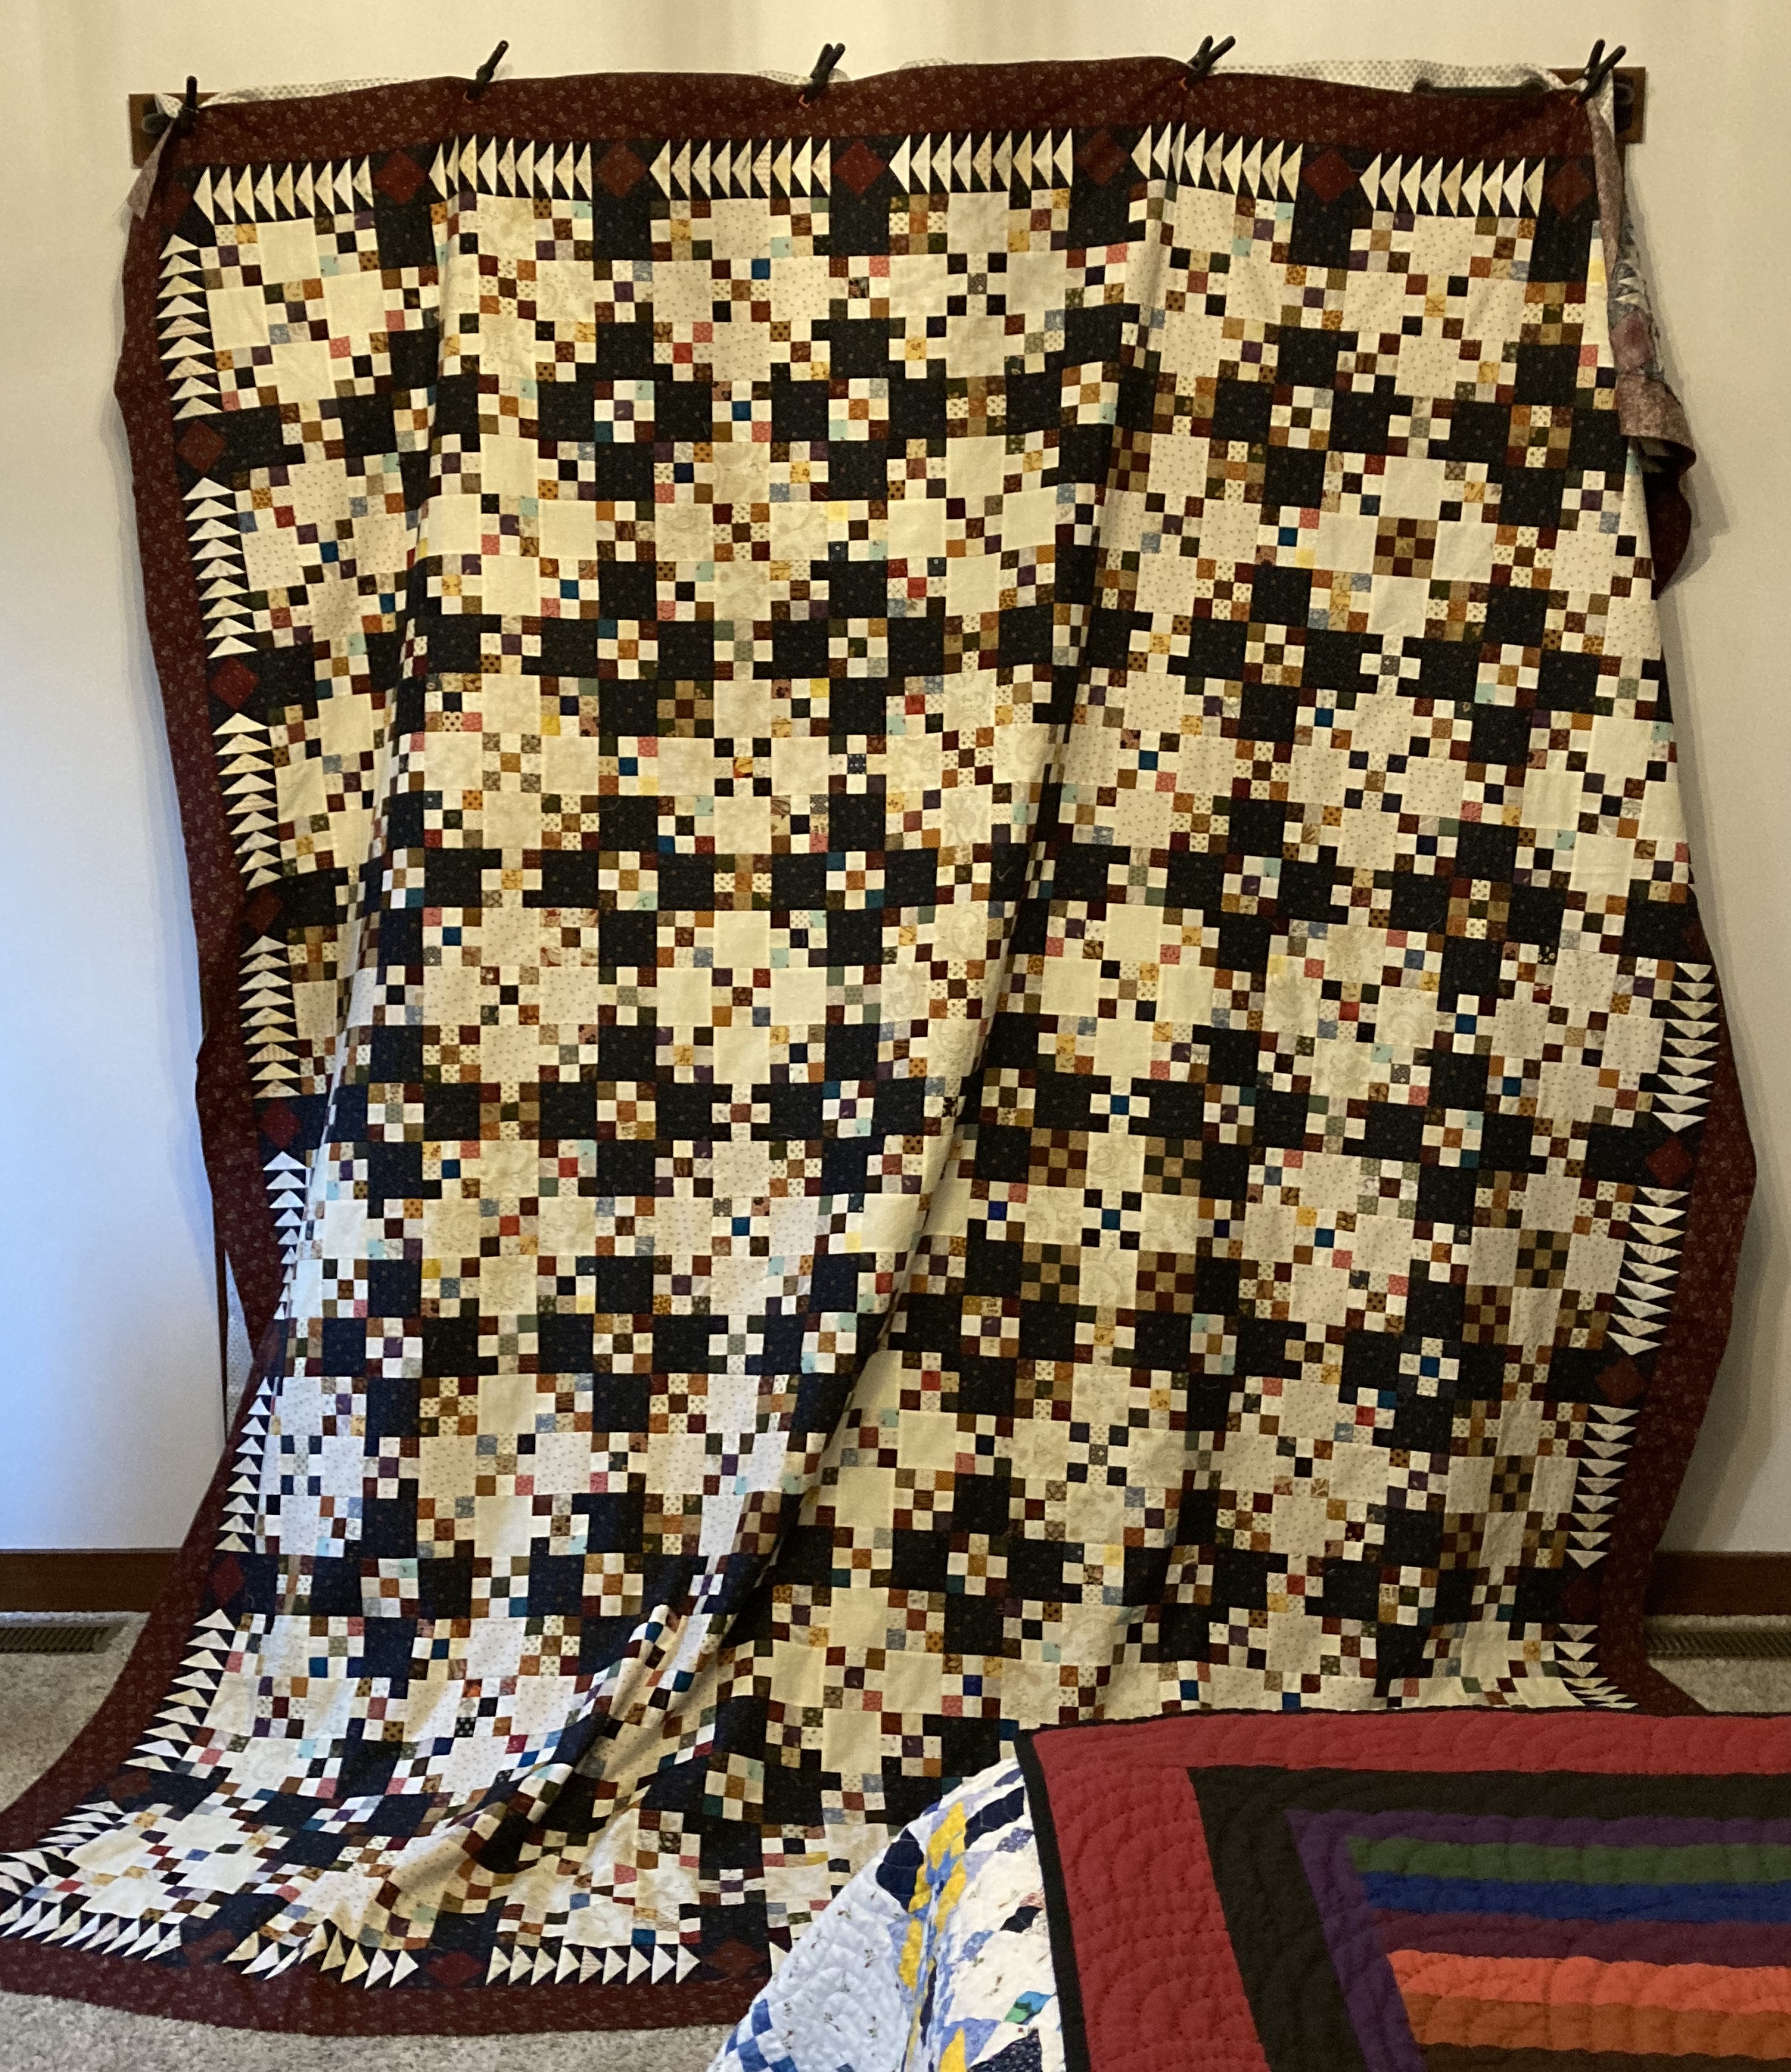
The quilt is ready to be quilted. I subscribe to Brit Box and decided Downton Abbey is the perfect drama to watch while quilting Lady Jane.
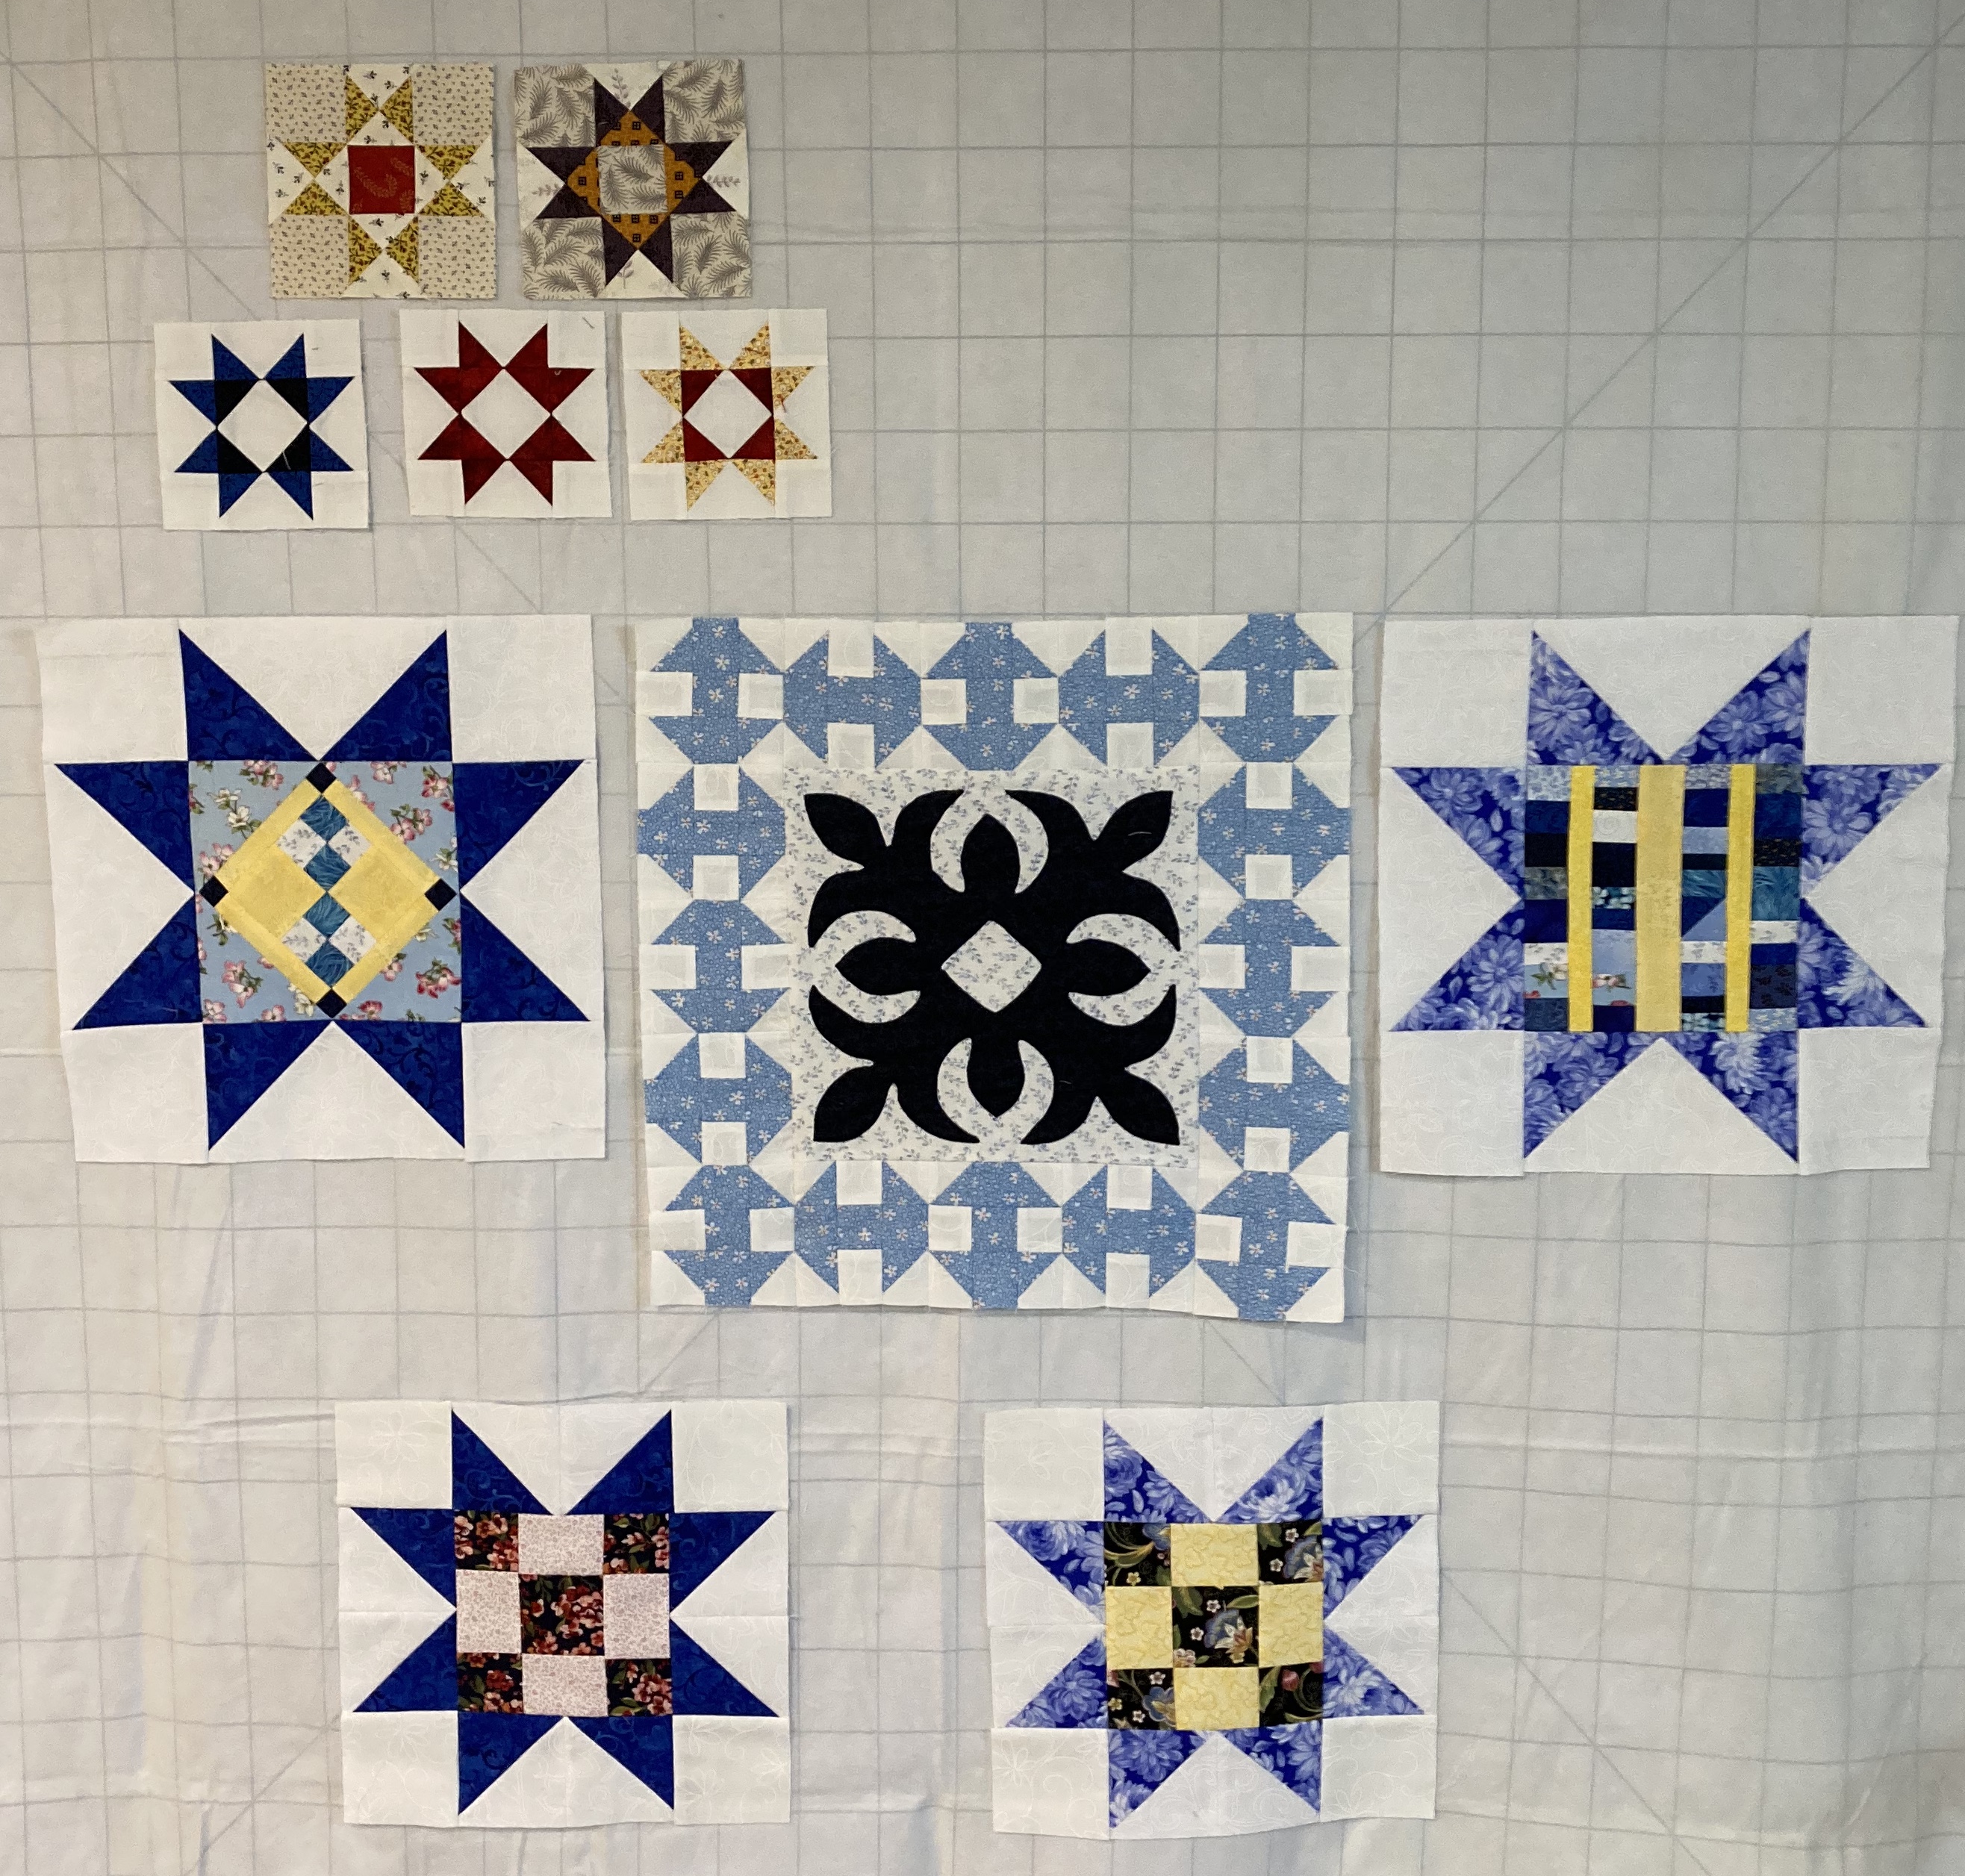
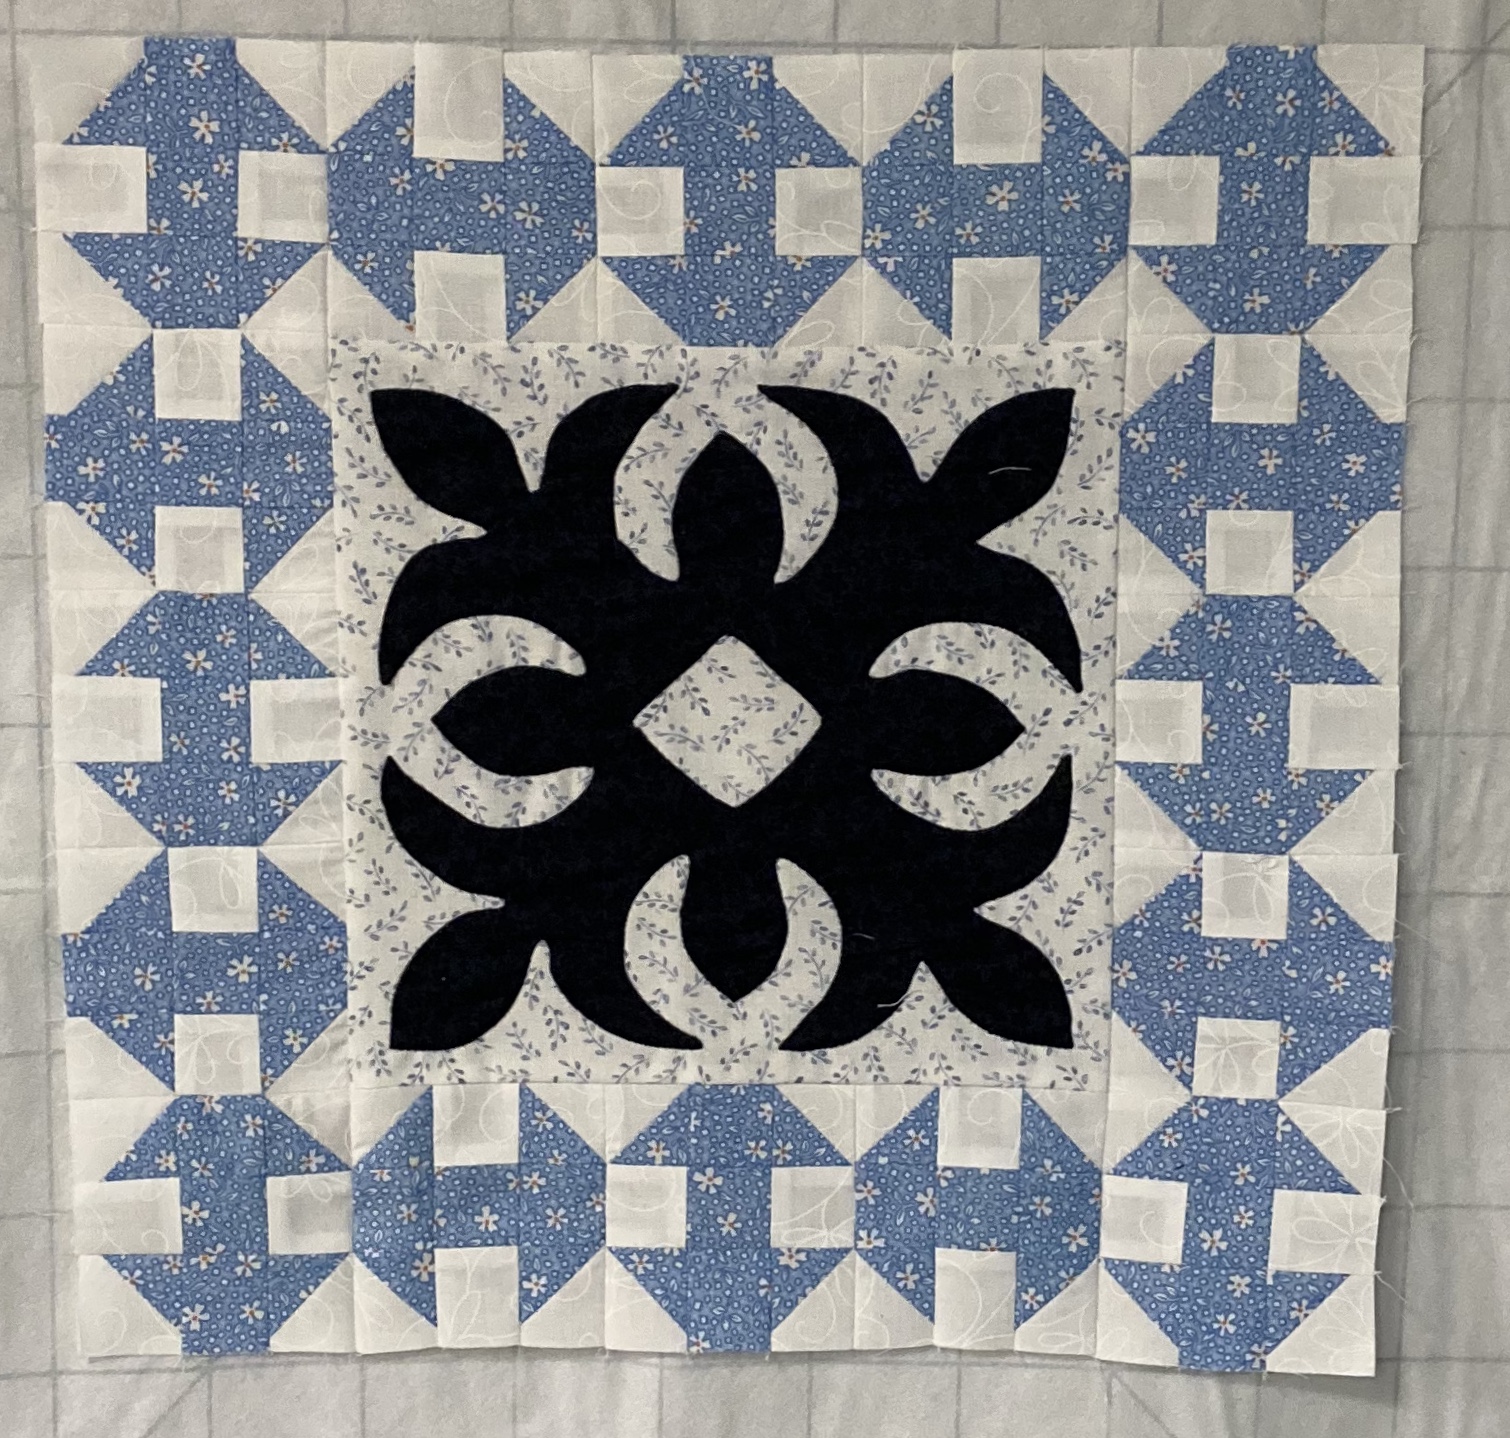
Here is a link to the Lady Jane pattern.
Thank you for reading my post if you've made it to the end.