Friday, July 31, 2020

Masks!

I've taken a slight pause in my machine quilting marathon to make more masks.

Schools will be starting soon and our school district is requiring masks to be worn on the buses and in school. I made masks for our local school age grandson so he will have plenty and one for his little brother too. He selected the fabrics for his masks.


The superintendent of our school system has worked with the local health department and received approval for the plans.

I had made several masks for family back in March. This time around I used a different pattern than from before. 

I got the information from Karen's blog which had a link to Craft Passion. This pattern is in 4 sizes which was handy. I didn't add the nose wire. I also used good quality elastic which should last a long time and hold up to washing.

Tuesday, July 28, 2020

Amish 4 Patch

I had a lot of blocks left from Modern Amish. I took them apart, made 4 patches and now I have an Amish 4 patch quilt.


It was hard to get good pictures, the sun was so bright but I'm not complaining about sunshine. I'm still recovering from the gray dismal lack of sunshine last winter!

I had originally thought about using black for the alternate squares but thought it would be too dark. I found yardage of blue Kona in the solids tub, perfect! 


The quilting is 1/2" from the edge of the seams. I see now I missed a quilting row 1/2" from the edge of the bottom border. The border edge is stitched in the ditch. Oh well, I'm calling it finished.


I had 4 patches left so I used them on the back of the quilt. Those spots are from the dew on the grass.


Becky, from Quilted Twins, always has a quilt roll photo so here is my roll.


I took the pictures of Amish 4 patch and Modern Amish the same day. After the photo op, I washed them, then hung them on the line to dry. Of course I took a picture! After washing, Amish 4 patch measures 58" by 70".

Linking to To Do Tuesday, Midweek Makers, Wednesday Wait Loss,  Needle & Thread Thursday, Free Motion Mavericks

Sunday, July 26, 2020

It's A Vintage Boston Commons!

Last Sunday I received an email from Susan McGirr about the name of my quilt. Here is the information I received from her.

I believe the name of your quilt is Boston Commons.  I have a quilt from the 1930’s that looks very much like yours.  I have always known it by that name.  When I first got it I had researched the name of the pattern and believe I found that name through Barbara Brackman’s books or website.  I know in recent years Eleanor Burns has done a quilt by that name but the pattern is different and looks more like a rectangular Trip Around the World.  That may be why people are confused.  I will attach a couple of pictures so you can see the similarities in the quilts.


Hope you find this helpful.   Your quilting is lovely.  The squares in mine are quilted in a grid and flowers are quilted in the white bands.


Thank you Susan!  She included a couple pictures of her lovely quilt. I downloaded both of them but I can only find this one picture. Oh well.


Here is a link to a quilt I found on Pinterest 30's Boston Commons.

If you're interested in piecing a vintage Boston Commons quilt, here is a link to Kevin's 2019 Simply Sensational Summer Scrap Quilt

Now onto the hand quilting progress made on my quilt this week.


I hadn't marked the pieced border or section before I started the quilting. I just didn't know what I wanted to do but decided to start the quilting and the design would come to me.

I had this old corner stencil and thought maybe that would work since there will be some feathers on the inner border. Well, the quilt did NOT like this design, it actually yelled at me and said NO! NO! NO! NO!

So I asked what design do you want and was told the Baptist Fan design. Isn't that kind of overkill? The fan design is already on two other parts of the quilt but that was what the quilt wanted so that's what I'm quilting on the inside design too.

This is the right side of the quilt, note the fan design in the outside white border and the pieced border.

Here is a view of the right side looking toward the center.


The center doesn't make sense yet since you can't see the feathers, they'll be quilted after I roll. I wasn't able to evenly mark the center because of the puckers in the center of the quilt.

I've added another thread color to the group. Do you see the triangle squares along the edge of the pieced section? That fabric is not white white, it's an 'old' white. I'm using a slightly off white thread for stitching in the ditch along the edge of the white section and also for quilting the white fabric .


Here's a picture looking from the center toward the left.

Friday, July 24, 2020

Modern Amish Finish

For the last several weeks I've been machine quilting flimsies with my sewing machine. My quilting isn't very advanced but it gets the job done. The next several posts will be about finished quilts.

The first flimsy to be quilted is Modern Amish made in conjunction with RSC except I was impatient and sewed ahead.


I stitched in the ditch vertically and horizontally around the blocks then quilted diagonally both directions through the background fabrics using Glide gray thread. I thought about using black but that seemed too dark. Maybe the gray is too light but it's what I had on hand.


It's interesting how my shopping habits have changed, a year ago I would have driven to the fabric store and purchased a darker gray thread. Now I just use what's in the thread box.

A dark gray floral was used for backing fabric. White thread was in the bobbin so the quilting shows on the backing fabric.

The original pattern, called Sound Check, comes from McCalls Quilting, March/April 2014 magazine and was designed by John Kubiniec. 

After washing, my finish measures  58" by 81". This is the largest quilt I've quilted with my sewing machine.

Becky from Quilted Twins always displays a quilt roll so here is my quilt roll.


Tuesday, July 21, 2020

Dishcloths

One project I don't blog about is my knitting skill. I see other bloggers showing their socks, sweater, afghans and other lovelies they knit.

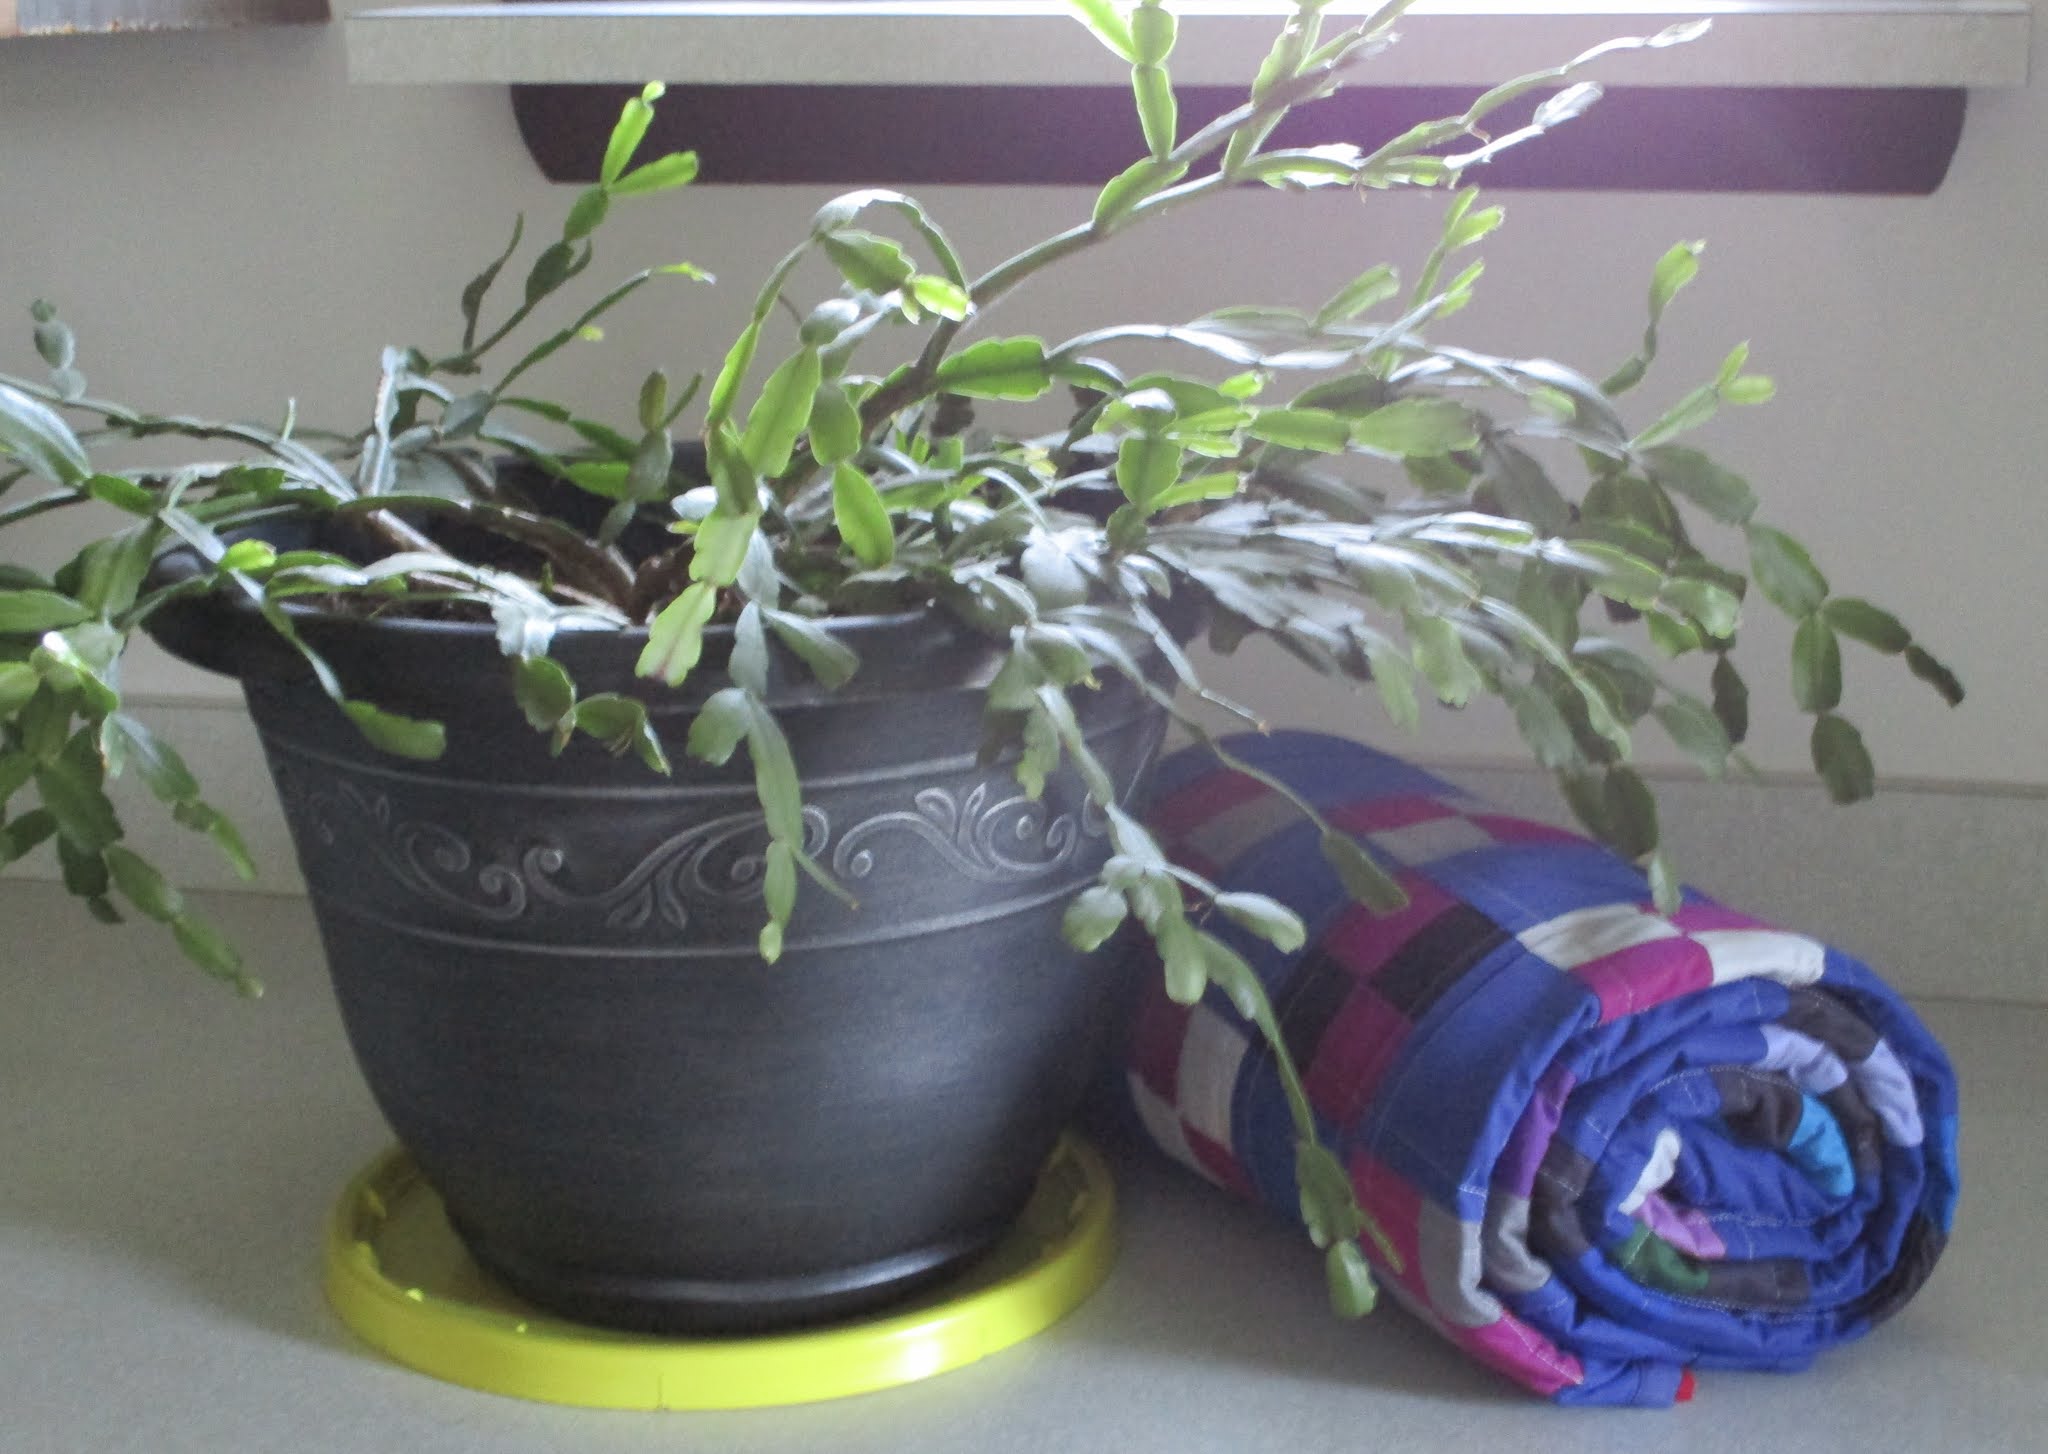
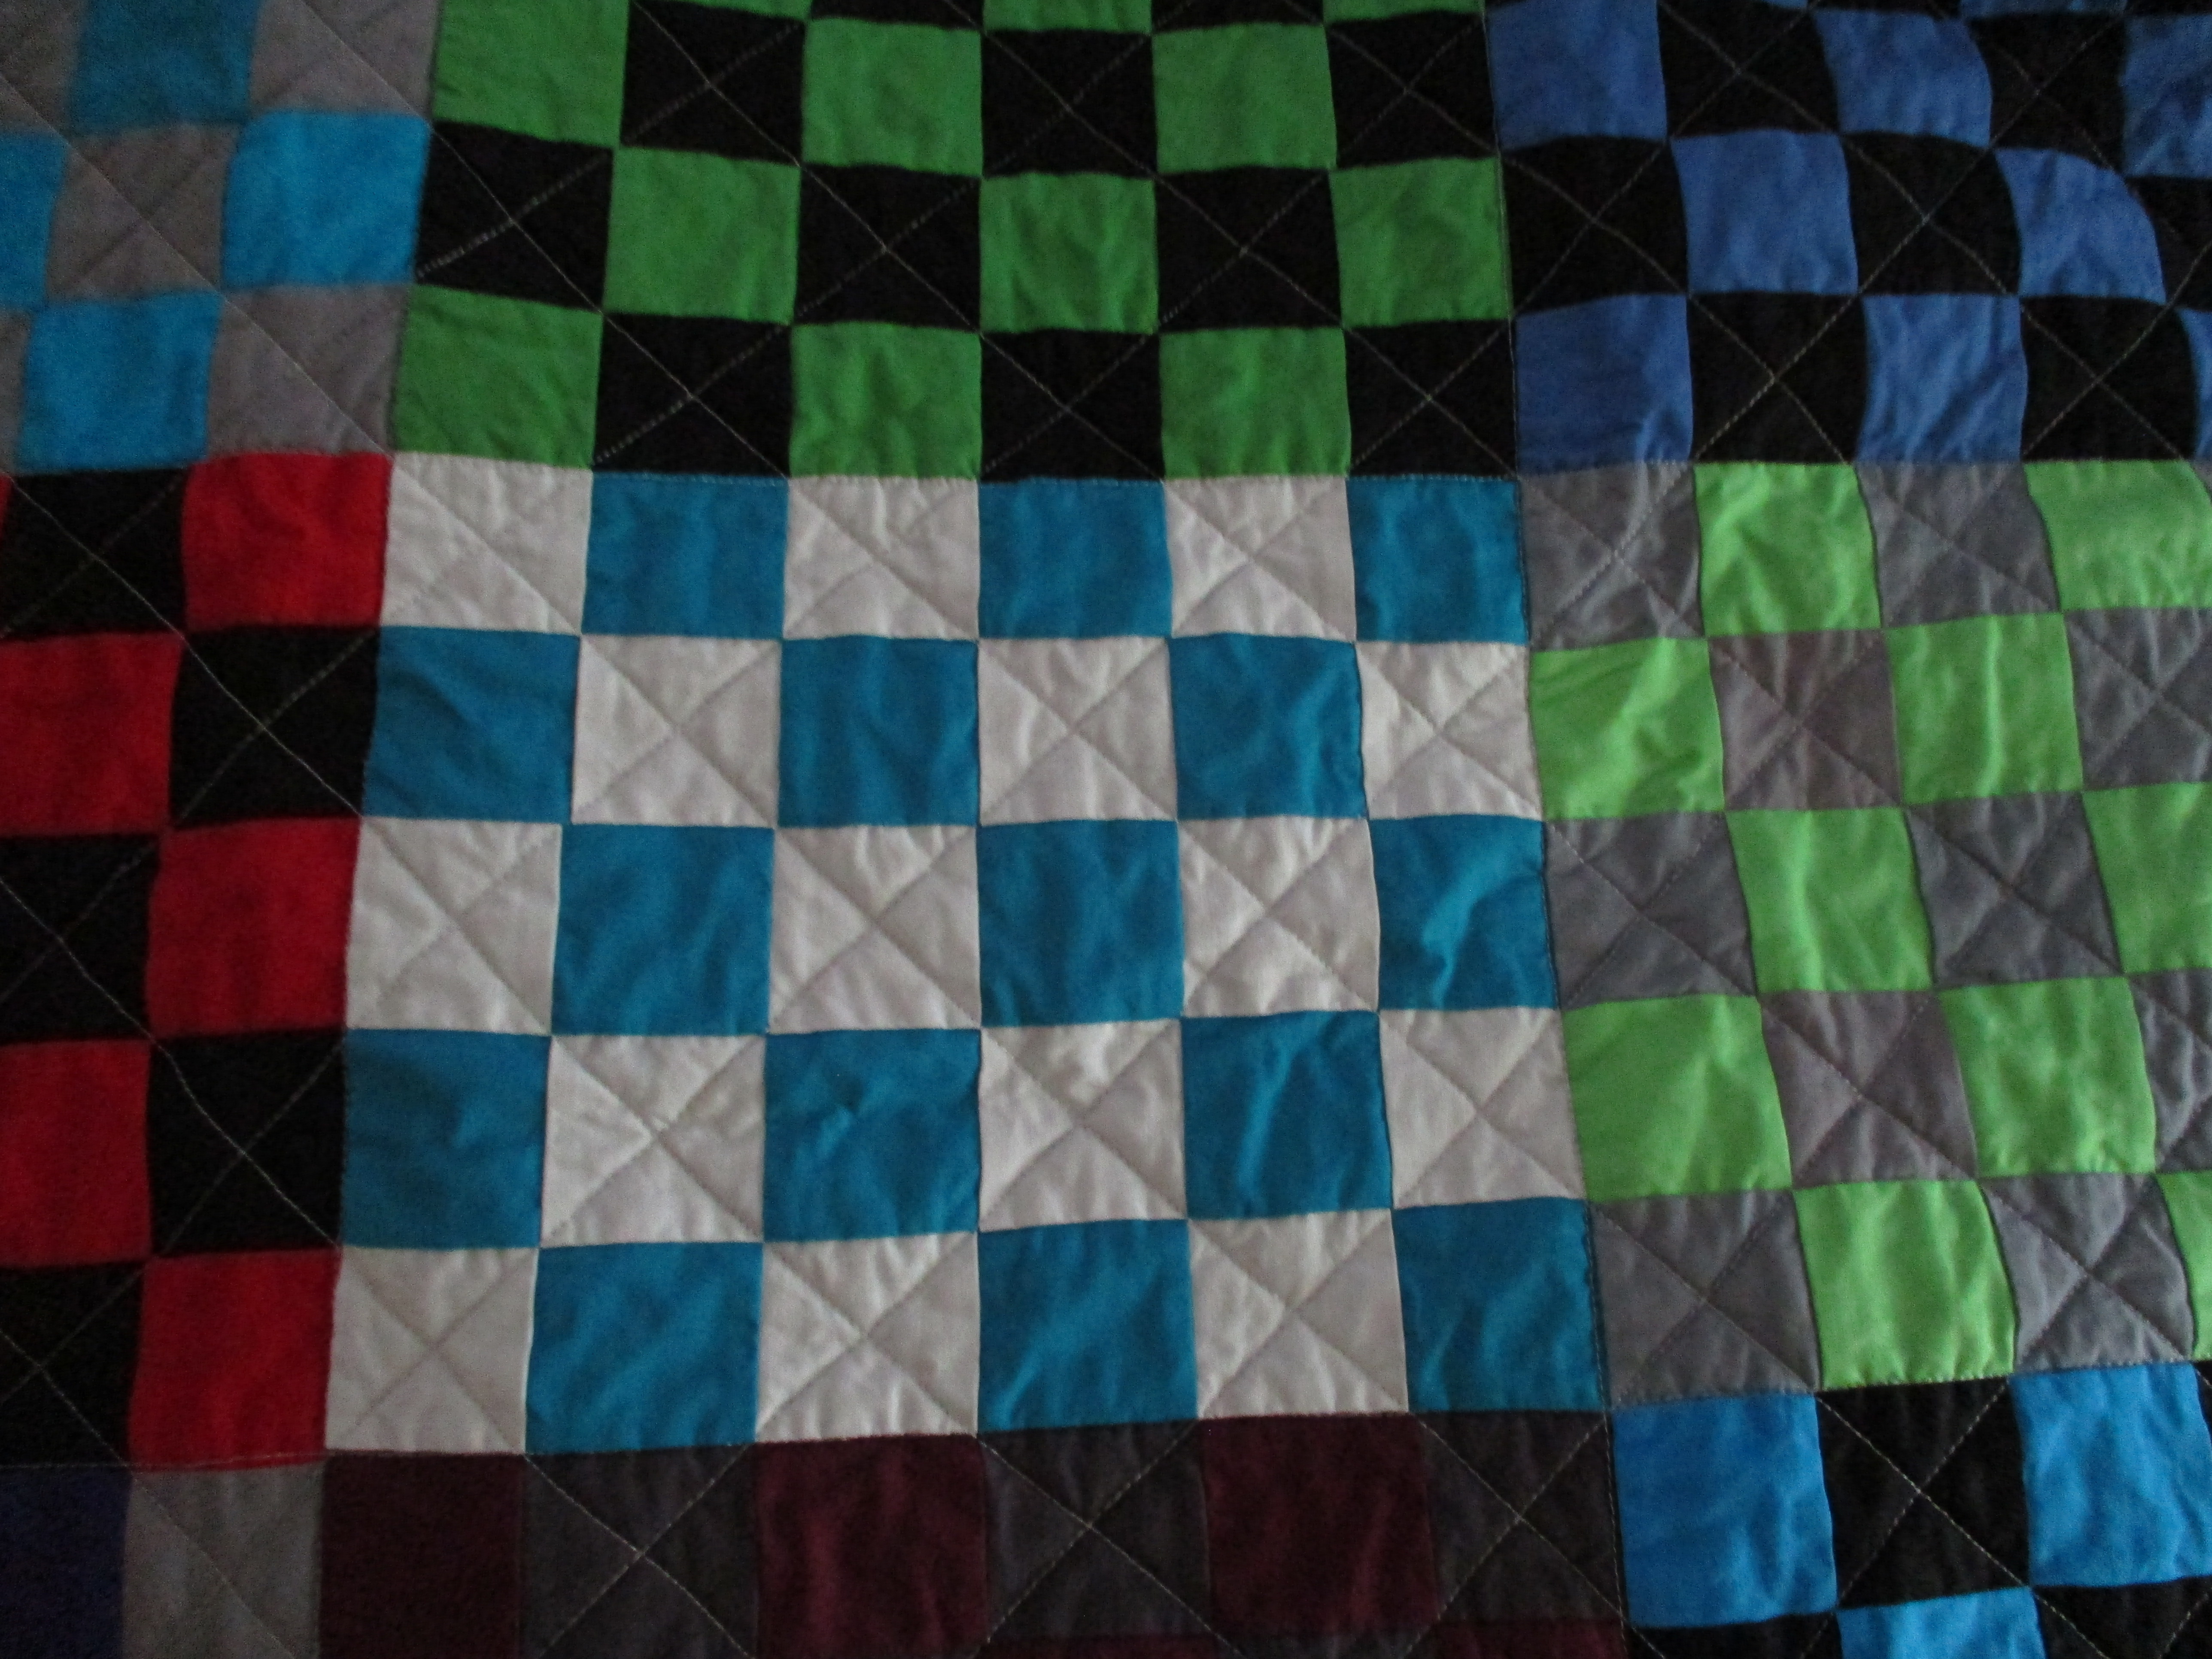
I don't have that skill level, maybe I would if I didn't prefer to make quilts. Some evenings I'm tired of quilts and just sit and watch TV. Of course I can't sit and do nothing so I knit dishcloths.

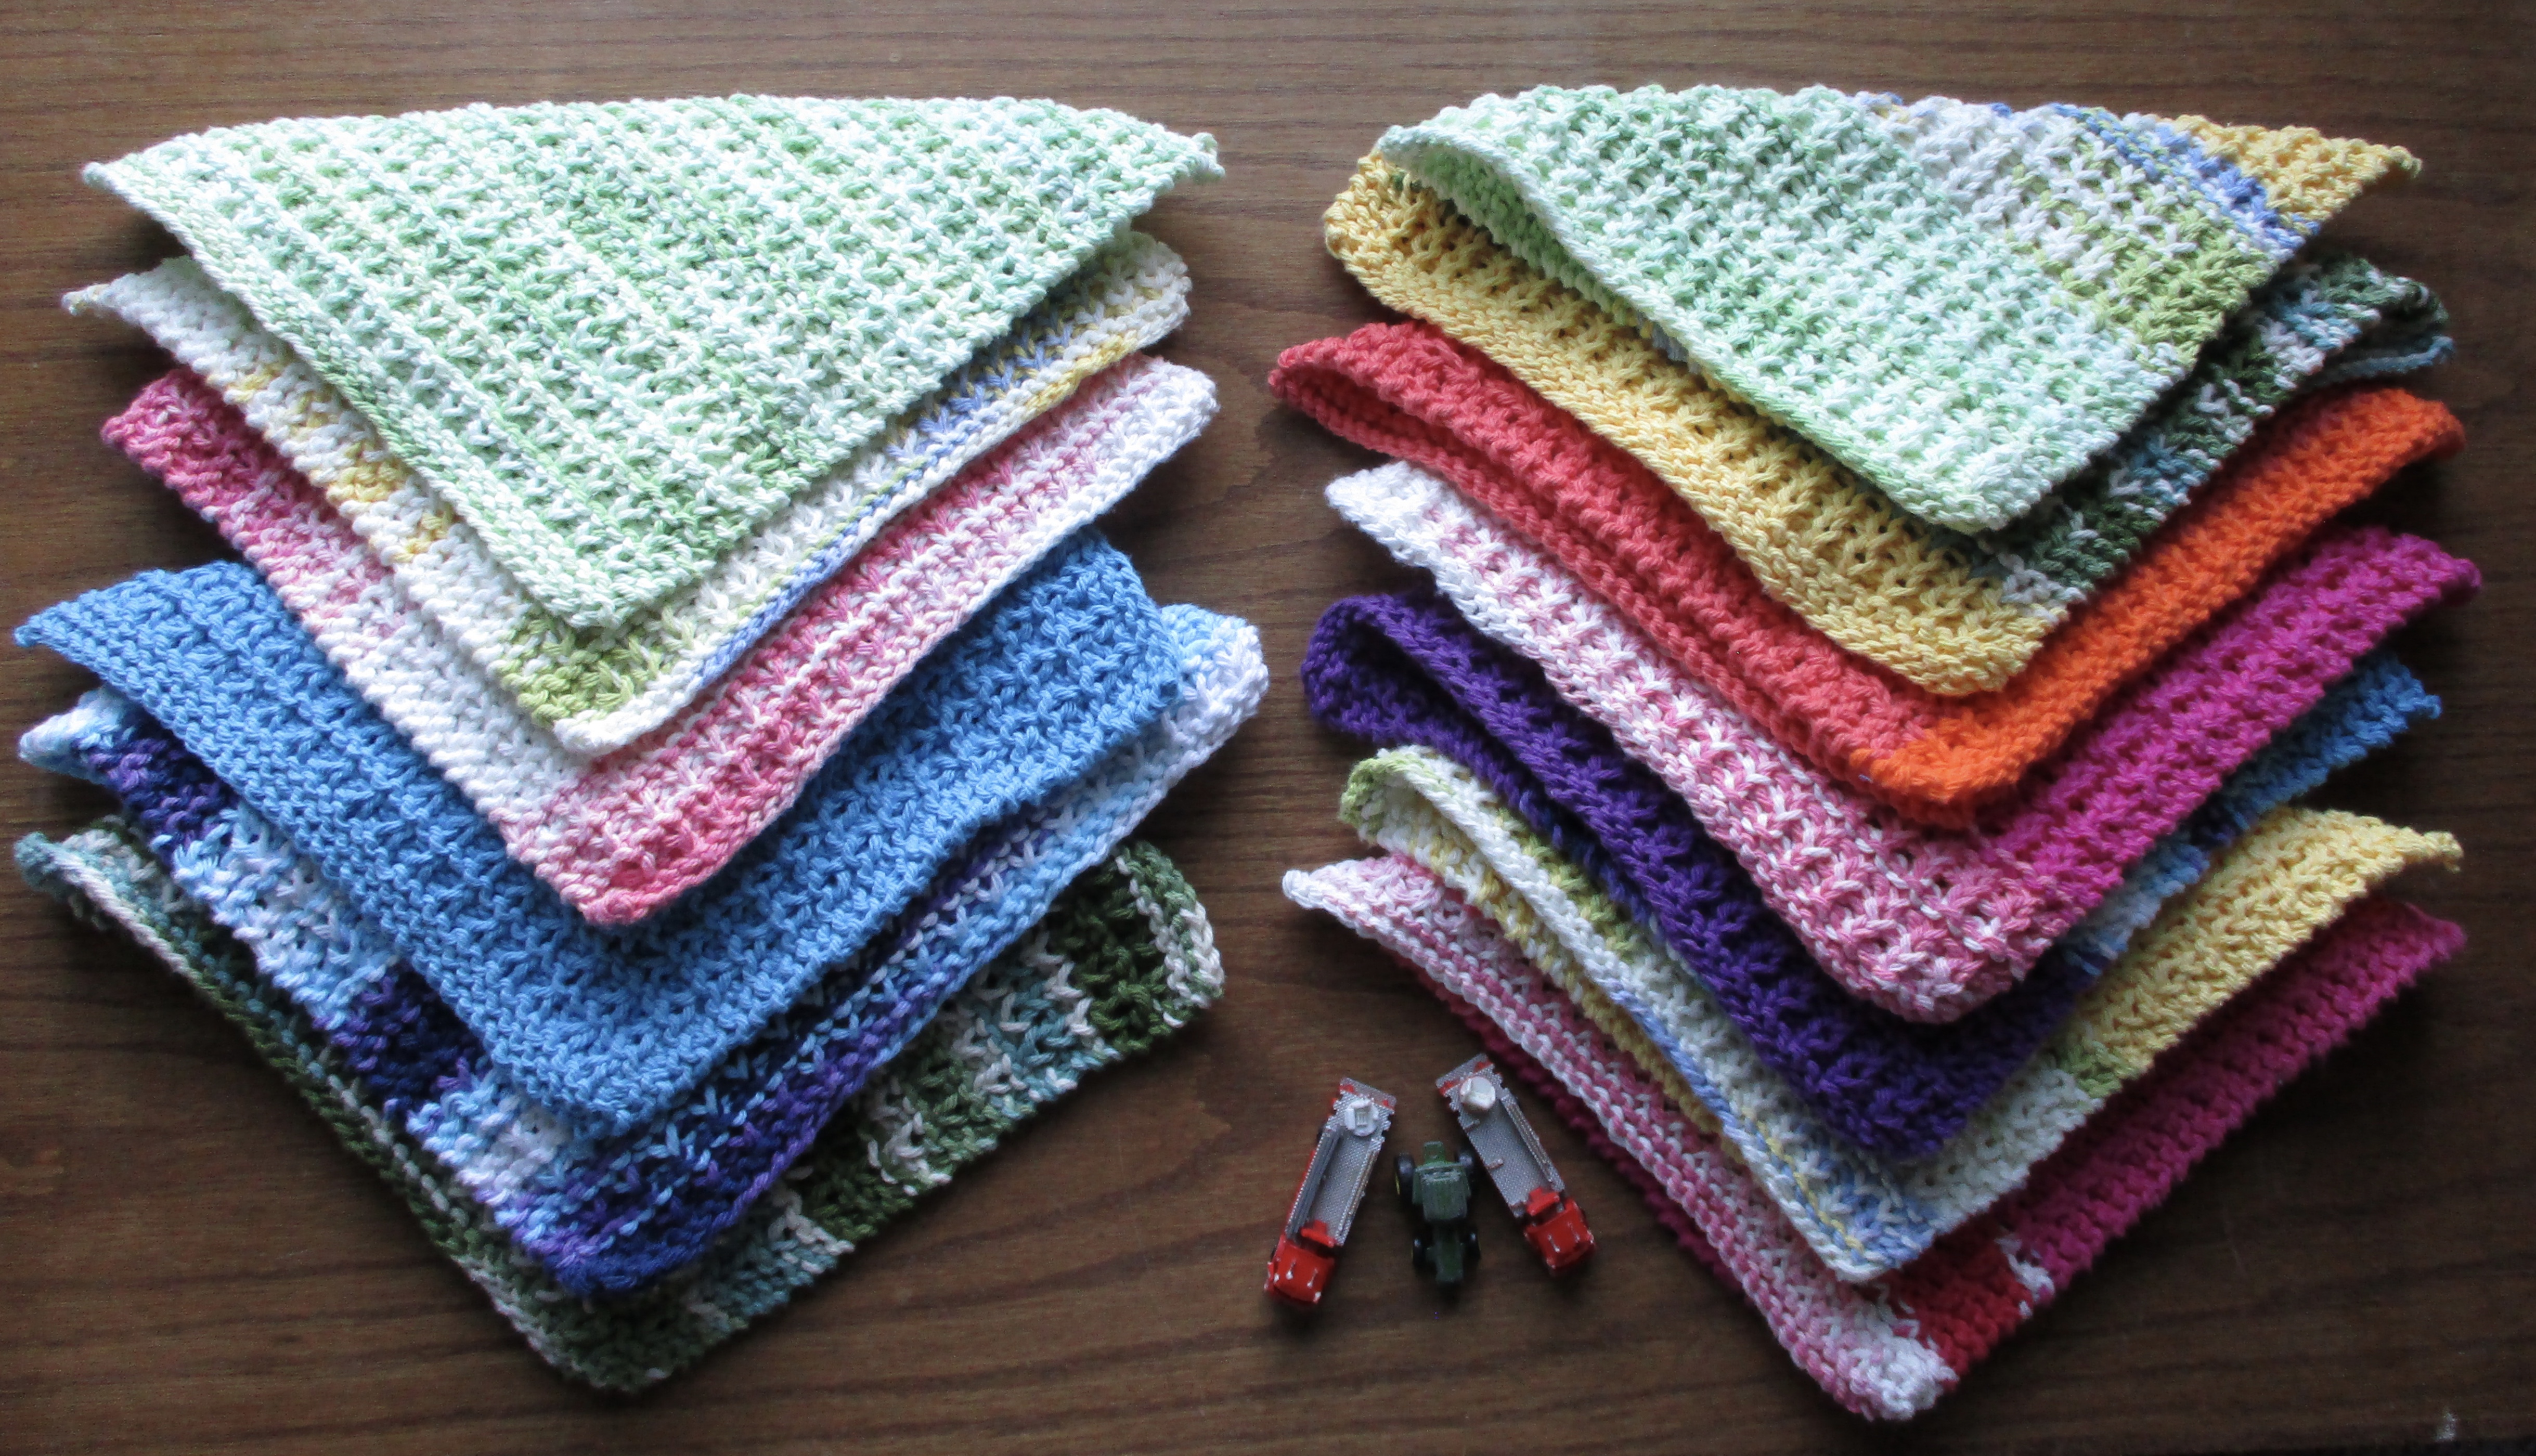
Dishcloths make nice thank you gifts. After I finish one, I just lay it on the pile upstairs in my sewing room. The other night I brought the pile downstairs then wove the threads into the cloths. I decided to take a picture and show you what I've accomplished over the last year.


I use Lily brand cotton yarn. There is always yarn left from a skein so some of the cloths have a several rows of leftover yarn added for some contrast.

I have no idea where the above pinkish skein came from and it really doesn't match the variegated edge. There probably won't be enough of the pink to make a full sized dishcloth but I'll just make it smaller. I'll keep it for myself, it will wash dishes just fine.

The large cone of variegated yard came from a Ben Franklin store in Bowling Green, Ohio. I purchased it before 2008 along with several other cones. This is the last one to be used up. Cones make a LOT of dishcloths!

I don't know where I found the pattern I am using now, I do know it was a free pattern from where ever I found it. Seed Stitch Dish Cloth - With a size #6 circular needle cast on 40 stitches. Row 1 & 2 – knit. Row 3 & 4 – Knit 2 *K1 P1 repeat from * across to last 2 stitches k2. Repeat rows 1 – 4 for pattern until measures 9” (same as bottom edge), ending with Rows 1 & 2. Bind off.  

I've started using a size 4 needle so the knitting is more tight. This does make a smaller dishcloth but it's still larger enough to get the dishes clean.

Sunday, July 19, 2020

Slow Sunday Stitching the Resale Quilt

I'm surprised, no one has told me the name of this quilt! I'm sure someone out there knows. One commentator mentioned a variation of Boston Commons which makes sense but there has to be an official name somewhere! For now I'm calling it the Resale quilt.


For the outside border, the quilting is Baptist fan. Notice it curves to the right. This flimsy must have been too small for the original quilter. She added white strips to the outside to make it larger. The quilting seems to have taken care of the puckers in the outside border.


For the pieced border, I've again use the Baptist fan stencil. The corner is marked the same as the white border but the curve is to the left.

I've also stitched in the ditch between the white border and the pieced border on both sides.


The next white border is quilted. The aqua border is also ditch stitched.

Does the white border cable design look familiar? I used the same design for the outside border of Grandma's embroidered blocks wall quilt.

This is a smaller stencil of the same design which I have in 3 different sizes.

I'm using Sulky #12 thread for the quilting.

The variegated pastel rainbow thread is the thread for stitching in the ditch. 

The light gray is the thread for the pieced border and the pieced center.

 The light blue variegated thread quilted the white border. The light blue is the same thread I used on the outside border of Grandma's wall quilt. This quilt stitches so nicely, I'm having fun with the quilting.

This Hand Quilt Along is an opportunity for hand quilters and piecers to share and motivate one another. We post every three weeks, to show our progress and encourage one another.  If you have a hand quilting project and would like to join our group contact Kathy at the link below.

Friday, July 17, 2020

Purple Ohio Stars for RSC!

I'm still piecing Ohio stars for the RSC but since I started piecing these blocks over a year ago, some of the colors have already been made, like blue. The only color I haven't pieced is purple. After reading Cynthia's blog about this month's RSC color, I decided to make purple Ohio stars for July.

These stars are made in civil war fabrics so they're not the bright colors most of you are using. I had originally started making the Ohio stars when I had decided to make Ancient Stars, a Sue Garman pattern.


These stars finish at 4 1/2" so they're small.

I like Sue's quilt but I've have decided I want to make my own quilt in my own style. The purple stars are the last group of Ohio stars to be pieced. Now I'll concentrate on the center medallion.


Tuesday, July 14, 2020

Birthday Books

I have a birthday in July and bought my own birthday present! In June, Connecting Threads had a book sale and I placed an order.

Treasure Hunt and Autumn Bouquet have been on the list for some time. I was just waiting for a sale.


Blue & White Quilts is another book I've been eyeing.


Since the total of these three books didn't meet the minimum no charge for shipping, I also ordered the Best of  Connecting Threads, volume 2. The book was  $2 more than paying the shipping charge. The quilt on the front is very pretty.

So many beautiful quilts are in these books. They've been fun to read and dream about. My 'to make' list keeps getting longer and I keep getting older!

Sunday, July 12, 2020

The New Hand Quilting Project

The next quilt to be hand quilted is in the frame. I purchased this quilt flimsy for $20 from the resale table at the Jane Stickle retreat last November.   


The label on the quilt said 72" square. The seller said she bought it at a garage sale, I didn't think to ask the location of the garage sale. Theresa is from the Indianapolis area so maybe it came from there. I am hoping to have this quilt quilted and bound by the time of the Jane Stickle retreat in November . . . if it happens.

I don't know the name of this quilt design but I know one of you readers knows and will tell me, thank you!

This quilt reminds me of the Simply Sensational Summer Scrap Quilt sew along Kevin hosted last summer but it's not entirely like his quilt. I had planned to make a quilt from Kevin's instructions someday but now I don't need to since I have this quilt!

I just love the colors of this quilt. When I first saw it, I immediately thought 60's, but I don't know if it really is or not. I do know the white fabric used for the sashing and borders is cotton/poly fabric.

As you have obviously noticed, the quilt has definite puckering issues.


I'm so impressed the person who pieced the flimsy actually pieced the turquoise squares too. I would have just cut a turquoise strip and called that good enough. The squares in this quilt finish at 1-1/4".

Because of the puckering issues, I decided to quilt this quilt in my old sticks and stands quilting frame instead of the usual Grace quilting frame. I think I can quilt the puckers easier in this frame. The puckers won't be entirely gone but they won't be as obvious, besides, after washing, don't all quilts become rather puckery?

I'm using a Hobbs poly-down polyester batt, the backing is a lovely aqua whole cloth fabric I purchased at Calico Point.

Friday, July 10, 2020

RSC Blues

The blue RSC blocks are sewn, again I made 2 blocks for each pattern.

A light and a dark scrappy sprouts blocks.


Also a light and a dark circle of squares blocks. The squares in the dark block are all different fabrics, guess they're just too dark to see the differences in the picture.


I found the background fabric when digging through a box with lights. I love the soft little blue flowers.

The barns on our farm are old barns, built in the mortise & tenon style. They're perfect for the barn swallows to make their mud daub nests. The other morning when I went into the west barn to feed the young heifers, the barn swallows were having an absolute tizzy! Such chittering chattering and flying in circles! What was going on, there were no cats to be seen? I walked towards the north end of the barn and saw the reason for the excitement, these little guys were ready to spread their wings and fly.


It's interesting that all the adult barn swallows who have nests in this barn, were coaxing the birds out of the nests, not just their parents. By noon the young birds had taken flight, the nest is empty for a short time until the swallows lay eggs for the 2nd hatching of the season.

We have so many barn swallows on our farm. Whenever we're working in the hay fields, mowing, raking or baling, the swallows come swooping and gliding in their figure 8 glide eating the insects as they fly. They're amazing to watch and they never fly into each other!

Tuesday, July 7, 2020

Needlebooks

Last summer, the summer of 2019, I worked on small projects most of the summer and finished up some long time waiting projects.

I hand quilted a wallhanging made from a panel called Weeds N Tweeds. I embroidered, pieced and hand quilted a small wall hanging called Miss Jane's Best. I pieced and machine quilted a small Flying Geese quilt which I had been wanting to make for years. I finished 2 small table runners called Give Thanks which also had been on the to be quilted waiting list. I pieced and machine quilted a crib quilt called Summer Sun/Spring Splash and I machine quilted my Patchwork of the Crosses which turned out to be a 6 block small quilt.

Another small project I had planned to finish were Needlebooks. If you go to the highlighted post, you'll see that it's dated October 2018. I also said in that post there were 6 more books to be made but I had run out of steam making them.

The embroidery and other pieces for these books have been laying on a tray in my sewing room ever since. Every time I see that tray I feel guilty. 

I finally finished those 6 needlebooks this week. These were made slightly differently than the first group made. I didn't use binding this time, I just sewed right sides together then turned them. 

One evening of watching TV and I had the openings stitched shut. The next day I top stitched and sewed the felted wool to the center. Now I have an empty tray and no more guilt!!


Sunday, July 5, 2020

Grandma's Embroidered Blocks

Grandma's embroidered blocks quilt is completely finished!


I love the texture the circle quilting adds.


A view of the back.

This is a view of the circles I free handed in the center of the lilac block. Actually that's not too bad!


Of course I added a label.

After the photo shoot, I washed the quilt then partially dried in the dryer. I took it out before it was completely dry then spread it on a sheet upstairs to finish drying.

It has the lovely texture of an antique quilt.

Before quilting, the flimsy measured 68" square, now she measures 64 1/2" square.

And here she is hanging on the wall in the bedroom. Finally, after at least 60 years, these blocks are a finish!


Friday, July 3, 2020

Summer Stars

Summer Stars is finished and measures 61" by 72". Joy from Calico Point was the long arm quilter. 


The jelly roll and border fabric came from Calico Point too.  

Some of the pieced square don't look quite right but I can live with it. The 8 year old granddaughter will be thrilled.

This year I decided to subscribe to Block magazine from the Missouri Star Quilt Co. The first issue came February 20th, the same day I was leaving for Phoenix. I stuck it in my bag so I could peruse it while relaxing on my vacation.

The first quilt I chose to make from Volume 1, 2020 of Block is Summer Stars. MSQ has the pattern for sale but you can watch the tutorial for free. Just click it and watch.


This pattern has wonky stars. I didn't understand the Block directions for piecing the stars. I finally cut some strips 2-1/2" by 3" and cut them diagonally. These diagonal cuts worked much better for me.


The backing is the same large dotted whole cloth fabric that was used on the back of Calico Stars.

Two final pictures of the finished quilt.


Linking to Peacock Party, Whoop Whoop, TGIFF!Brag About Your Beauties, Finished Or Not FridayUFO Busting