Thursday, August 31, 2023

Peppermint Pines

Several months ago I sent several quilts to Lori Null for long arm quilting. They're back!

Today's post is about the first of those quilts, Peppermint Pines. 

There is a narrow gray border around the outside edge of the quilt. It doesn't show very well in the above photo.

I always think the backside of a quilt looks so interesting, it's a shadow of the front! A white on white striped sheet was used. Lori said it quilted just fine.

There are several snowflakes in this picture, you have to look close though.

This finished quilt is 74" by 87". I'm not planning to wash it, there are no markings to remove.

The background fabric is a white on white print I found in my stash when we moved. 

Deanna made a Peppermint Pines quilt last fall at the Jane Stickle retreat. I thought it was so cute so I made one too! I plan to have a display of Christmas quilts hanging from the rafters this year.

You can find the pattern for Peppermint Pines here.

Linking to Needle & Thread ThursdayPut Your Foot Down, TGIFF!, Monthly Favorite Finish, Peacock Party, Whoop Whoop Party, Finished or Not  Friday, Off the Wall Friday, Beauty Pageant, Patchwork & Quilts

Sunday, August 27, 2023

A Gift From Bethlehem

Last May I posted about a wool work pincushion I had made called Woodland Gatherings. I had purchased the kit at Caroline's Cottage Cottons (260-854-3900) in Rome City. In that post I mentioned I had purchased another wool work project which I hoped to have completed by Christmas.

That project is called A Gift From Bethlehem. You can check with Caroline to see if she has any kits left. If she doesn't, you can purchase the pattern online from Little Bits by Joan who designed the pattern. I see she also has kits available which include the frame. Caroline didn't include a frame with her kit.

I've never had good success with iron on adhesives. This time I've used EZ-Steam II on the backside of the wool pieces. 

This adhesive is different from steam-a-seam or wonder under. There is a sticky adhesive so you can actually stick it on the background so it stay put before you iron it down.

I followed the instructions exactly like they said and pressed on top of a damp cloth, it seems to have worked! I let the block rest after pressing so it could cool down and dry off. 

I am very glad to say the pieces have all adhered!

I am disappointed though in the colors of the wools used. Joseph and Mary's clothing is rather drab. The only brightness is the star. Hopefully outlining everything with perle cotton with make it more interesting.

This isn't a full time handwork project, this is a small project to work on at the monthly handwork get-together at Elaine's house. I should have it finished before Christmas.

I was in Wakarusa last week to get my hair cut so of course I took a picture of the quilt garden.

Here is a link to Quilt Gardens along the Heritage Trail. I haven't made it to any of the other quilt gardens to take pictures.

Friday, August 25, 2023

Christmas Stars

I finally got all the star blocks pieced and arranged last week on the display floor. 

I'll wait a week before sewing into rows to make sure I don't have the same fabrics next to each other. There are some fabrics that are similar in tone but if you look closely, you can see the difference.

I'm tentatively thinking of adding a border. I don't have a large piece of Christmas fabric or red or green fabric to use. What do you think of this light beige/red fabric? This fabric has been in my stash for at least 25 years! It's time for this fabric to be used.

After I took this photo of the blocks, I saw that there were 2 same fabrics next to each other. Of course I moved that block but then that entails moving at least 10 more blocks!

Just now, I noticed there is a block with a HST sewn incorrectly! That is probably one of the blocks that was moved, I need to find it and correct it.

That is why you should wait a week to sew the blocks together, this quilt might be a 2 week wait!

The Christmas Star instructions can be found here on Jo's Country Junction.

Linking to Needle & Thread ThursdayPut Your Foot Down, TGIFF!, Peacock Party, Whoop Whoop Party, Finished or Not  Friday, Off the Wall Friday, Patchwork & Quilts

Friday, August 18, 2023

More Summer Garden Blocks

You guys all knew that I wouldn't be content running the Summer Garden blocks through the machine as leaders & enders while piecing Christmas Star blocks!

I finished 2 small quilts! My intention had been to make one larger quilt but the blocks didn't work. I needed more than two color ways. Each little quilt measures 38" by 46". I did need to piece four more blocks to make the small quilts. 
This quilt holder has a better attitude than his grandfather did about holding quilts, especially since he got to stand at the top of the slide! He took his responsibility very seriously.

Notice that even though both quilts are made from the same fabrics, one quilt has blue 4 patches while the other one has pink 4 patches.

Each 10" square makes two blocks.. The white background fabric was cut from yardage.

I bought the floral fabrics off the resale table at the Jane Stickle retreat several years ago. They make me smile! I had enough of each fat quarter left to make binding which has been sewn, bagged and is hanging with the flimsies.

These quilts will be quilted this coming winter then donated to the cancer center at Goshen Hospital for use by cancer patients. 

The pattern for these blocks was originally called Ground Cover and was designed by Me and My Sister. I don't like the name ground cover and renamed my blocks Summer Garden since I'm using these beautiful floral fabrics.

These quilt were fun and fast to make. I'll be using this pattern again for charity quilts.

Linking to Put Your Foot Down, TGIFF!, Peacock Party, Whoop Whoop Party, Finished or Not  Friday, Off the Wall Friday, Patchwork & Quilts

Friday, August 11, 2023

Summer Garden

I've been trying to stick to one project at a time this summer in the hopes of completing projects. There are a lot of pieces in the Christmas Star blocks and it takes awhile to get them sewn.

I'm rather tired of red and green fabric right now and when I saw Connie's post about her teeny tiny blocks, I fell in love! Then common sense raised it's head and said "No Way!" You don't have time to make something with those teeny tiny little blocks. Then I thought, "What if I'd enlarge the design and just make 4 blocks and put them on the design wall. Someday I could make more."

Common sense said I could do that. I thought I'd open the pre-cut box and pull something out of there, just to make 4 blocks, just 4 blocks!

In the top of the pre-cut box, I had a pattern called Ground Cover, a free pattern from Me and My Sister Designs. I must have seen a quilt on another blog using this pattern, I have no idea who that was.

So, instead of piecing 4 blocks of Connie's quilt, I prepped fabrics for this quilt which I've renamed Summer Garden. I had a fat quarter bundle with 10 floral fabrics I bought at retreat several years ago. They would be perfect for this project.

The background fabric is a Kona white even though it doesn't look white in the picture.

Then I pieced 4 blocks, just like I planned but not the blocks I had originally thought.

It didn't take long to sew these blocks, I think I'll piece a few every now and then when green and red gets tiring.

Linking to Put Your Foot Down, TGIFF!, Peacock Party, Whoop Whoop Party, Finished or Not  Friday, Off the Wall FridayPatchwork & Quilts

Wednesday, August 9, 2023

Five Aprons!

A month or so ago, one of my older granddaughters requested that I make her an apron. Well, you know how that goes, I can't make one apron, what about her sisters?

So last week I made 5 aprons!  I used a pattern I had on hand called Crossback Reversable Aprons from Indygo Junction designed by Amy Barickman. I'm fussy about my aprons, I don't like ties, I don't like tight aprons and I really dislike ruffles. I am so not a ruffle person!

I don't remember where I purchased this pattern, I asked at Calico Point and they said it didn't come from there. I know I bought it at a store and not online. 

There are multiple sizes in this pattern. The child's pattern is printed on it's own tissue paper. The adult sizes were a different tissue paper with 3 sizes. Kathi suggested that I use parchment paper to trace off for different sizes which I did. Thanks Kathi, that was a brilliant idea!

I ended making making 5 aprons, 4 for the granddaughters and 1 for their mother. Here they are!

Two of the girls are blue lovers, be still my heart! One of these granddaughters will be receiving Lady Jane someday. Don't worry, I have plenty of blue quilts around here to make them both happy.

The fabrics for these aprons came from JoAnn Fabrics and all of them were on sale, gotta love a sale!

The purple apron is for our DIL, the blue one is for the youngest granddaughter.

Here is the back view. They don't look full enough hanging on hangers but they do, I've tried them all on except the little blue one.

After sewing the first several aprons, I made a pocket alteration, I curved the bottom corners. If you look at the blue apron above, you can see the corners are pointed while her mother's pockets are curved. Curved pockets are easier to sew than pointy pockets.

Another change I made was to sew the pockets on the apron lower than the pattern called for. Lower pockets felt more natural to me.

This blue apron is for our oldest granddaughter, her sister likes teal but I couldn't find teal fabric that I really liked. Hopefully she'll be happy with these green fabrics. Blogger decided I wanted to show the back sides of these aprons first.

And here is the front view.

This last apron is for the granddaughter who originally requested the apron. She's a purple girl like her mother. Again Blogger decided you wanted to see the back side first.

Supposedly these aprons are supposed to be reversible. I hand sewed the top seam by hand, I didn't do the best job. These aprons are definitely not reversible.

All of the aprons were top stitched with a contrasting thread, I even stitched a pretty design!

I could use a new apron also but after making 5 of them, I was aproned out and wanted to get back to piecing quilts again. Maybe sometime this winter I'll make myself one. I plan to mail these aprons this week.

Linking to Midweek Makers, Wednesday Wait LossNeedle & Thread Thursday, Put Your Foot Down, Patchwork & Quilts

Sunday, August 6, 2023

Quilts & Quilt Gardens

I'm sure all week you've been wondering what quilt I've put into the hand quilting frame, how I'm going to quilt it and all of that exciting stuff. Sorry, no flimsy made it into the frame. 

I'm burnt out on hand quilting right now and the rest of summer is busy, I just don't want to have to deal with the guilt of having a quilt in the frame and not quilting on her. I've decided I'm going to wait until October and see how I feel then. 

Tentatively I'm planning that Churn Dash Diva will be the next one into the frame. When I read the post I was glad to see that I had said how I wanted to mark her for quilting. We'll see how I feel when the time comes.

The title of this post is Quilts & Quilt Gardens. I had a birthday in July and told my family I was going to have a day to myself, go where I want, leave when I want and do what I want! 

I suggest you get a cup of coffee now, you are going to have a LOT of photos to peruse and words to read!

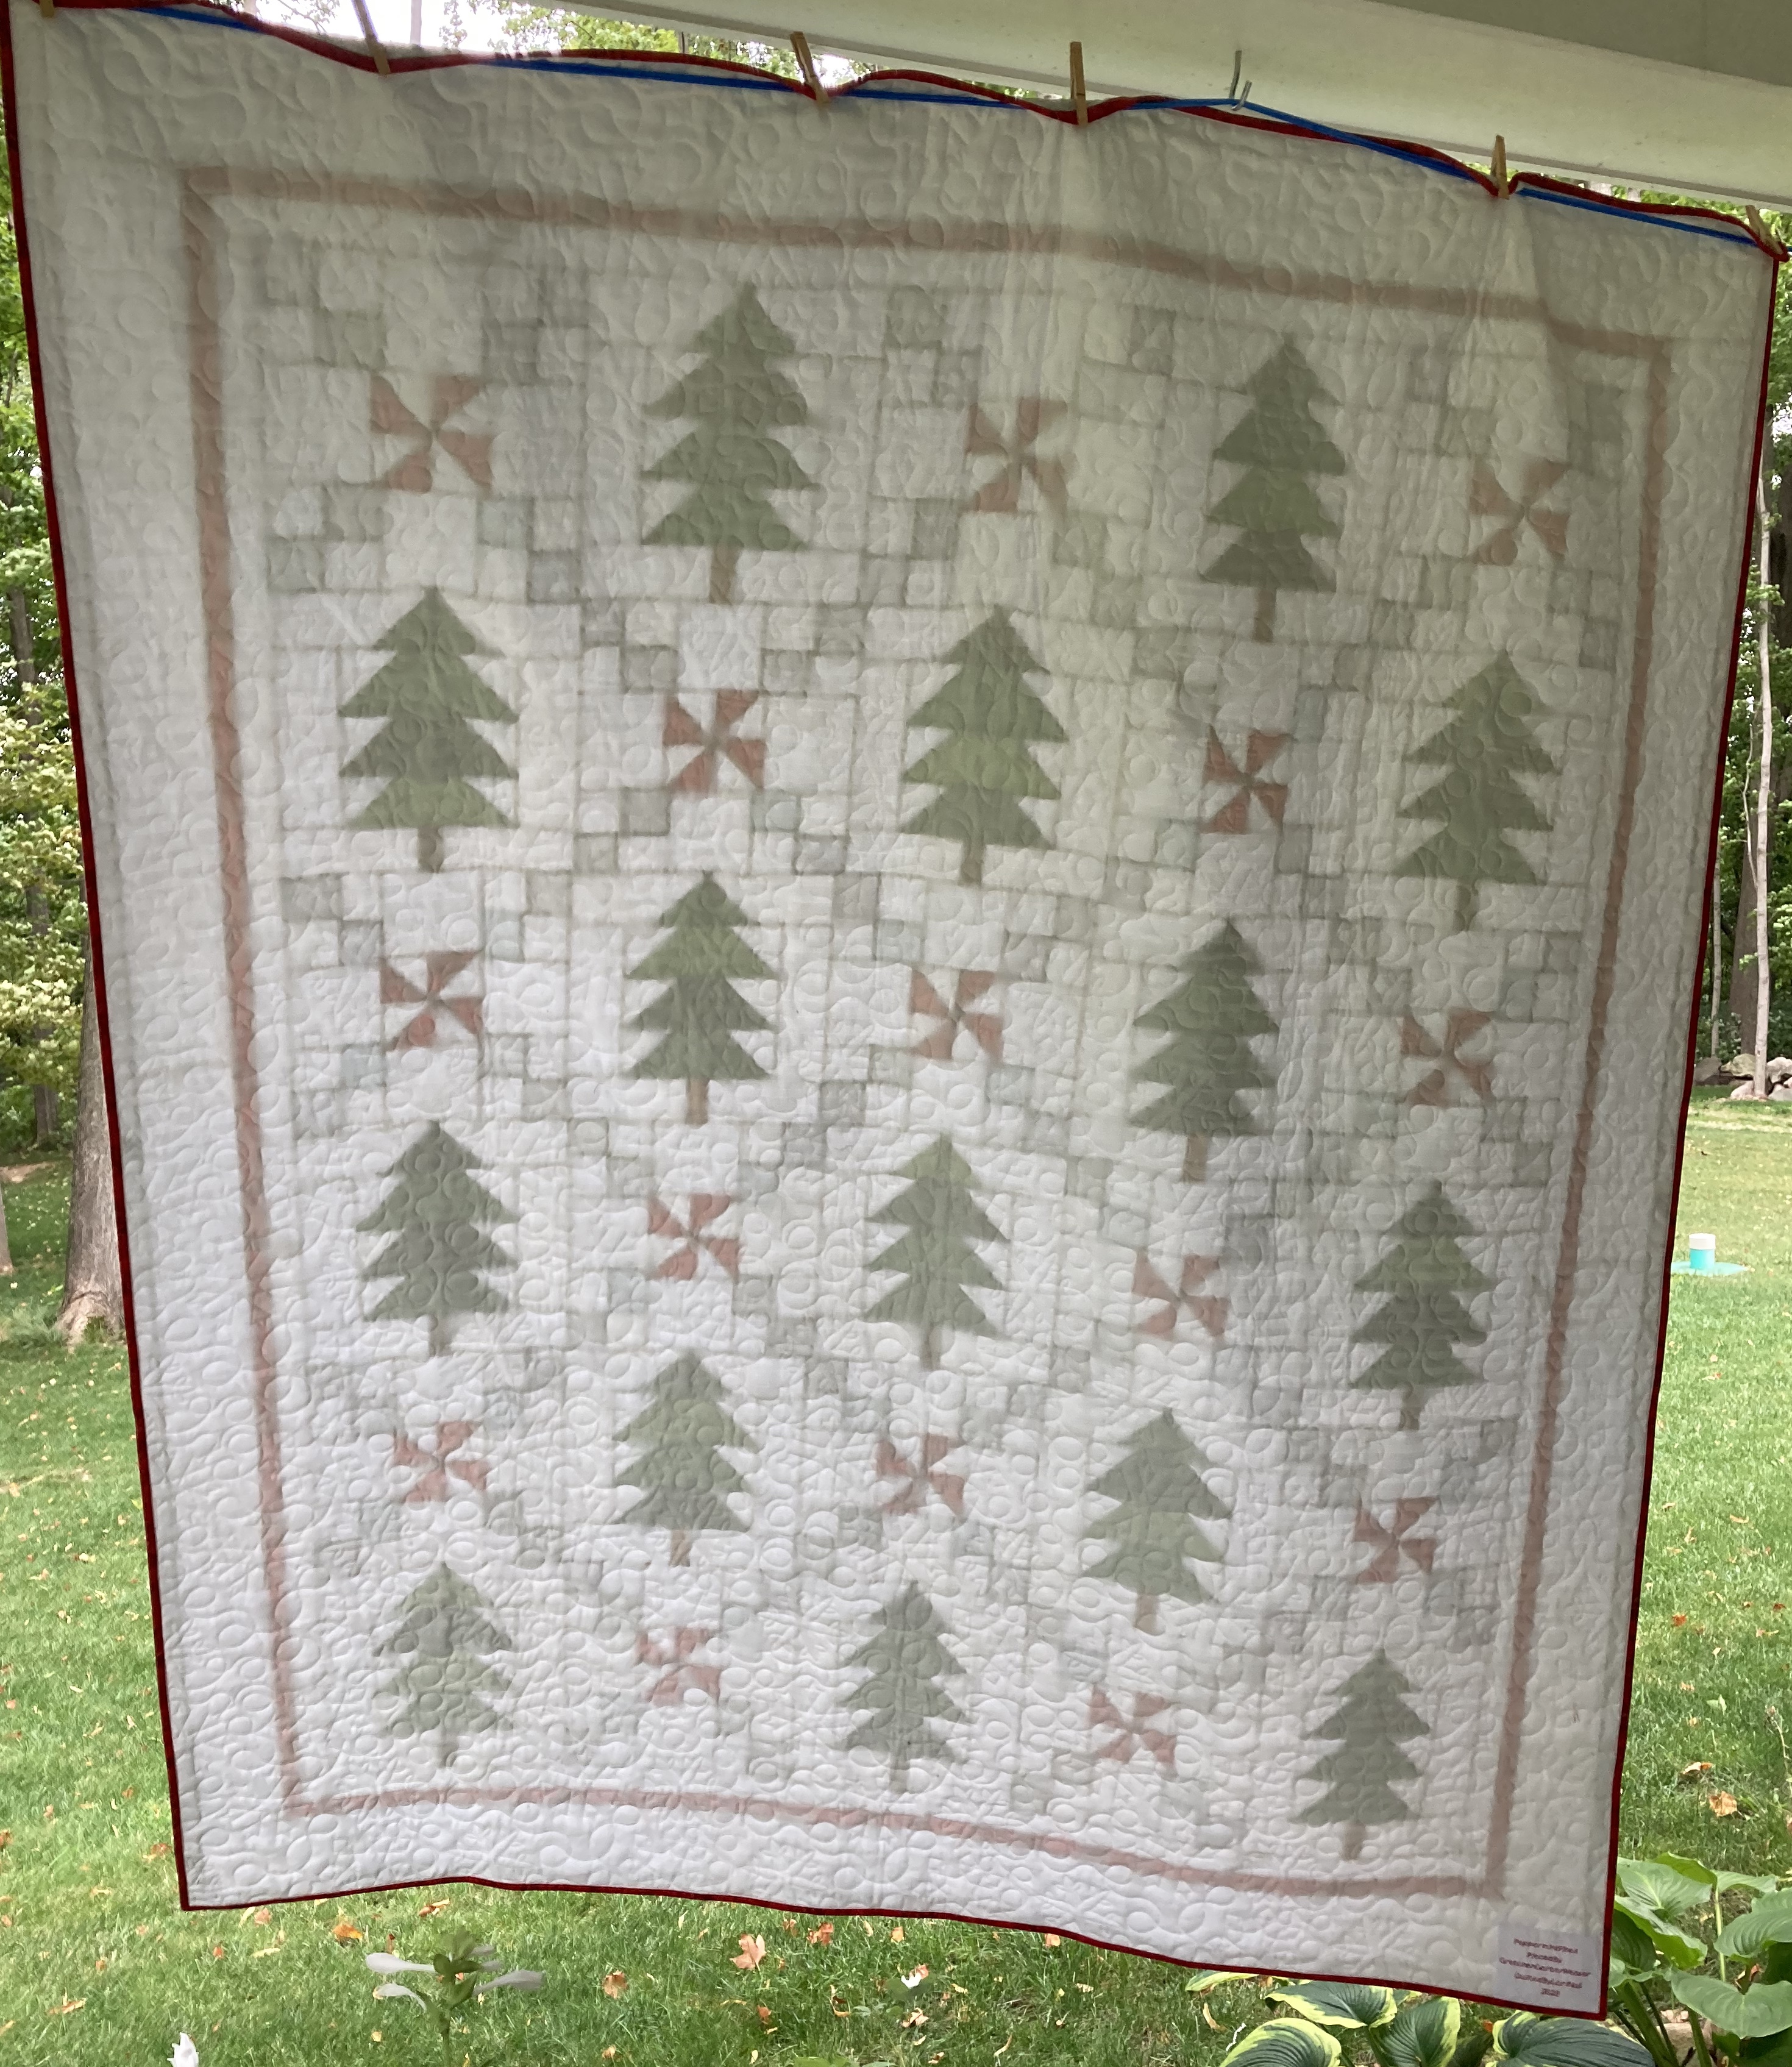
First stop was to the Elkhart County Historical Museum where they have a temporary exhibit called "Quilts Inspired by Nature". This wasn't a large exhibit, only 8 quilts were shown but they were all beautiful. I also took some close photos so you can see quilting details.

I'm including information that was posted beside the quilts.

Spider Web Star, unknown


Turkey Tracks or Square & Swallows C. 1910


Whig Rose variation: Cockscomb & Currents 1891  Irene Luce Fuller

Sunflower (unfinished) unknown


Lily Corner variation Bear Paw or Duck's Foot in the Mud  c. 1890
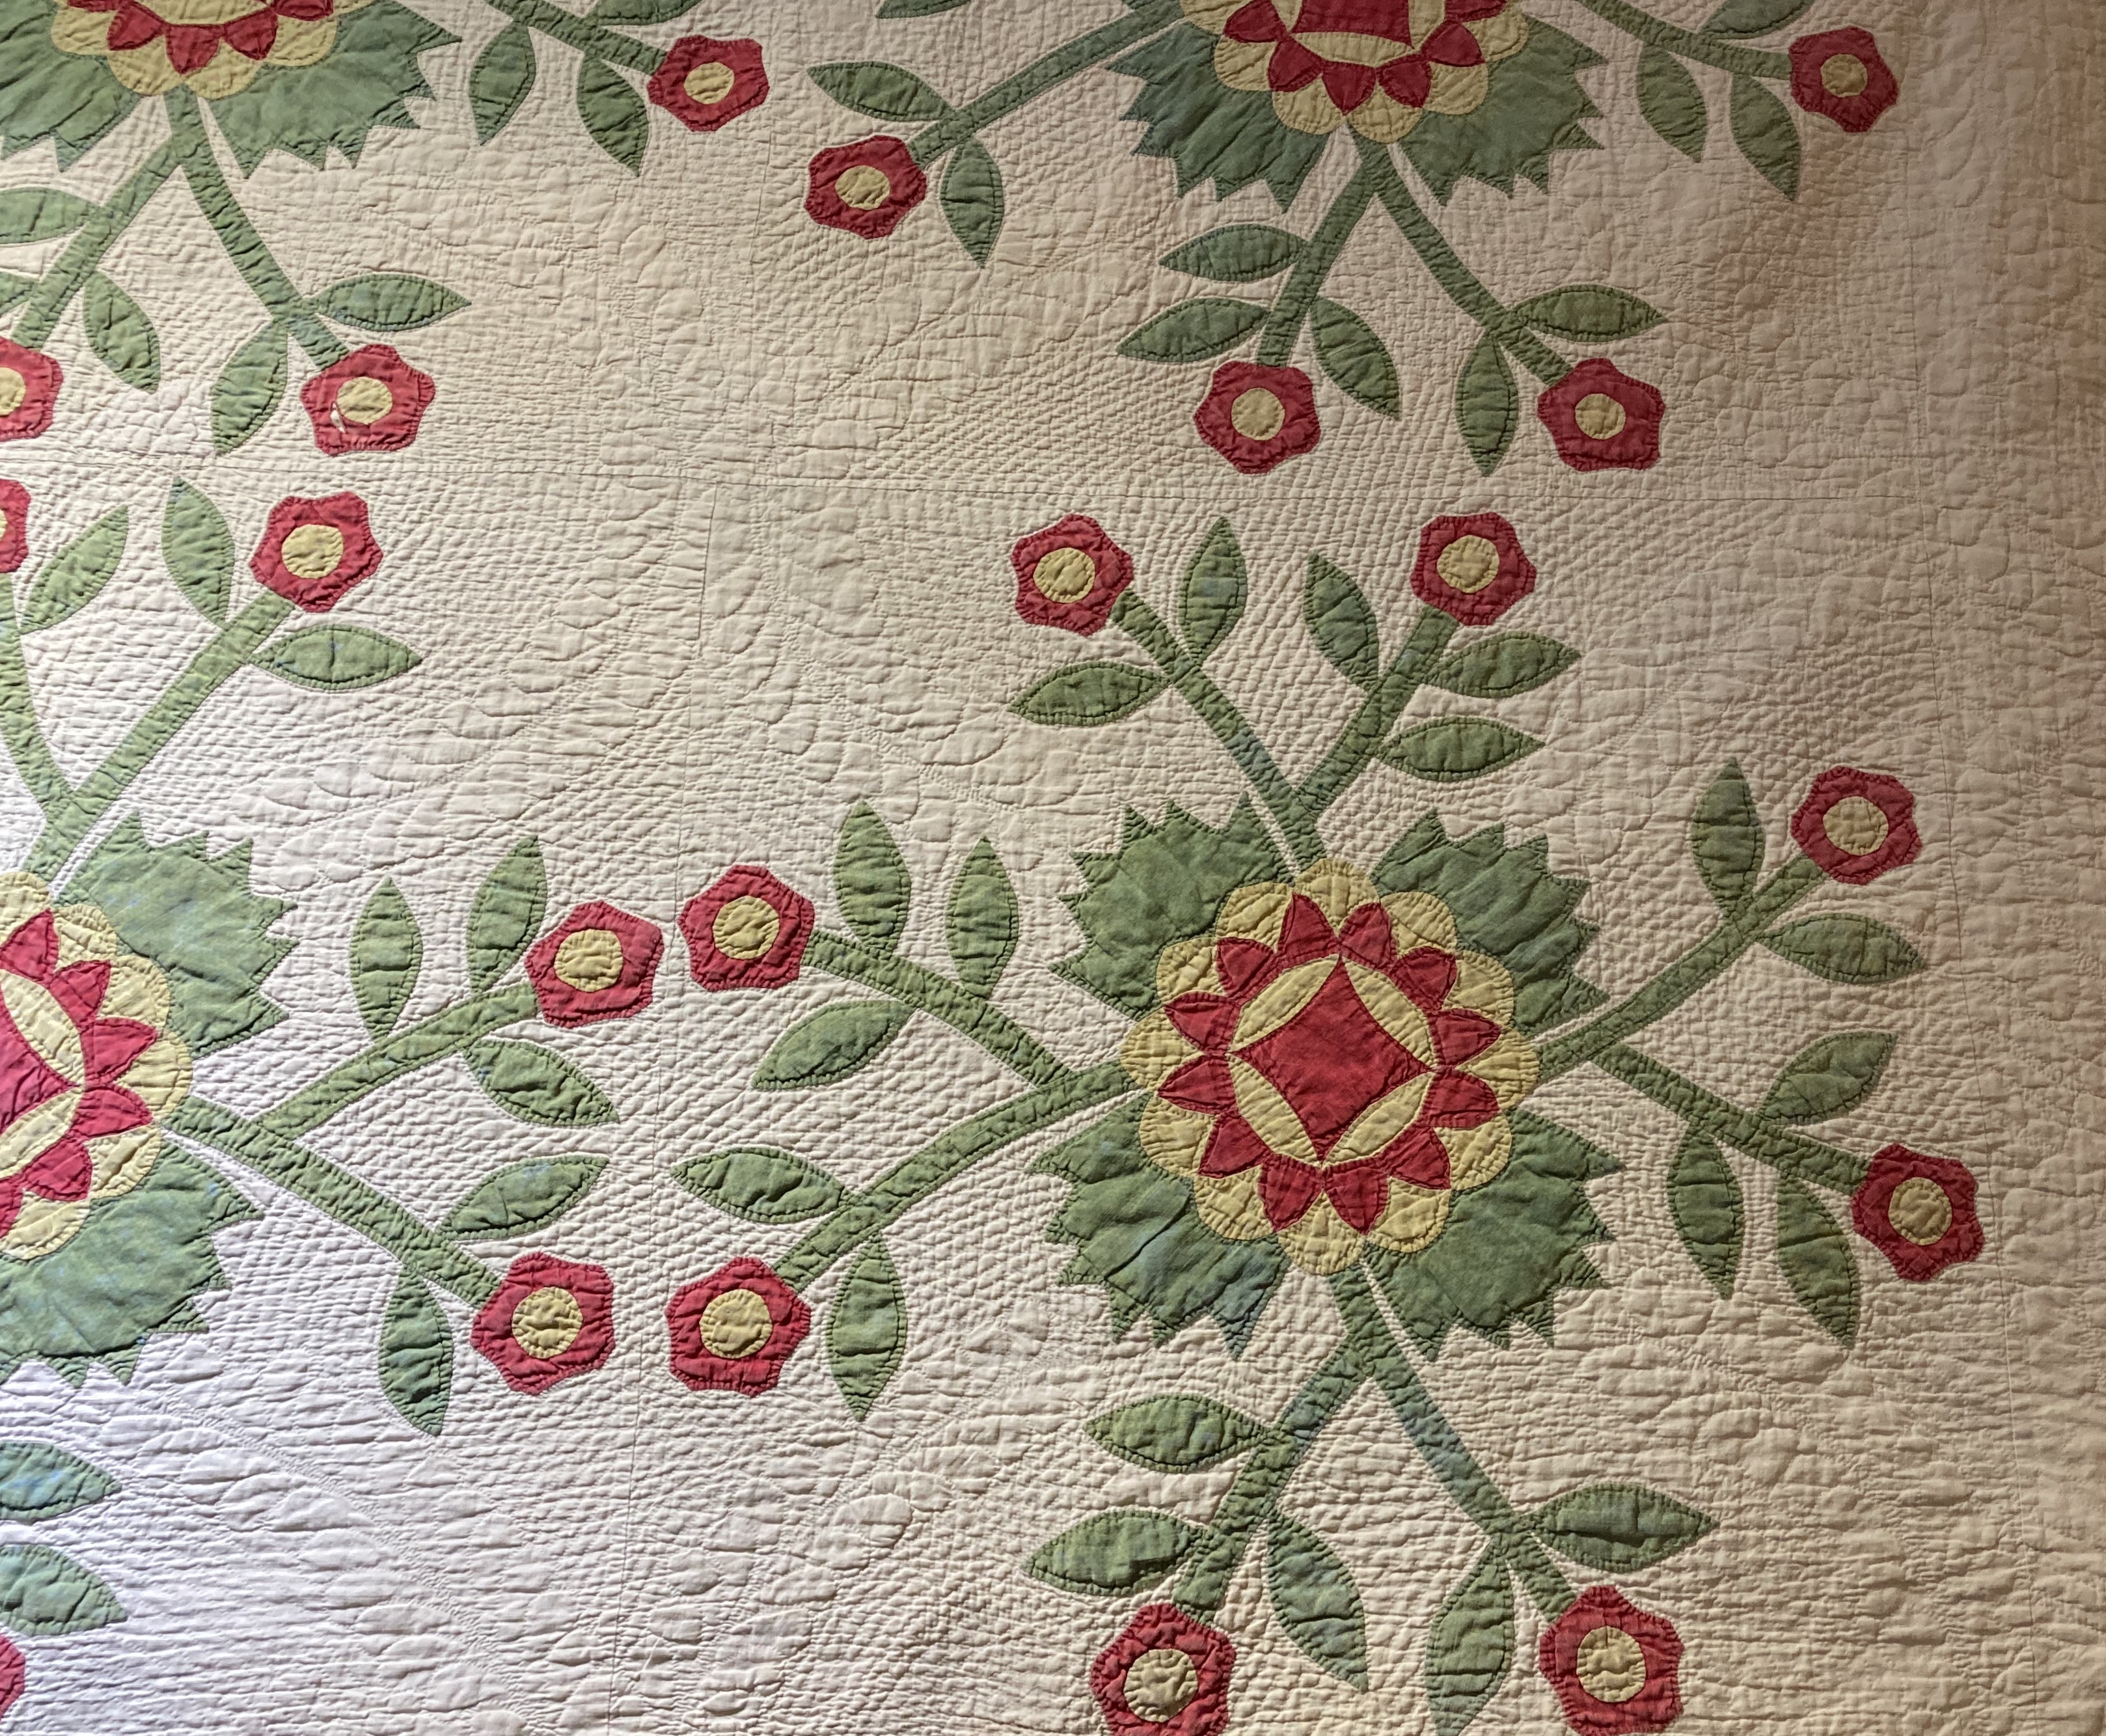

Whig Rose c. 1890


Rose variation c. 1860   Poley Essic (inferred)


The Museum also had a quilt garden called Tulip Garden, this stop was a twofer stop, quilts and a garden! I took 3 pictures of the garden.


After I left the museum, I drove to Middlebury to Krider World's Fair Garden. Last summer Jeannie and Ray stopped at this garden on their way home from visiting their son in Virginia.  I've lived in Elkhart County my whole life and I've never visited this garden! This was definitely one of my stops. 

In 1934 Krider Nurseries had a display at the Chicago World's Fair: A Century of Progress. This windmill was originally part of that display. He looks pretty good!


The sidewalks were lined with these old style street lights. All of the posts had flowerpots hanging on them, they were so beautiful!


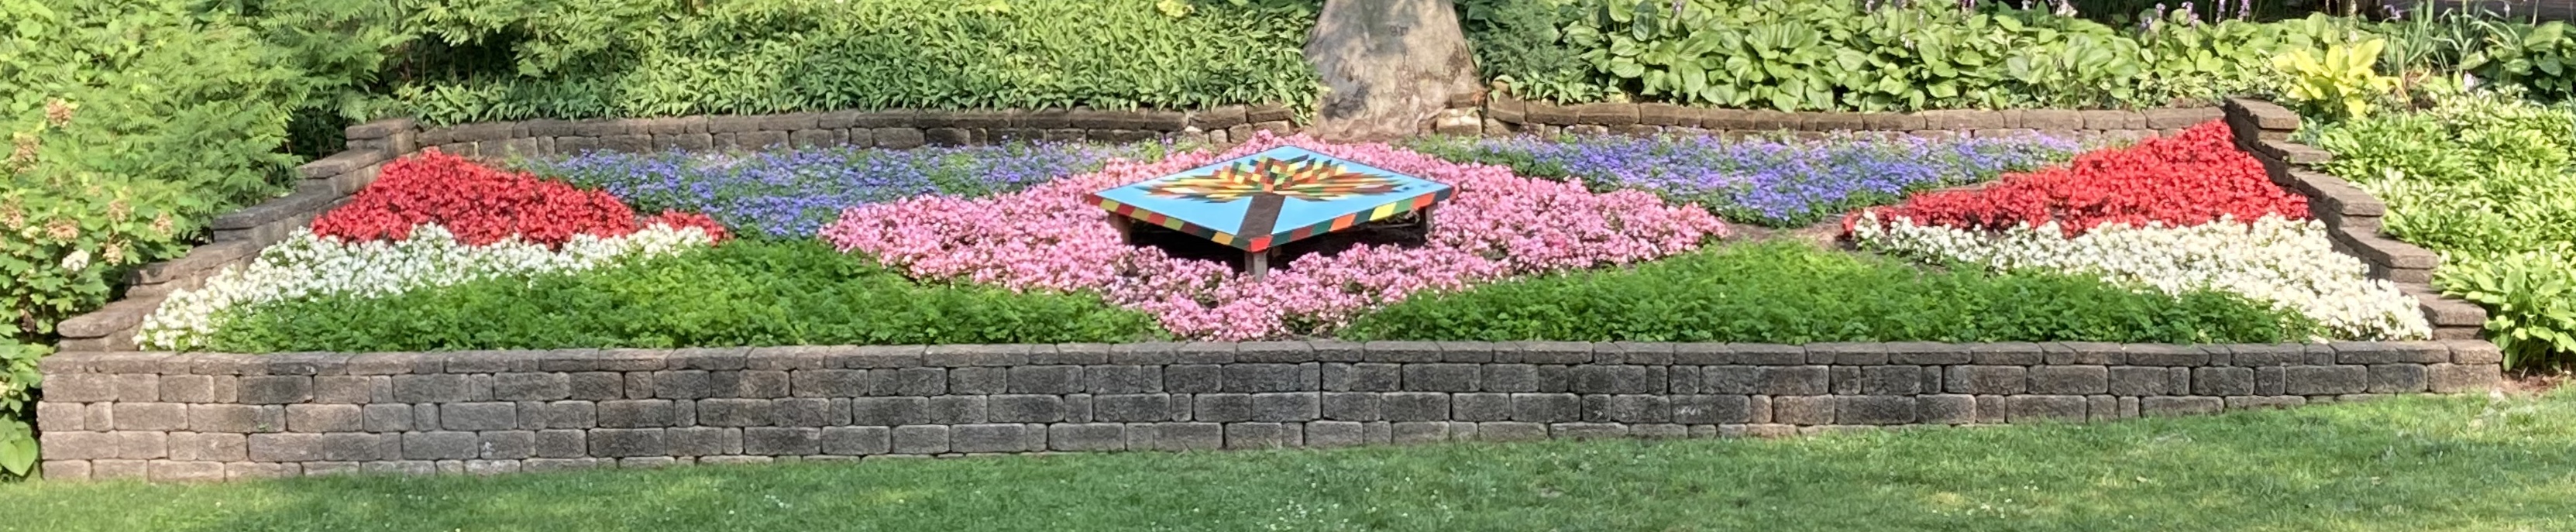
There were two sidewalks going past the quilt garden. This picture was taken from the higher sidewalk, I was able to take a picture of the whole garden in one shot. The garden is called Tree of Life.


See the lush green plants in the bottom triangles of the garden? That is parsley!

Here is a closer view of the center of the garden.


There were several gardens on display. I thought this rain garden was interesting. 


Next stop after Krider Gardens was the Das Dutchman Essenhaus complex. I actually remember the first Essenhaus! Back in the 70's I would never had thought this small restaurant would evolve into what they've become today.

First I went to The Quilt Shop because . . . .


. . . I wanted to take a picture of this quilt. This is the Essenhaus' version of Simple Swirl which is the cover quilt on Red & White Gatherings book. The Essenhaus quilt used a graduated fabric. The reds are all from one fabric, they change from soft lighter red to darker red. 


All the quilts in the book are designed by Lisa Bongean of Primitive Gatherings.


Earlier in July, Lynn and I had a day out together, one of stops was the quilt shop at Essenhaus. We loved the quilt and we both bought the book! 

Then I walked over to the quilt garden. Their garden is displayed on a natural hill. This year's garden is called Solar Wheel. 


There was a lady there taking a selfie beside the garden. We chatted a little, she was from Dayton Ohio and was driving the Heritage Trail to view as many of the gardens as she could that day. She told me I should take a selfie beside the garden. I don't do selfies so she took a picture for me. It was a bright sunny day and of course I was squinting.


We're not finished yet, maybe you should get more coffee.

I wanted to go to Shipshewana and I always take the Middlebury/Shipshewana road because I think it's a much more picturesque drive than driving State Road 20.

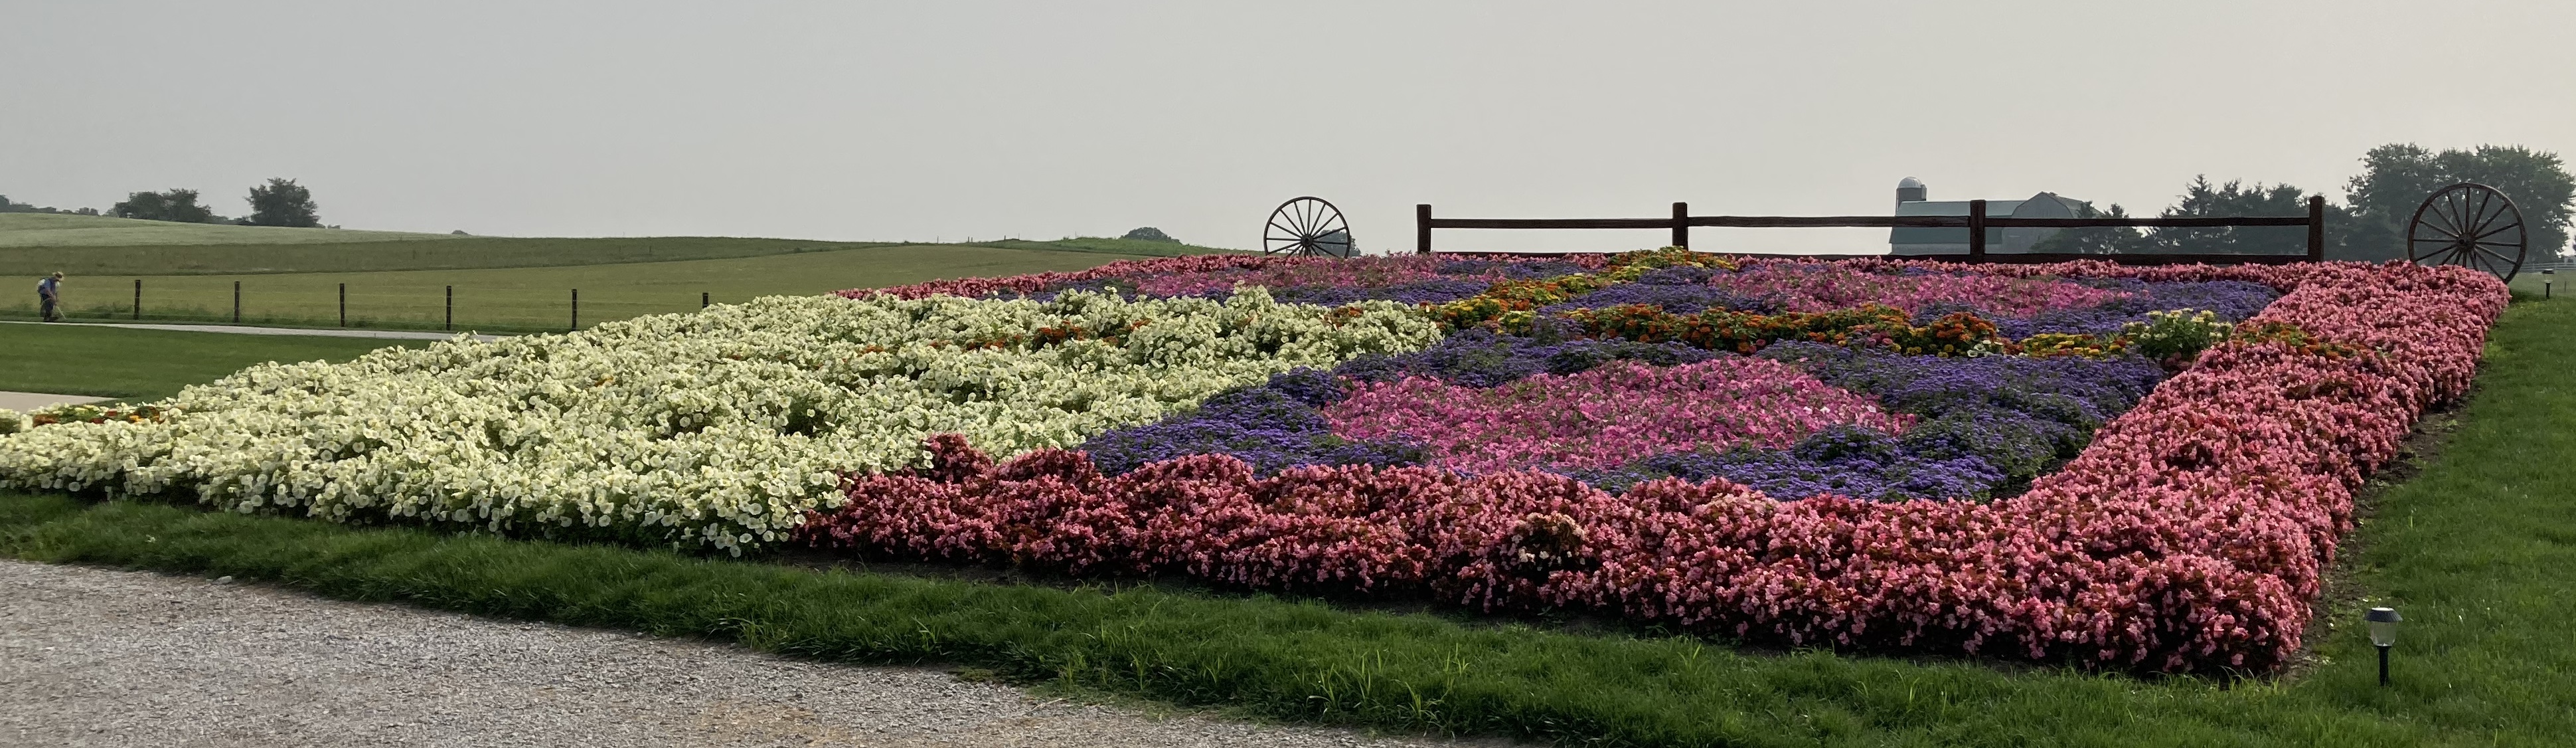
Dutch Country Market is located on this road. I think it looks like a tourist stop and I've never been inside the building. Their garden is called Friendship Bouquet.


After taking these pictures, I drove on to Shipshewana. I needed to go to Yoder Department Store. After I made my purchase in the store (it wasn't fabric!) I went to the hitching post to take a picture of the horse & buggies. There wasn't a single one in the lot so I took this picture for you guys. This is an old sign and is supposed to say 'Free Manure' not Free Manurf.


I always enjoy viewing the barn quilts on the south of side of Yoder's.


Next I drove to E & S Sales. This is a bulk food store. I didn't take any pictures inside but there were horse and buggies here at the tie rack.


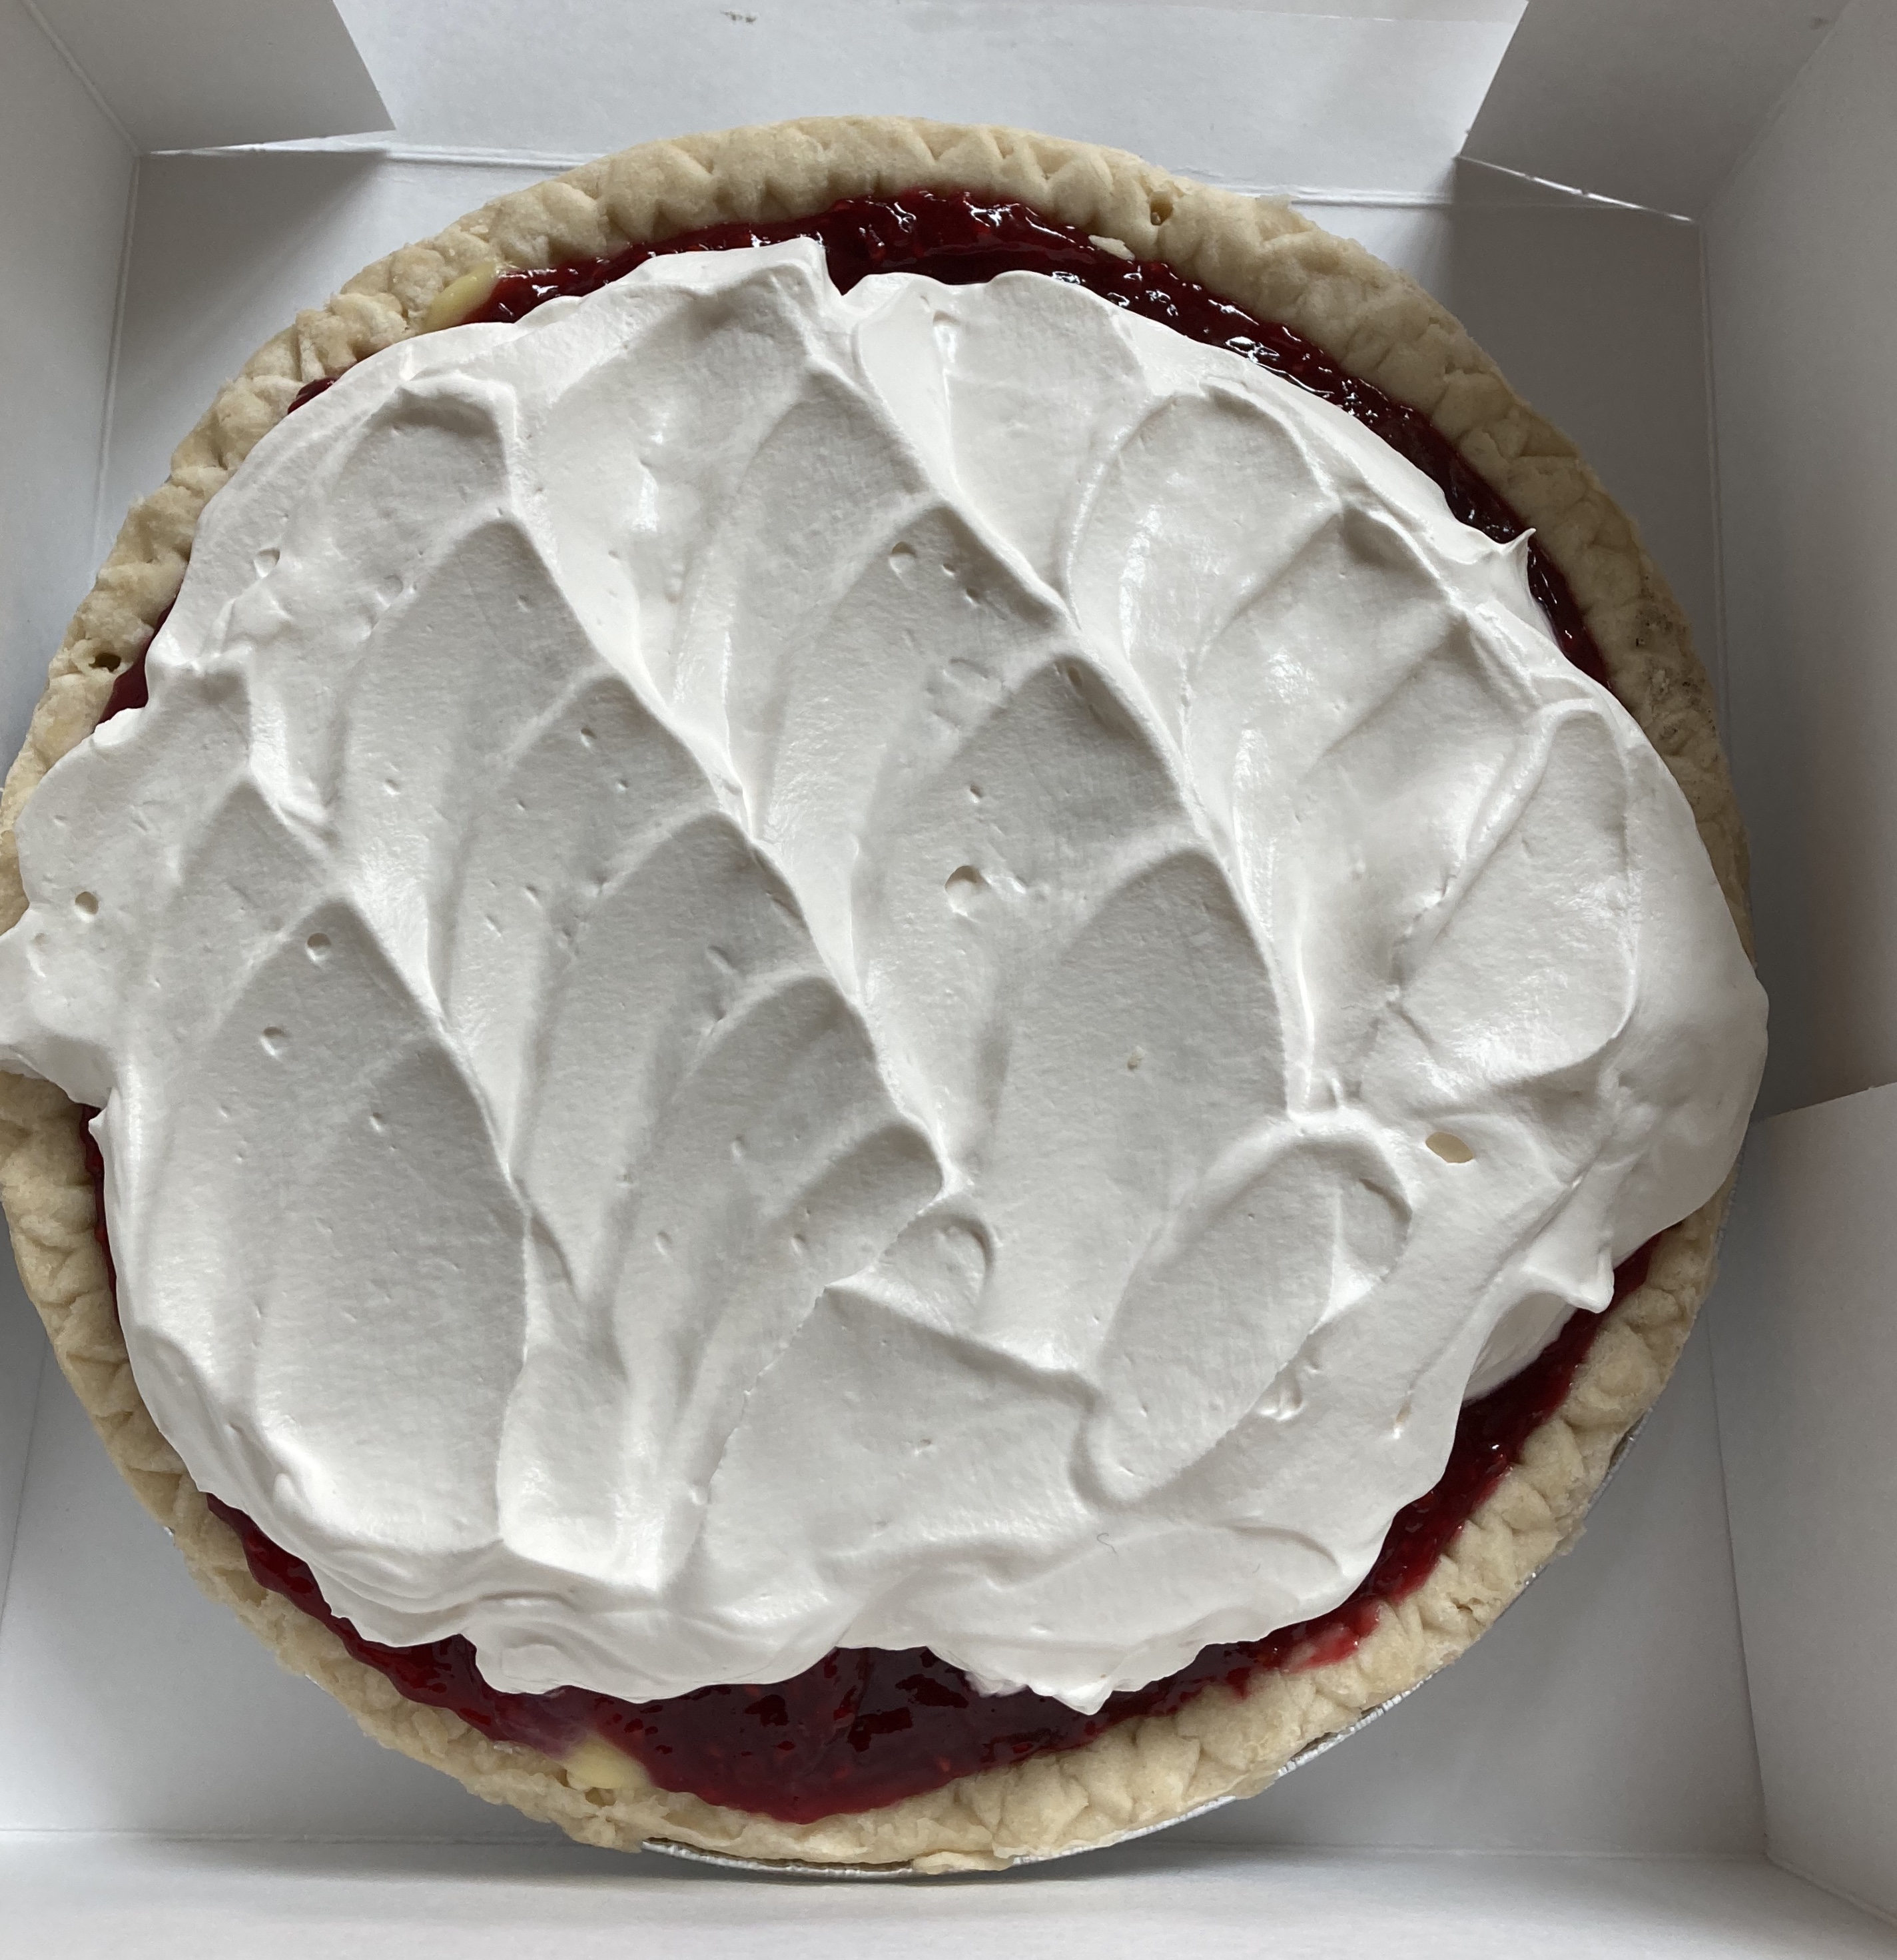
Now remember, this was my birthday outing. If I want a birthday cake, I have to make it. I'm not fond of cake, there's always too much frosting. Since I was driving past the Essenhaus on my way home, I stopped at the bakery and bought a raspberry cream pie as my birthday cake.


I had planned to stop and eat somewhere along the way but I couldn't decide what I wanted, nothing sounded enticing to me. I took my pie home and had a piece for my late lunch. It was so good, I had a 2nd piece! I savored every bite!


There is one more quilt garden for you to view.  There is a quilt garden in Nappanee but I never get to Nappanee. I asked Connie to take a picture and post it on her blog. Here is the link. Thanks Connie for sharing with us!

This is the link to Quilt Gardens along the Heritage Trail. Here is the link to the locations of all the gardens. I may stop and take more pictures of some of the gardens sometime this summer.

Thanks for sharing my birthday outing! And I did share some of that pie with the farmer and our daughter.