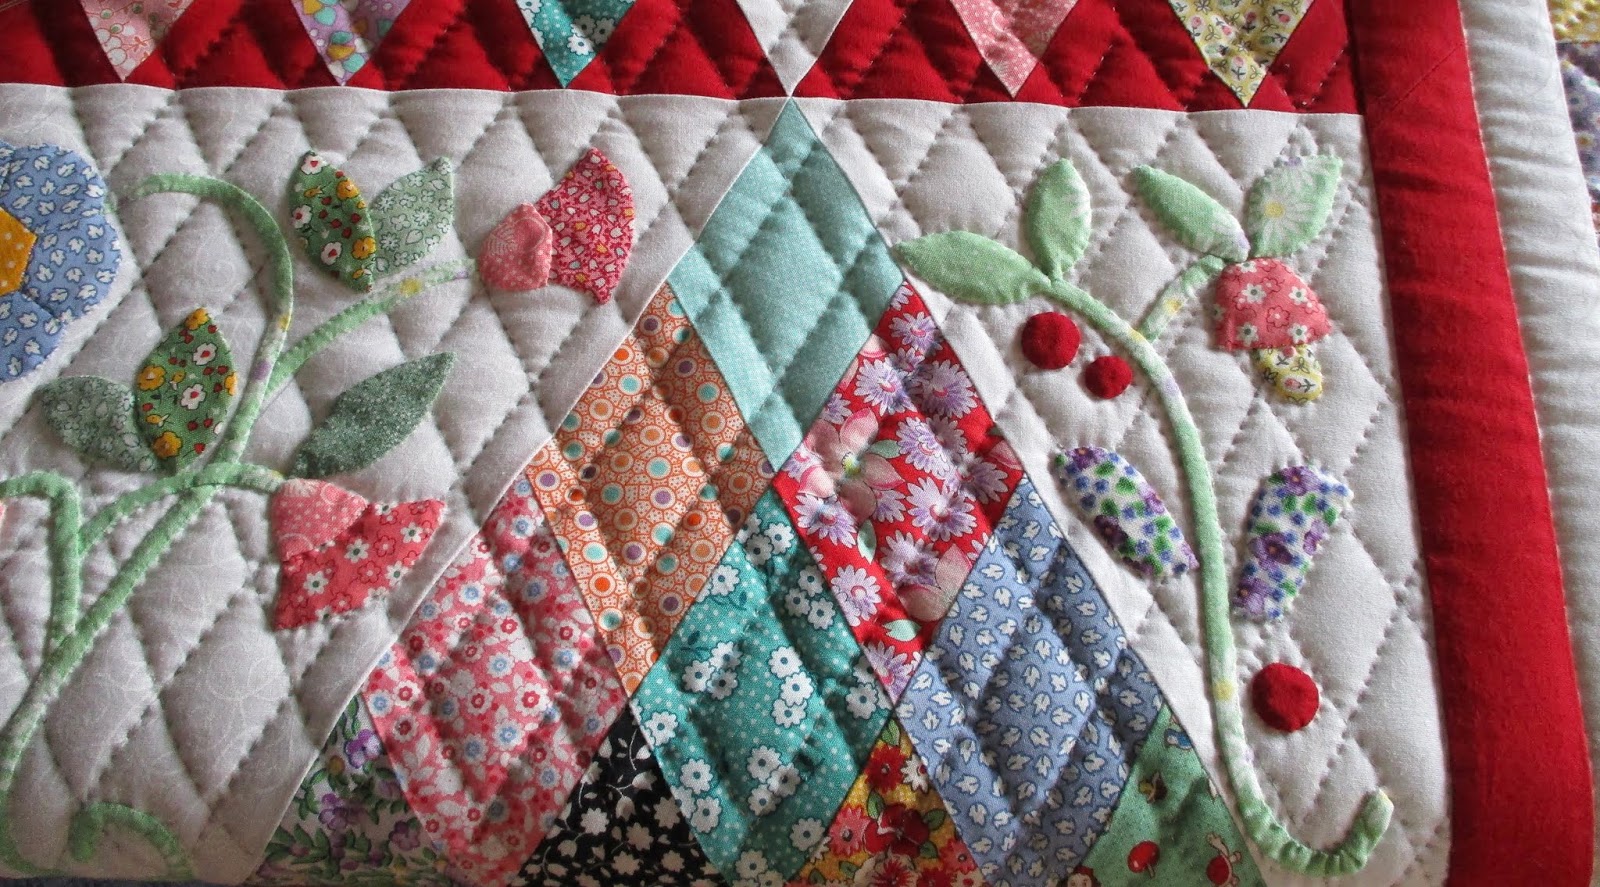
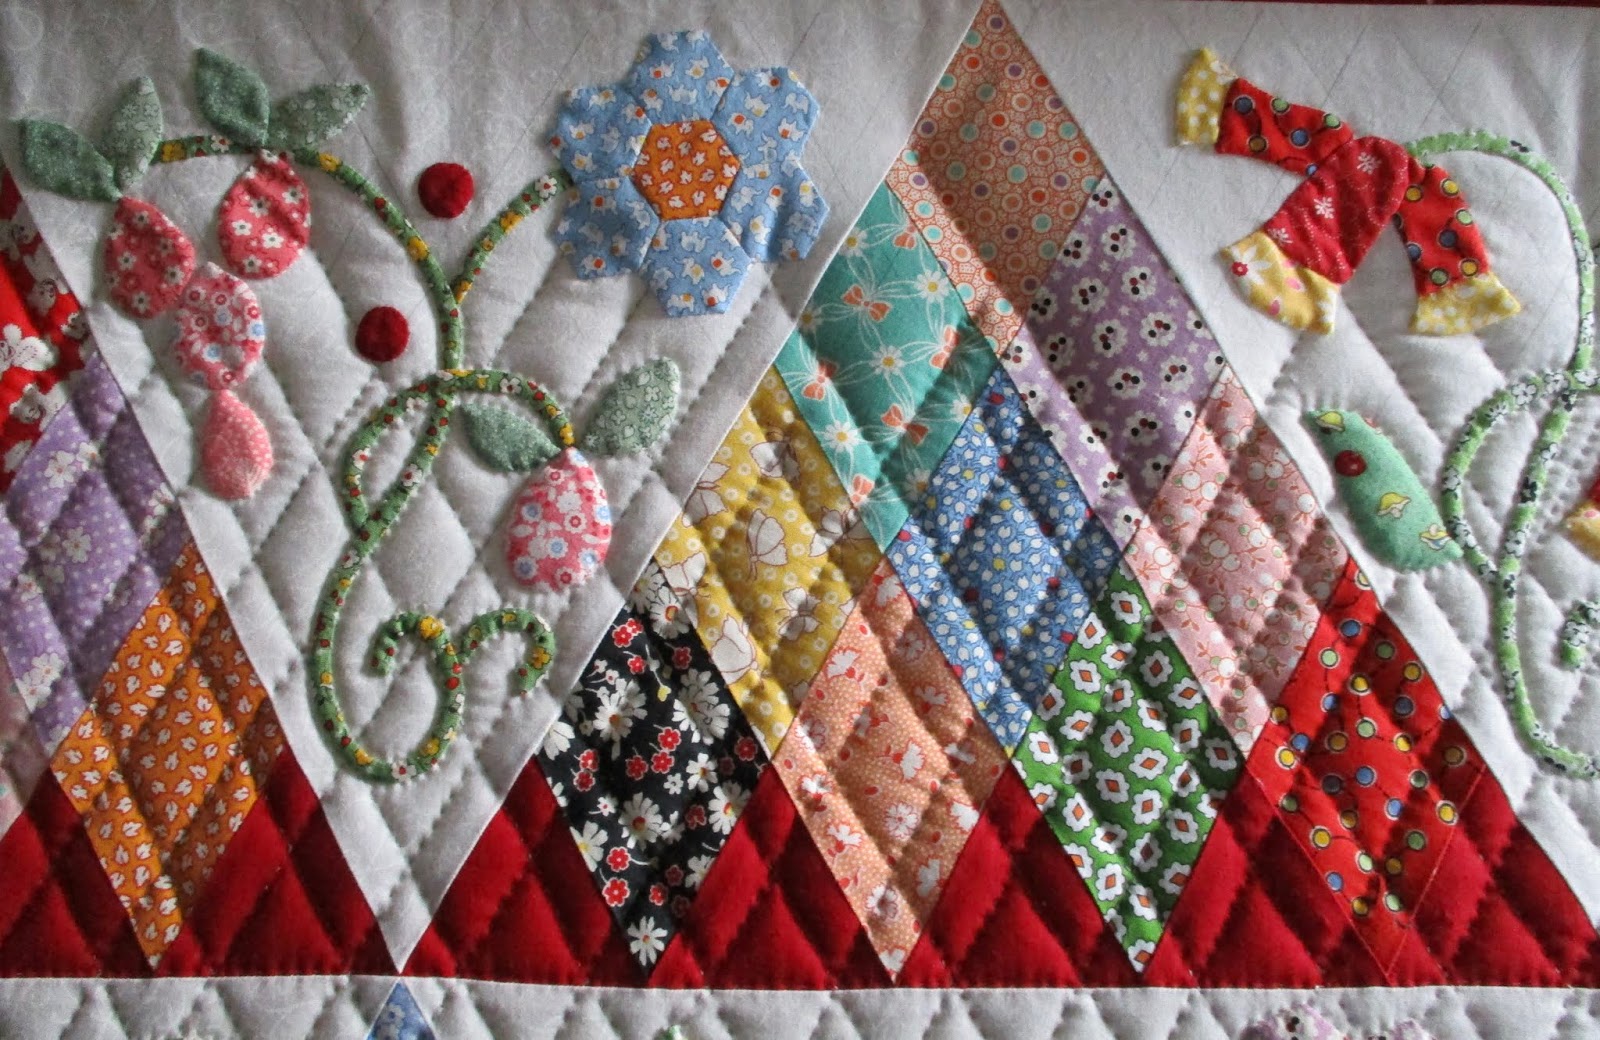
Even though it was the week of Christmas, it was quiet and calm, not much action around here. So not only did I finish the machine quilting on the feathered star quilt, I finished another row of hand quilting on Floral Triangles!
Close up pictures of the individual triangles and borders.
I still need to quilt the seam line between the two rows. That was just a little too far for me to quilt nicely so I had to wait until I rolled.
Row 3 is completely finished and the quilting on row 4 will start today. Row 4 is the middle row of the quilt, progress is happening!
I also had a small embroidery project this week. I forgot to make a label for the feathered star quilt. It's now sewn on and that project is a complete finish.
Linking to Kathy's Slow Sunday Stitching, Oh Scrap, Bambi's Show & Tell Monday, Monday Making, Design Wall Monday, To Do Tuesday
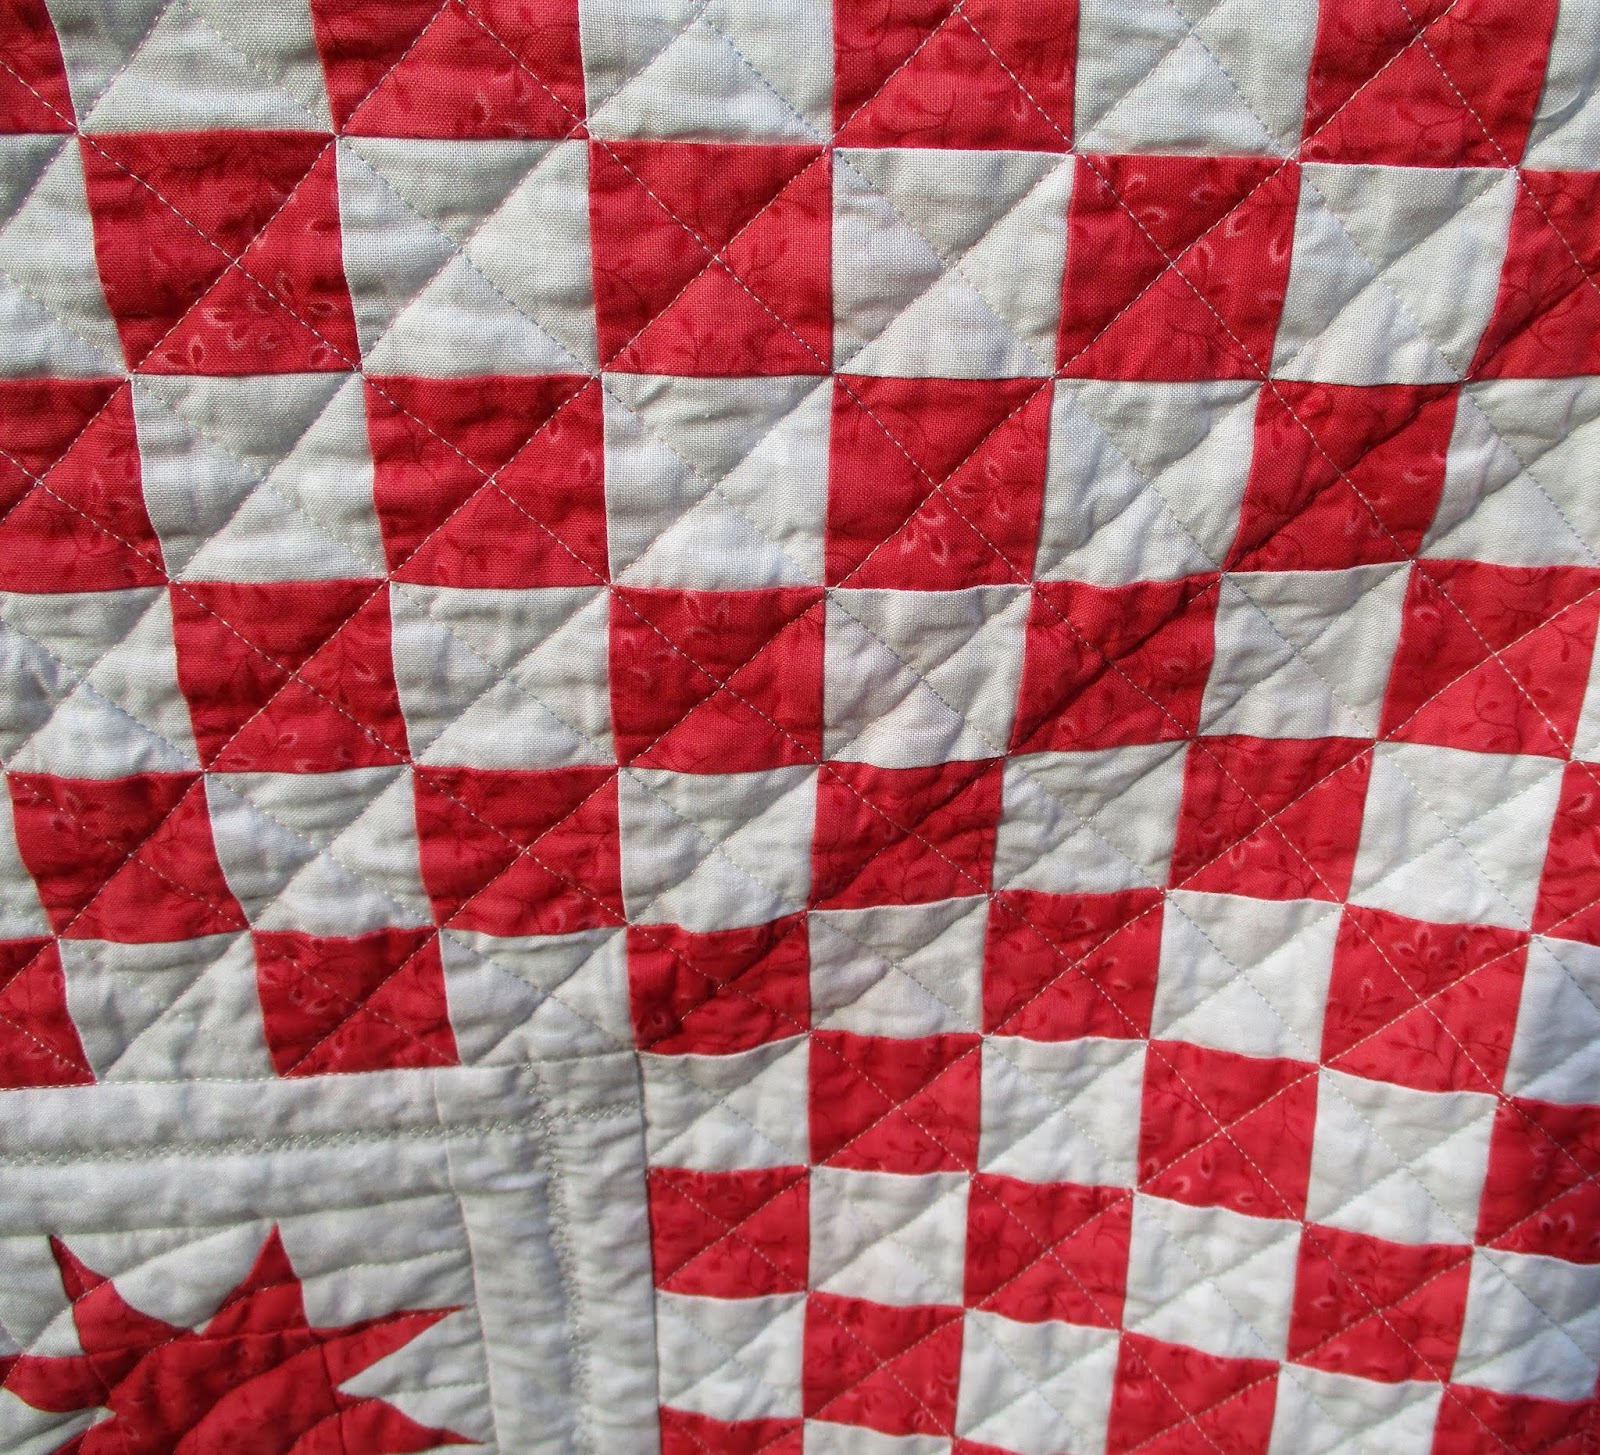
The feathered star is quilted! I admit my machine quilting isn't the greatest, hand quilting is my specialty. I don't think it's too bad but there are some oops! I'm never going to improve though if I don't practice.
The thread I used was a white iridescent that I thought would look nice.
The center was quilted using a Baptist Fan design.
After the quilt was completely quilted, I added the decorative stitching in the gray border between the stars and checkerboard. I didn't feel like quilting a small design, I was quilted out!
The checkerboard border was quilted with diagonal cross hatching which I didn't mark, just eyed it.
The backing is fabric that has been waiting for years to be used. At first glance you wonder why I used it but the flower matches the color of the stars.
I needed to piece the backing so I used some of the leftover checkerboard border for a nice touch.
The grass was too wet for a picture so I draped it over the glider on the porch.
After the quilting and washing, it measures 48", a nice size for a crib quilt.
For information about the pattern, read Wednesday's post.
Linking to Peacock Party, Confessions of a Fabric Addict, TGIFF!, Brag About Your Beauties, Finished Or Not Friday, Let's Make Baby Quilts, UFO Busting, Free Motion Mavericks
I wish everyone a peaceful Merry Christmas no matter what you're doing or who you are with today. Thank you for taking the time to read my blog.
Every year I like to set a challenge or two for me to accomplish during the year. One of the challenges of 2019 was to piece a feathered star, just 1 star, that's it! And then turn it into a crib quilt because I didn't want it to lay around.
The year has rushed by, so I decided December was the month to make the star if I wanted to meet this challenge. Earlier this year, I had googled free foundation pieced feathered stars. One of the options that pulled up was the Threaded Quilting Studio. If you sign up for her newsletter, you'll receive the feathered star pattern in three sizes, 16", 12" and 8".
I used the 16" pattern for my quilt.
The background fabric is a light gray and I decided to use a color other than blue, I like this reddish/pink color.
Along with the pattern, she even tells you what size to cut the pieces for the foundation paper piecing. She is generous with the cuts but, trust me, voice of experience here, you want plenty of fabric to trim. It is no fun to have your piece be too small.
My original plan was to piece the feathered star then add a checkerboard border but when I saw the feathered star quilt with sawtooth stars surrounding it on Patchwork Inspirations, I knew I had to change my plan. Scroll down in the pictures until you find it, isn't that a lovely quilt?
I didn't want to make that many sawtooth blocks but I did make 16.
Then I made the checkerboard border and here she is! She measures 49" square.
She's in the process of being quilted, I had hoped to have her finished for a Christmas reveal but it took awhile to piece the sawtooth blocks. She'll be the last finish for 2019.
I went with a two color project, I was auditioning the pattern and didn't want the distraction of more than 2 fabrics. I do plan to revisit the feathered star again sometime, and will use more than 1 fabric next time.
This is a well written pattern with clear directions. Jess also has step by step videos.
Linking to To Do Tuesday, Midweek Makers, Needle & Thread Thursday, Put Your Foot Down.
Not much hand quilting was accomplished this week. I had a piecing project I was excited about, that received first priority.
How much quilting?
The right outside border.
The right half triangle, a pieced triangle and partially quilted triangle. That's it!
Hand Quilt Along is an opportunity for hand quilters and piecers to share and motivate one another. We post every three weeks, to show our progress and encourage one another. If you have a hand quilting project and would like to join our group contact Kathy at the link below.
Kathy, Margaret, Emma, Tracy, Deb, Susan, Nanette, Edith, Sharon, Karrin, Gretchen, Kathi, Bella, Daisy and Connie
Linking to Kathy's Slow Sunday Stitching, Oh Scrap, Bambi's Show & Tell Monday, Monday Making, Design Wall Monday, BOM's Away
Project 6 was the last project of the retreat.
Years ago I won a charm pack called Trail's End by Holly Taylor for Moda. It has lain around here ever since! On someone's blog somewhere, I came across the Moda Love Quilt pattern which is actually the same pattern in three different sizes and uses precut squares. Finally, a pattern to use that charm pack.
I prepped squares and stuck it and the pattern into my retreat bag. That project has lived there for awhile, waiting it's turn to be sewn. At the April retreat I pieced the HST's, at this retreat the star was finally sewn.
I didn't use any of the light creams from the package, I cut my own fabric for background just to provide continuity.
I like the way the block looks except for those light pinkish/brown HST's. I had used all the dark browns from the pack and pulled these from the pack. I have never liked that shade of brown.
Oh well, this is destined to be a charity quilt. I know how I want to finish it, again just need to find the time. And again, another project to finish in 2020.
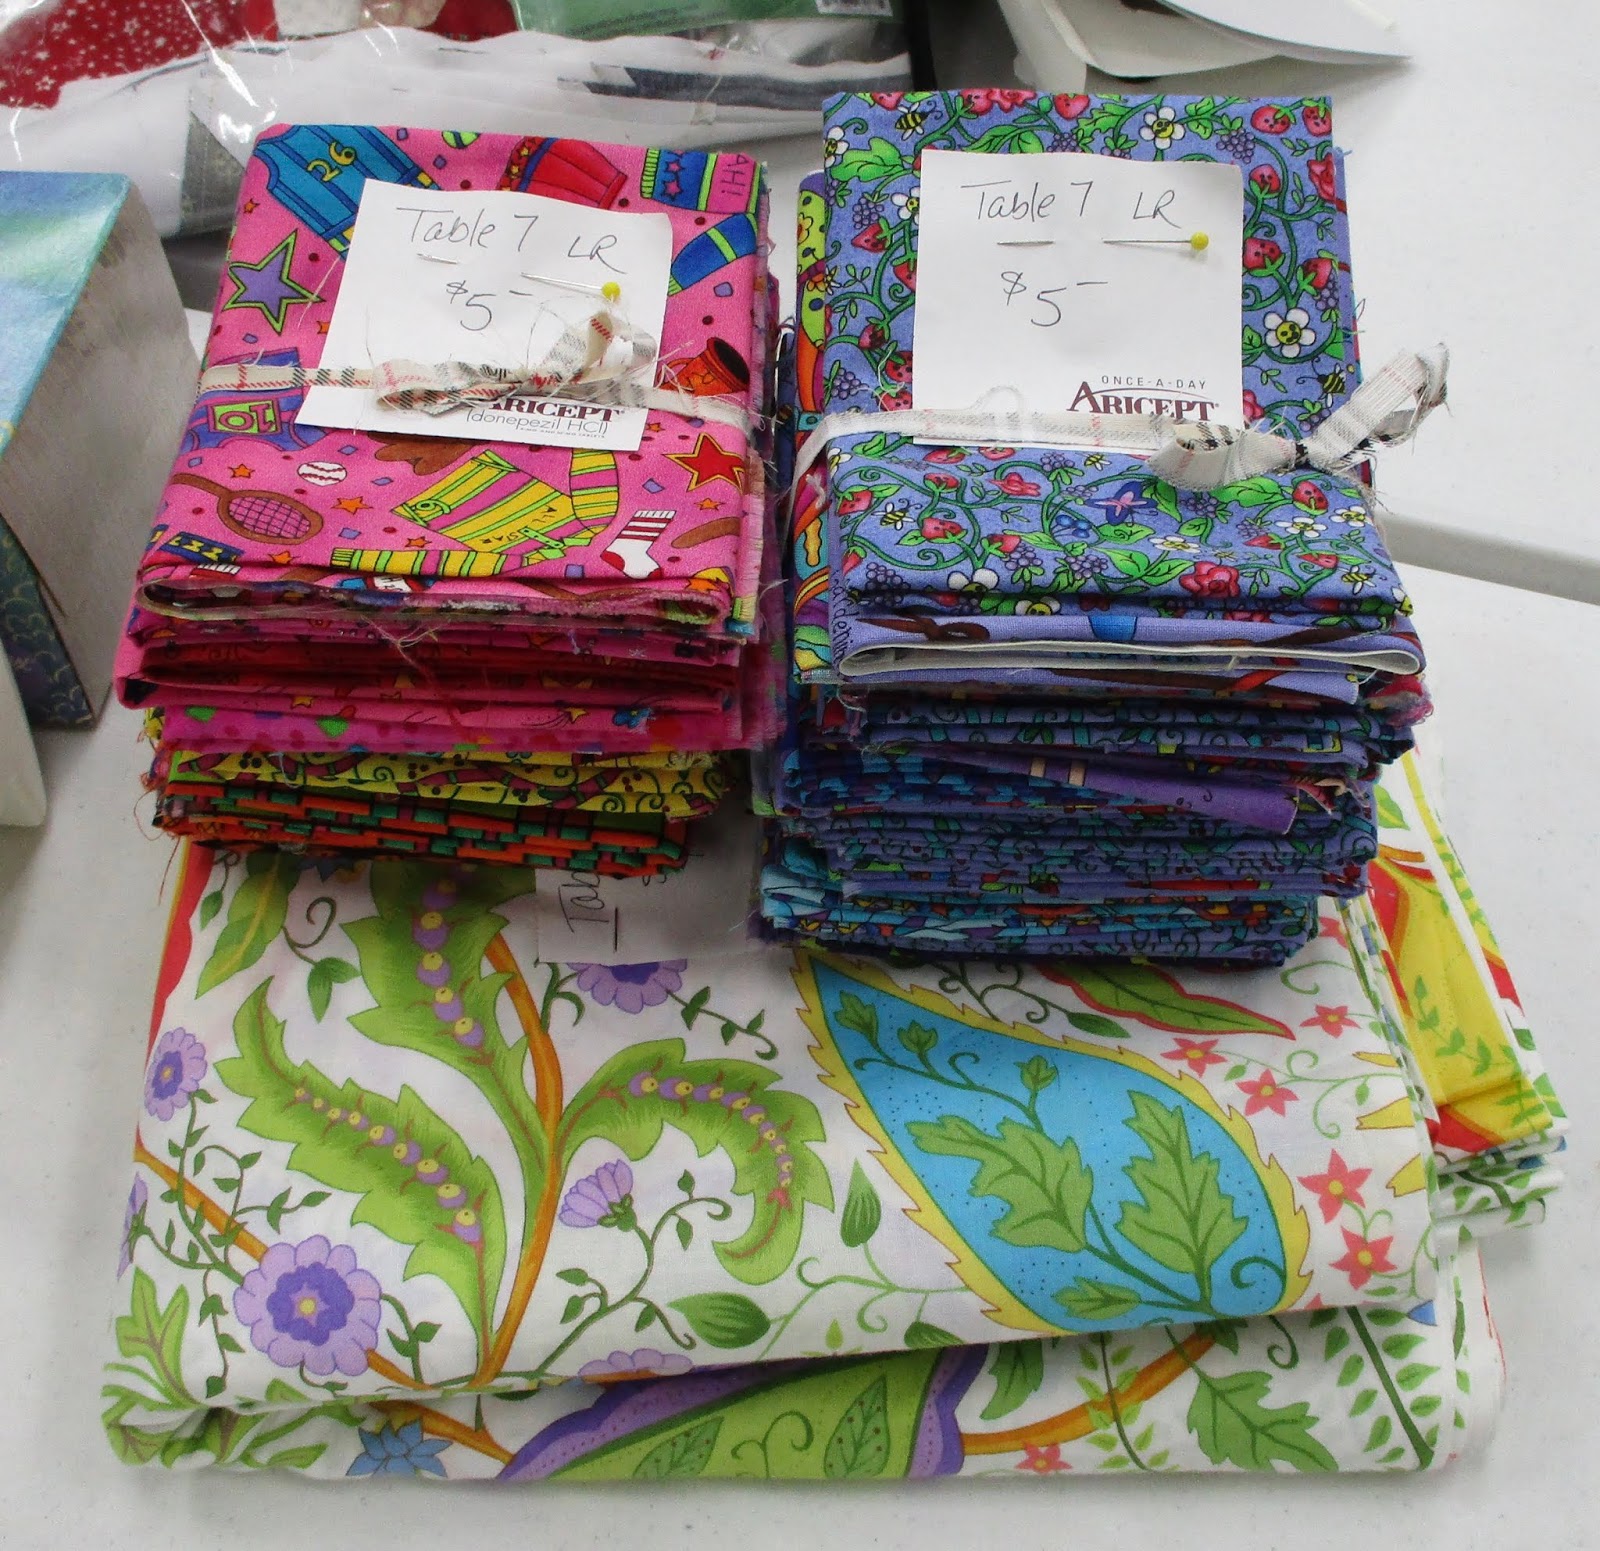
This is my last post about the retreat and I need to show you what I bought! I only shopped at the resale table and came across these 2 fat quarter bundles and the yardage.
I'm very please with my purchases. I've been wanting to brighten my stash and these fabrics will make a great contribution to that.
Linking to Peacock Party, Confessions of a Fabric Addict, TGIFF!, Brag About Your Beauties, Finished Or Not Friday, UFO Busting
Project #5 was a last minute unplanned project. Remember all those flippy corners I cut off for the snowball blocks? I had originally thought I would save them and make a miniature quilt for myself but then decided no way!
I tried to give them away to the miniature sewists at the retreat but no one would take them! I kept 16 of the little guys and made HST's with them, then sewed them into a little pincushion. This little guy measures 3-1/2".
This is the only project I've finished since I've been home. He's been filled with walnut hulls aka pet bird litter.
My quilting wasn't perfect but it was fun. It would have been interesting to see what a mini quilt would have looked like made with all these little HST's that finished at 3/4" but I don't have that much patience!
In case you are wondering what I did with the other pieces that didn't get used, I bagged them and gave them to my friend Elaine who will give to a friend of hers who will then give them to another friend who makes animal cushions for a humane shelter. Did you follow all those friends?
Since I've been home, I've decided if I ever that many pieces leftover again, I'll give them away here on my blog. There is probably somebody out there would like 500+ triangles pieces.
Linking to Midweek Makers, Put Your Foot Down
This week I made it completely across the row I was quilting. That's because the pieced blocks quilt faster than the applique blocks. I forgot to take a picture of the whole row and I've already rolled the quilt, ready to start quilting again.
From the left, side border.
And the rest of the blocks.
You may have noticed that some of the curliques on the bottom of the stems are kind of pleated.Originally I was using bias I had made but I didn't like the way that looked, so I switched to back basting. The more smooth curliques are back basted.
Linking to Kathy's Slow Sunday Stitching, Oh Scrap, Bambi's Show & Tell Monday, Monday Making, Design Wall Monday, BOM's Away