Despite my resolve to not start anymore quilts this year, I did! But it's a leader/ender quilt.

Recently I had an Indian Hatchet quilt finished, it took me many years to piece the blocks for this quilt. It originally lived in my retreat bag as a 'take along to retreat' project.
There were many kind remarks about the quilt but I could tell people didn't understand how I pieced the blocks. And since Blogger isn't very cooperative anymore, I'm not able to respond to people's comments. That's why I'm making the tutorial.
The blocks are very simple, you need a 2.5" square of background fabric and a cutoff triangle from binding or whatever. It doesn't matter what size the triangle is. If you want to cut triangles from a fat quarter or yardage, that's ok, it's your quilt, you use whatever fabric you want. (The green cutting mat makes the white fabric look pink)

Lay the triangle upside down onto the background fabric. I don't measure the triangle, I just eye it and see if it looks like it will cover the corner. Sometimes it doesn't but I don't resew it unless it's really off.
Stitch the triangle to the corner of the background fabric.

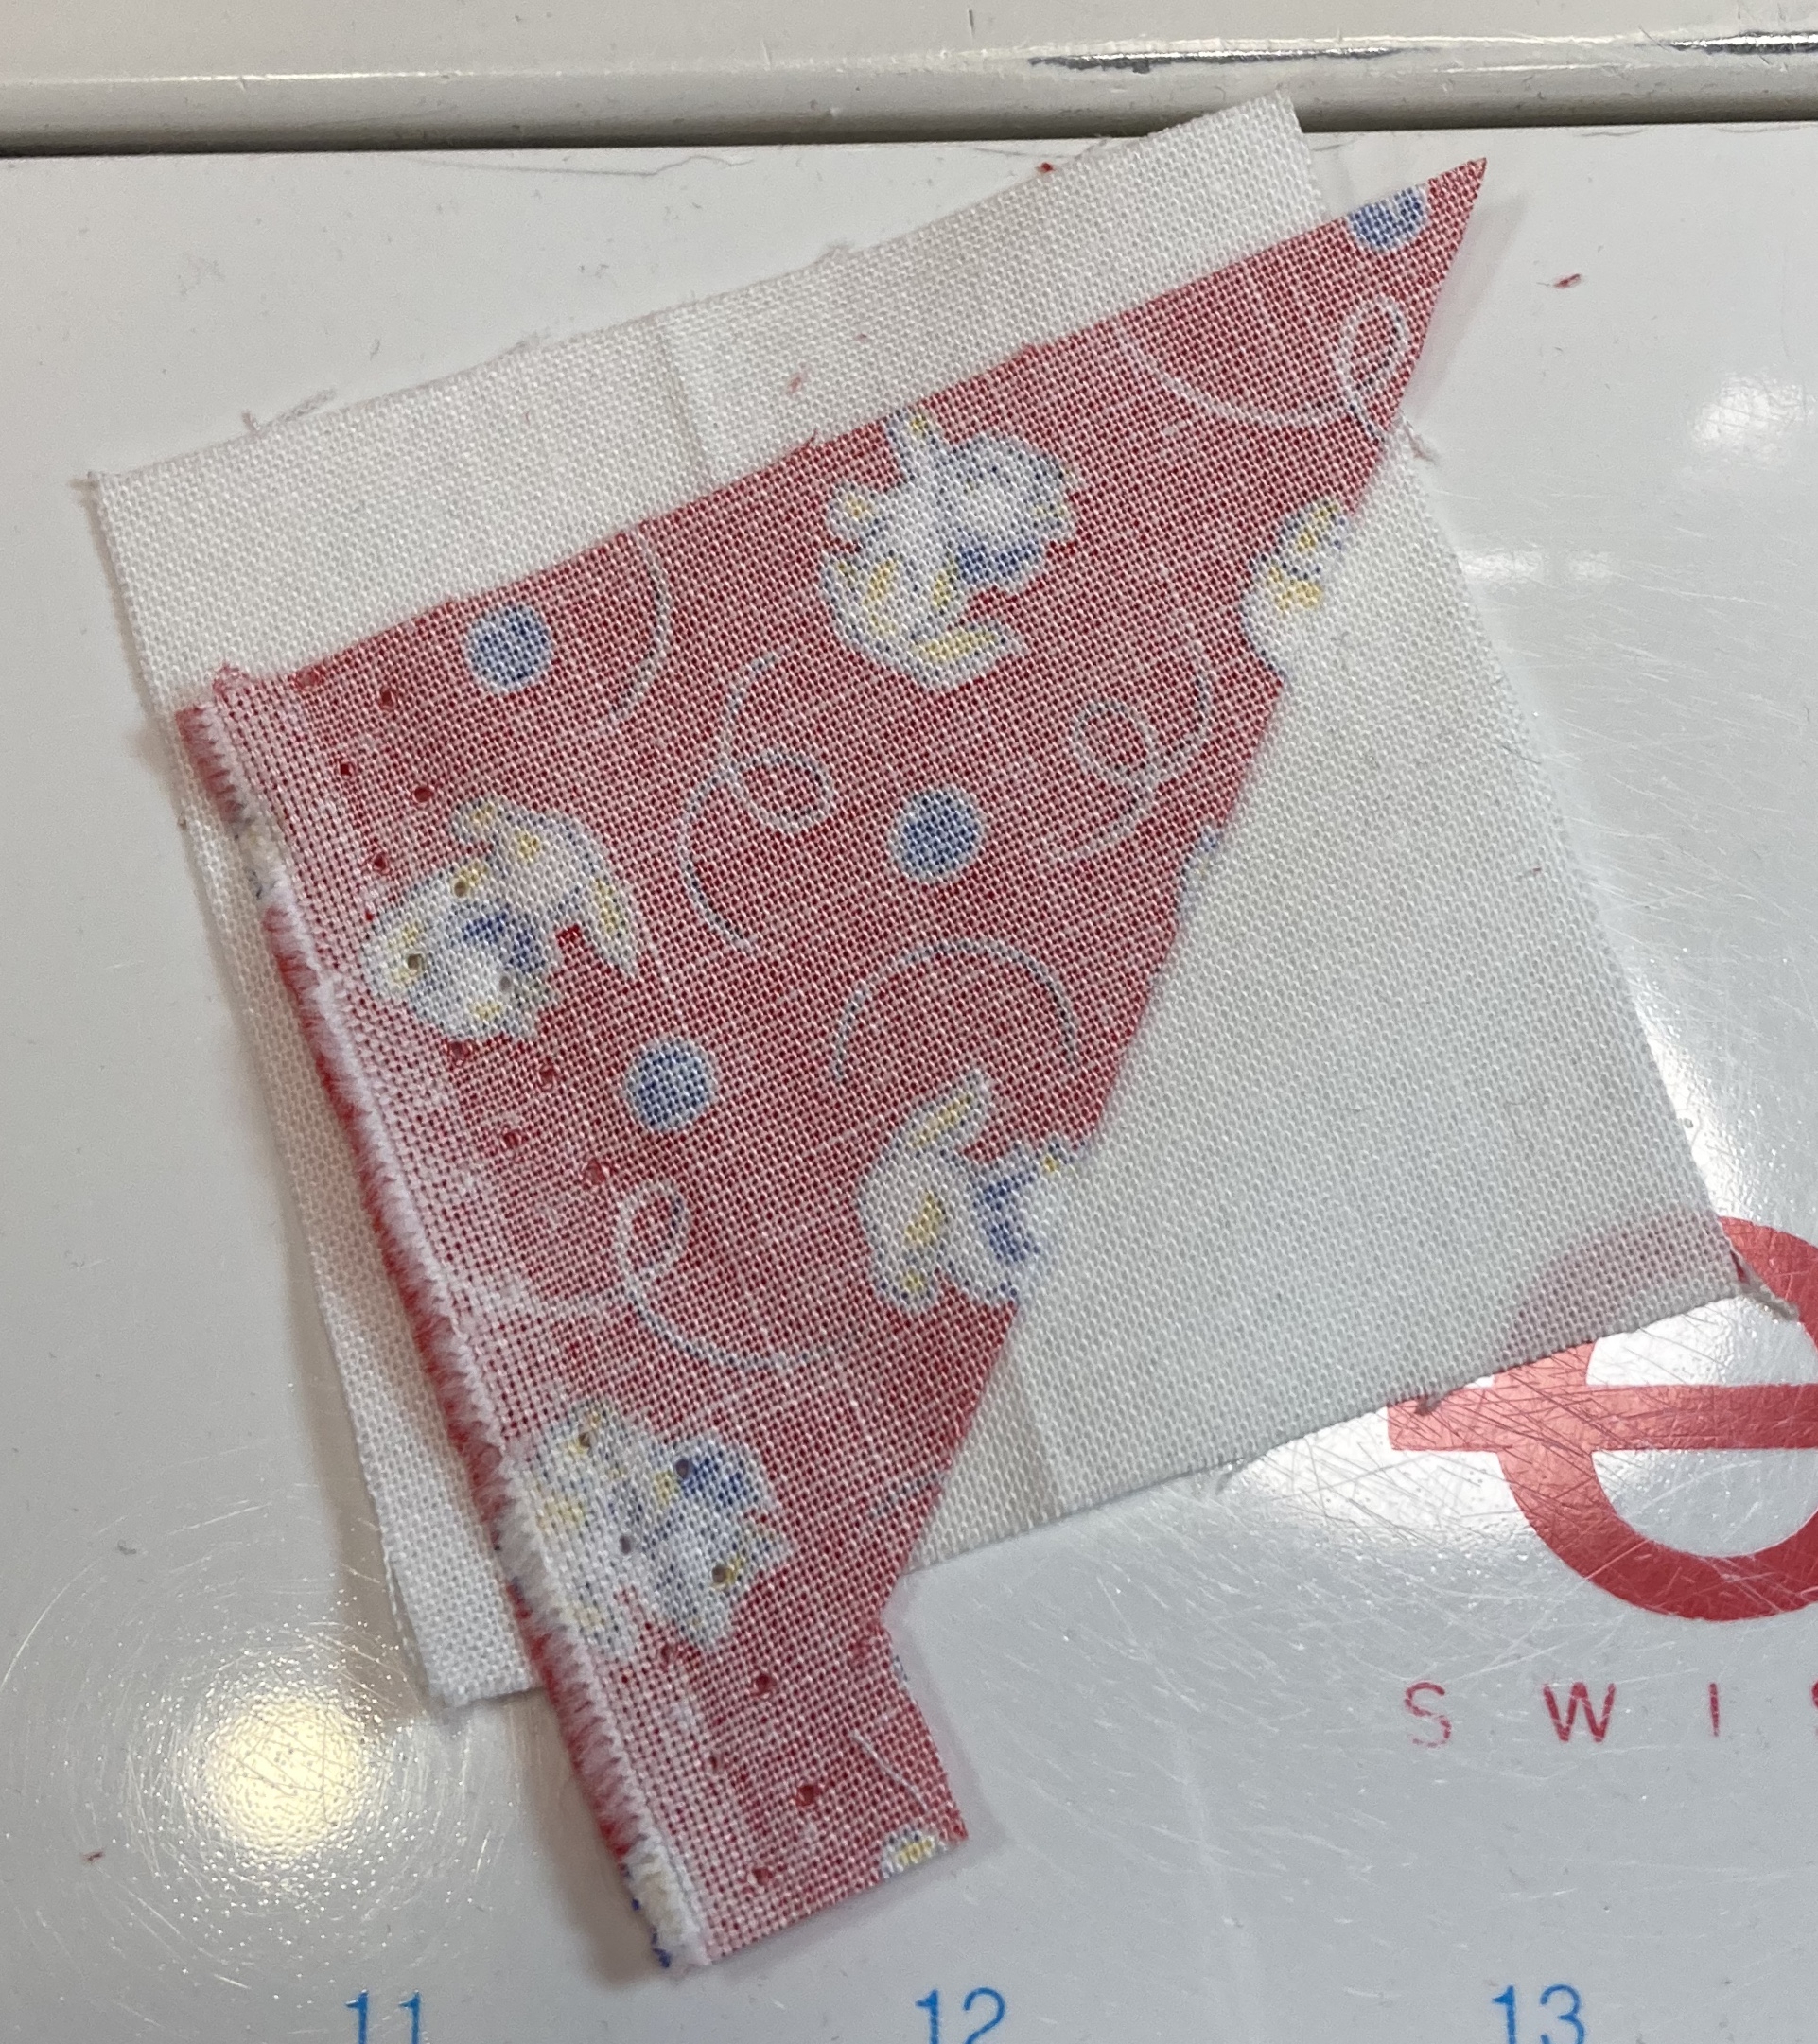
Press triangle to one side. I normally wait to press until I have a bunch of them sewn. A bunch is more than 5 but less than 100. You don't have to press, you could wait to press until the other side is attached but the triangle lays flatter for me if I press them separately.

Backside of block after first pressing.


18 comments:
Great tutorial, Gretchen.
I have a shoe box full of triangles just ready to start and have fun.
Thanks! I just might have a few triangles around here ;) and this would be a good way to use them. ~Jeanne
Great tutorial! I don't have any leftover triangles right now but I am bookmarking this tutorial so I can use it when I do! Thanks Gretchen and have a great day!
Like everyone, I have lots of those triangle cut-offs. This is a great way to use them!
Thank you for your great tutorial! What a fun way to use up scrap triangles! We all probably have tons of them!
Thanks for the great tutorial! It’s a block I want to do! ‘ Cause you know I can’t throw those triangles away!
Your quilt looks lovely. It reminds me that I have one very similar somewhere....awaiting some attention.
Hi Gretchen! WOWEE! This is very clever and a fabulous use of scraps. It makes perfect sense about why it took so long to piece the Indian Hatchet quilt. I'll bet it has lots of bits and pieces from many different earlier projects that you can look at fondly. Thanks for the tutorial on this! {{Hugs}} ~smile~ Roseanne
That is a neat scrappy pattern. I might have to try it because I have so many cut-off triangles in my scrap tubs.
Thank you so much for the tutorial, Gretchen. I bet this quilt has many memories attached too it and I am bet you are over the moon to have it completed. Also your Hearts and Wreath quilt is looking amazing!!!
Hi Gretchen, that's a lovely scrappy quilt!
What a wonderful tutorial! And you have me second guessing tossing even the tiniest of scraps. What a clever way to use those little bits!
This looks like a fun quilt to make when measurements have not restrictions! Your quilt is very unique and scrappy! Thx for the Tutorial! Hugs
Simple technique and such a great way to use up scraps! Thanks for sharing on my weekly show and tell, Wednesday Wait Loss.
Wow thank you for that tutorial! It looks like such a fun way to use up scraps. Your quilt turned out so pretty too. Thank you for sharing with us at To Do Tuesday!
Thanks for this post. I look at those cutoffs from binding and don't know what to do with them and hate to throw them out. Solution given. Happy quilting.
Yay! Another place to use small bits! Thank you so much , I have lots of fabric scraps for this, I hate to discard good fabric.
Stay safe and sew on !
I love this one, and all scrappy quilts. I'm sewing up similar blocks and hope to have enough for a quilt next year. Have a nice weekend.
Post a Comment