Friday, February 3, 2023

Wintersweet Finish!

My Wintersweet quilt is a flimsy! This is such a simple pattern but so cute!


Right now wintersweet is 75" square but I think it looks unfinished. If I add partial 9 patch blocks, the chain will be completed and bring the size to 82". What do you think?

I found this red & white stripe in my stash to use for binding but there is only a fat quarter. A variety of red fabrics will be used along with the striped fabric.

Wintersweet is a free pattern from Cake Stand Quilts. I want to make this pattern in other colorways too. I can see it in spring fabrics, autumn fabrics and let's not forget blue and yellow fabrics!

I've start prepping fabrics for another Christmas quilt, this one utilizes a charm pack of Christmas fabrics I purchased a long long long time ago.

Linking to Needle & Thread Thursday, Put Your Foot Down, TGIFF!, Peacock Party, Whoop Whoop Party, Finished or Not  Friday, Off the Wall Friday, Beauty Pageant, Patchwork & Quilts

Tuesday, January 31, 2023

SAHRR, Round 2

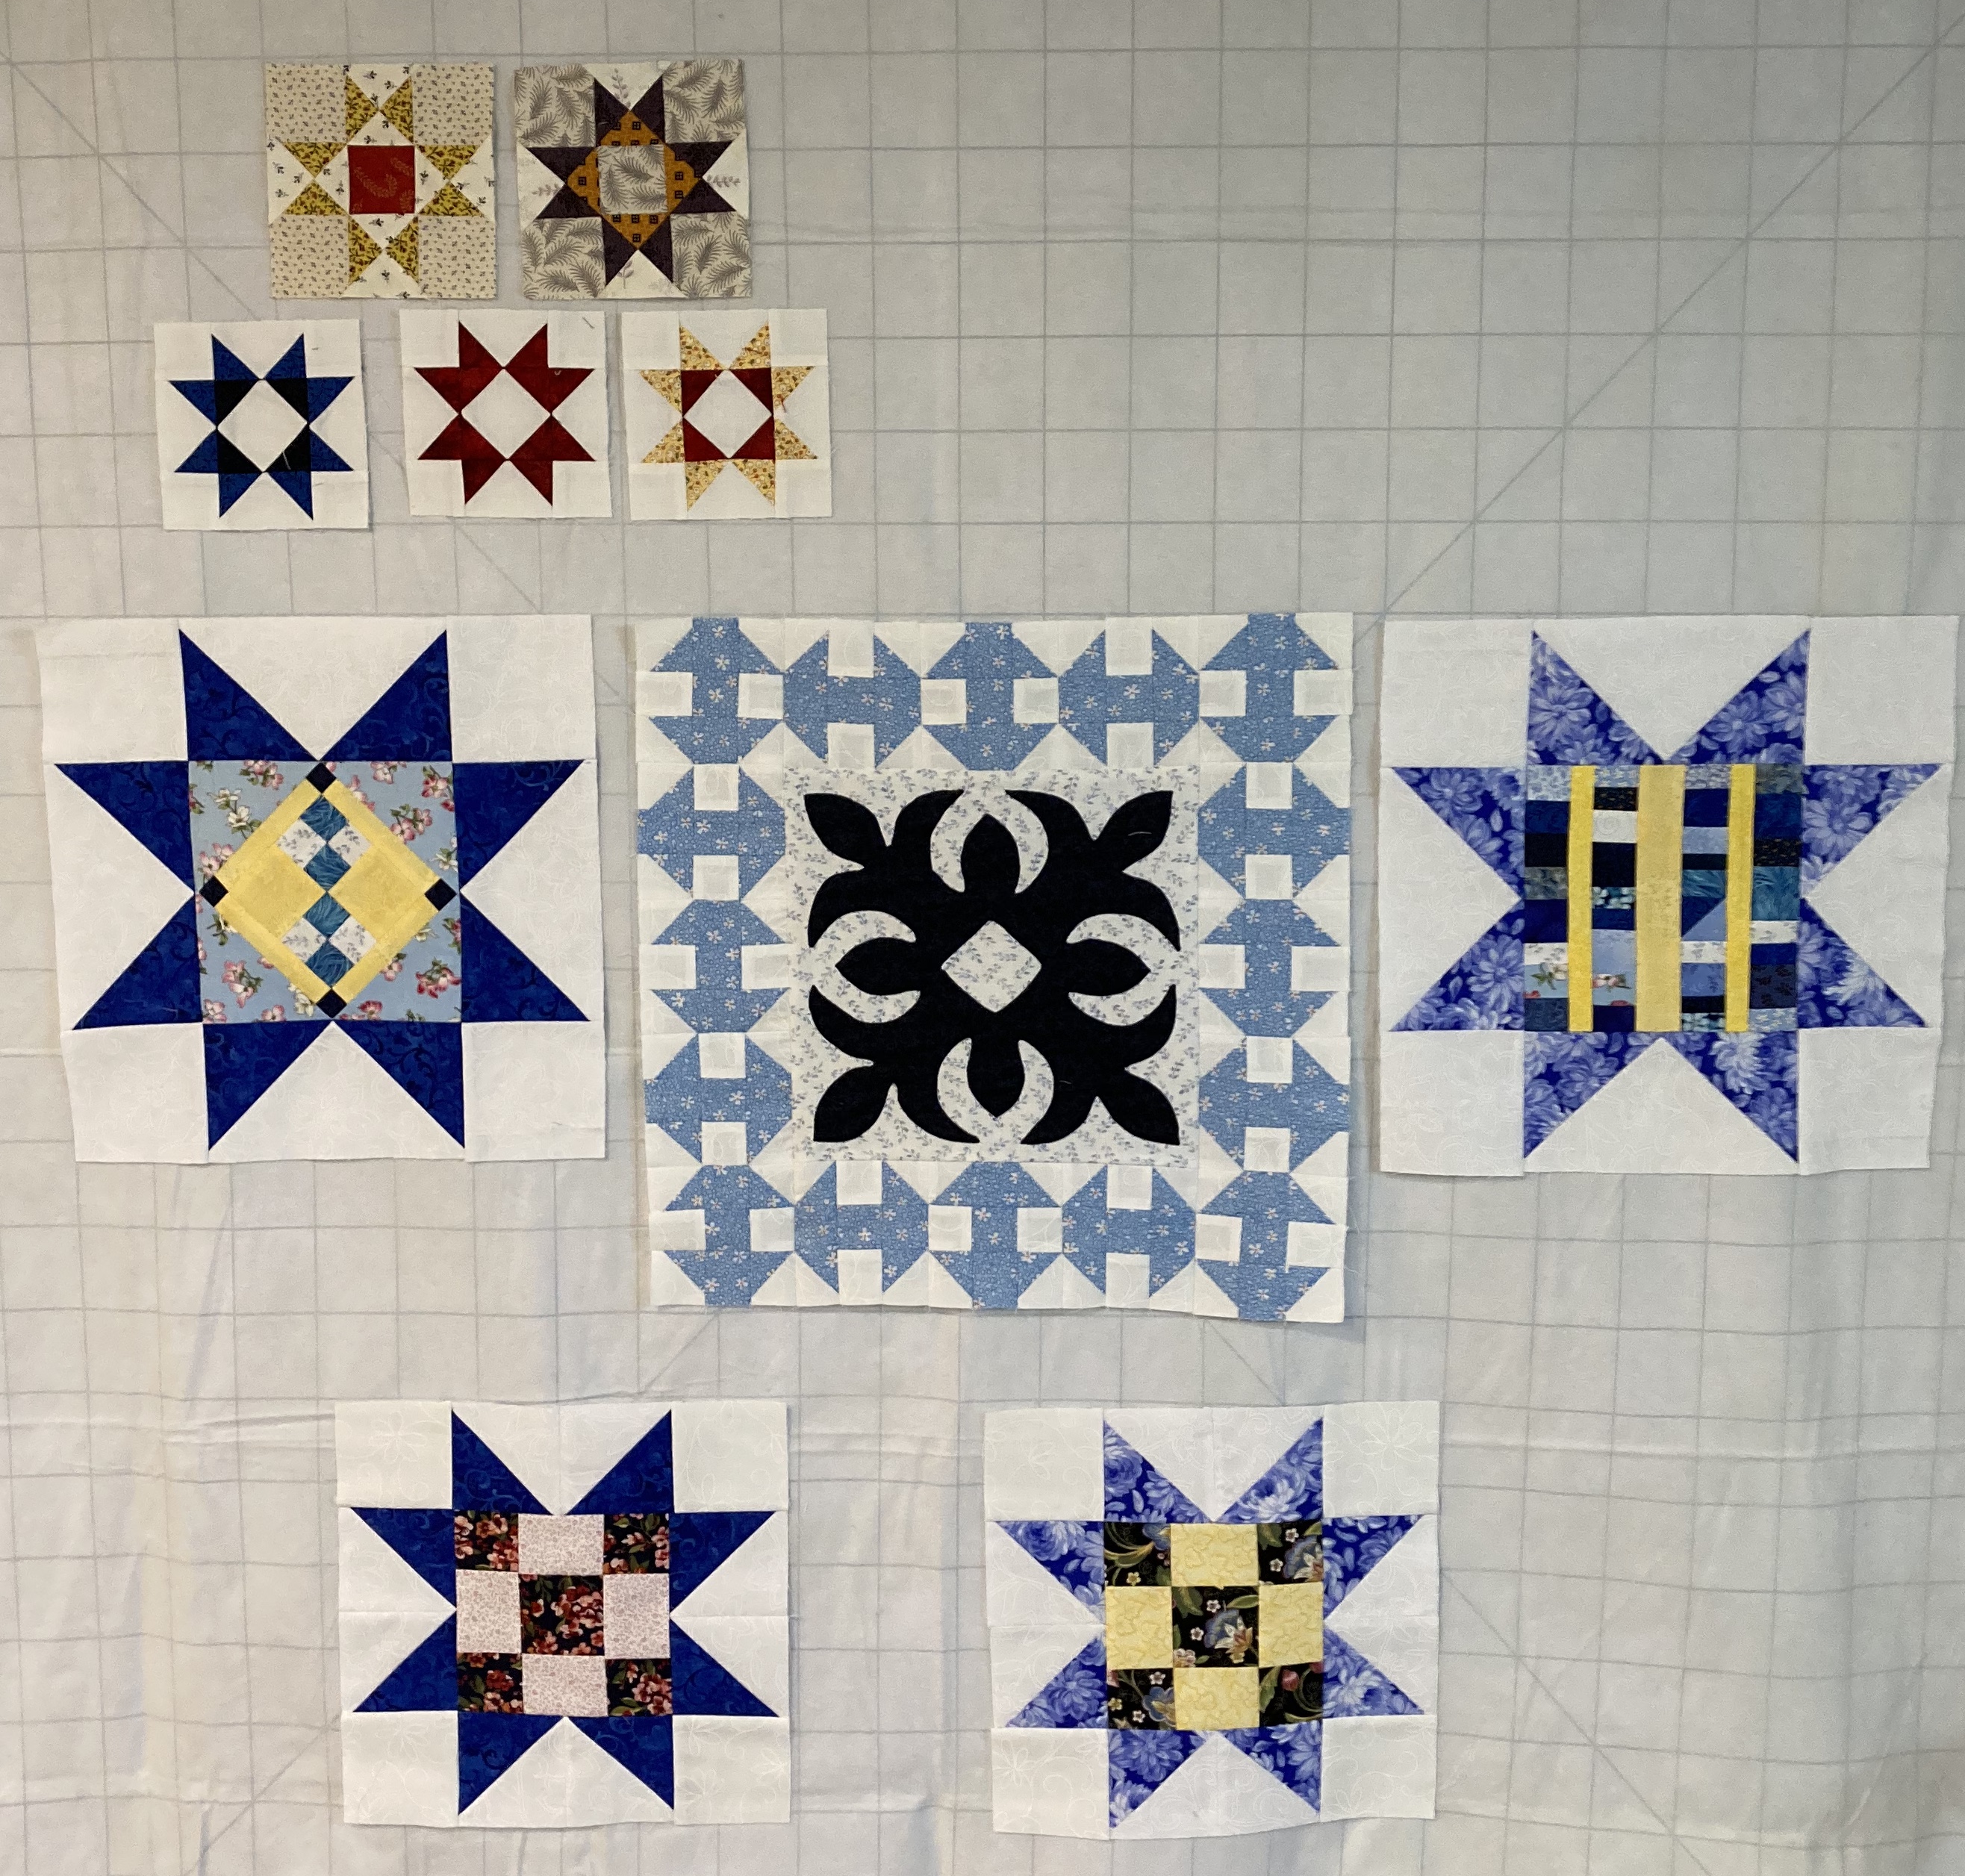
Round 2 of the SAHRR is stars, any type of star we want to make. I chose a regular star but the centers of my stars are  orphan blocks. The first two stars have centers that didn't make it into my Nearly Insane quilt.

The centers of these stars finish at 6" while the whole block finishes at 12".


I'm not sure why the center of the above block made it into the orphan box, it looks fine to me.


I do remember why this block didn't make it into Nearly Insane, I didn't like it! 

I used the flippy corner method to make the flying geese for the above  two stars. I double sewed the corners and cut off the extra which made 16 HST's. Since my idea is to use orphan blocks in this quilt when possible and not to make more orphans, I used those HST blocks and made two smaller stars.


These two block are using uneven 9 patch blocks from the orphan box. I don't even remember what project they're left from.


The 9 patch star blocks will finish at 10".


There were five small orphan star blocks in the orphan box. I'm not sure how they'll be used but since they were stars, they're on the wall with the big blocks.

My quilt is going to be made the row by row design. I'll wait to sew these blocks together until all of the SAHRR blocks have been completed.


Hopefully a lot of orphan blocks will be incorporated as the weeks go by.

Wintersweet

The rows for Wintersweet have been sewn together. I did not lay all the blocks out individually. I gambled and just sewed the blocks as I came to them in the stack. I think I did pretty good.

Even though I have a very nice display wall, I organized the rows on the floor. It's hard to reach that high!    

These blocks make me smile, I think this is going to be a lovely quilt.

I'll decide if I want to add borders while I'm sewing the rows together. The pattern doesn't show borders but I'm normally a border person.

The free pattern for Wintersweet is found here.

Linking to Monday MusingsTo Do TuesdayMidweek Makers, Magic Crafts, Wednesday Wait Loss

Sunday, January 29, 2023

Lady Jane Quilting Progress

Hand quilting Lady Jane has been so much fun! I'm so pleased to be able to roll every week!

This week I quilted the checkerboard section at the bottom of the quilt and used a Baptist fan design. Here is a close up view of a section.

And a view across the length of this quilted section.

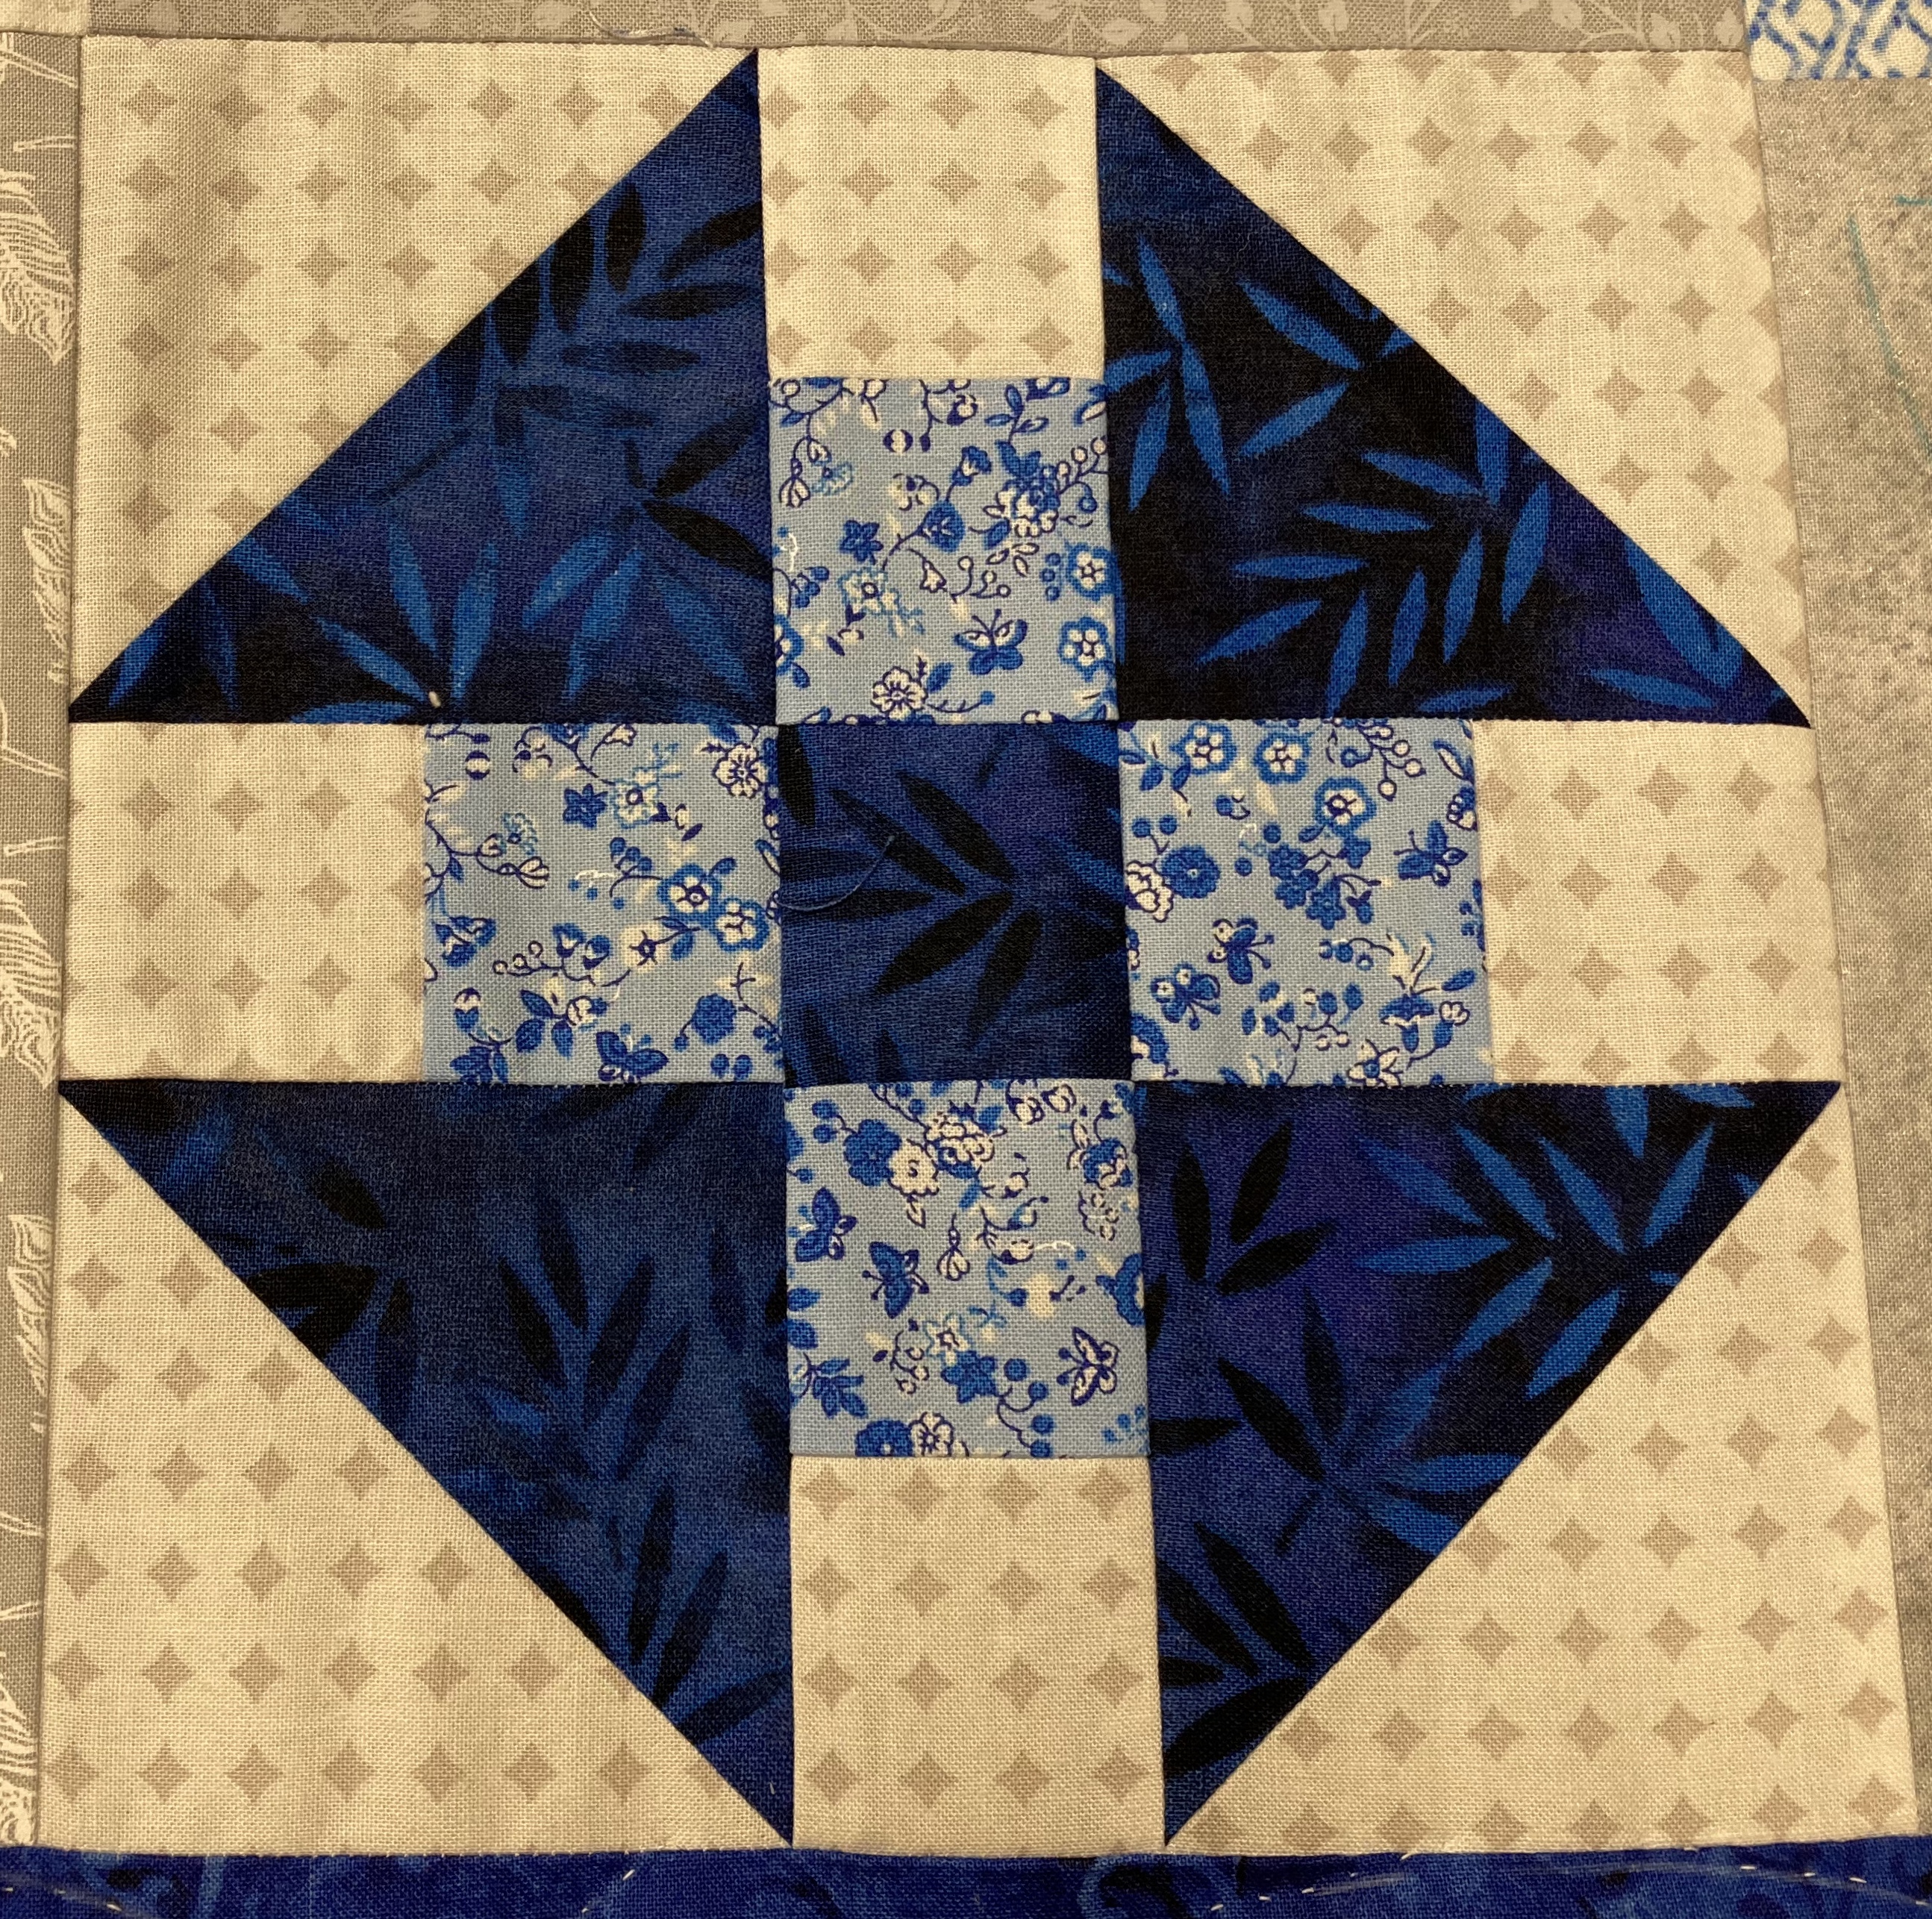
You can see the next section to be quilted, the churn dash blocks and the alternate plain squares.

The plain squares are various gray fabrics and are all marked with the same design.


The color is off in these two pictures, the fabrics are NOT yellow! The colors in the first two pictures are what the quilt really looks like.

Stitching in the ditch is the plan for the churn dash blocks.


Last week I had a very long detailed, and possibly boring, post about loading a quilt into my Grace hand quilting frame. Here is link to that post.

I'm unable to respond to individual comments in the comments sections so I'm answering a question that was asked in the post about the quilting frame. 

The question was if I have trouble quilting different directions in a frame since with a hoop you can turn the hoop and quilt in all directions.

I grew up quilting in a frame, that is how I learned to quilt. I can quilt straight down towards myself and I also easily quilt to the left either straight or diagonally since I'm right handed. I can quilt straight up but I don't like to do that. I really don't have any problems but as I said, this is what I'm used to. 

Friday, January 27, 2023

Wintersweet

What can I say? I love 9 patches! So when I ran across the Wintersweet quilt on Marie's Quilt Bee blog, I had to have that pattern! 

Winter sweet is made with 2 blocks and I made the red 9 patches first.

Then I sewed green strip sets and made 4 patches . . . .

And green 9 patches. The green cutting mat seems to be affecting the coloring.

I arranged part of the blocks on the display wall. These are the true colors. 

The 9 patch blocks finish at 6" and they look very nice. After I had placed these blocks on the design wall, I had to wonder how this quilt would look with 3" finished blocks? Then I thought how long would it take me? I'm not going down that rabbit hole right now, maybe someday but not now!

Wintersweet is the 2nd Christmas quilt I've pieced this month. I've using fabrics left from Peppermint Pines and from my stash. The background fabric is an assortment of white fabrics.

The free pattern is available from Cake Stand Quilts. Scroll down to the bottom of that post to print the pattern.

Linking to Needle & Thread Thursday, Put Your Foot Down, TGIFF!, Peacock Party, Whoop Whoop Party, Finished or Not  Friday, Off the Wall Friday, Beauty Pageant, Patchwork & Quilts

Wednesday, January 25, 2023

SAHRR, The First Round

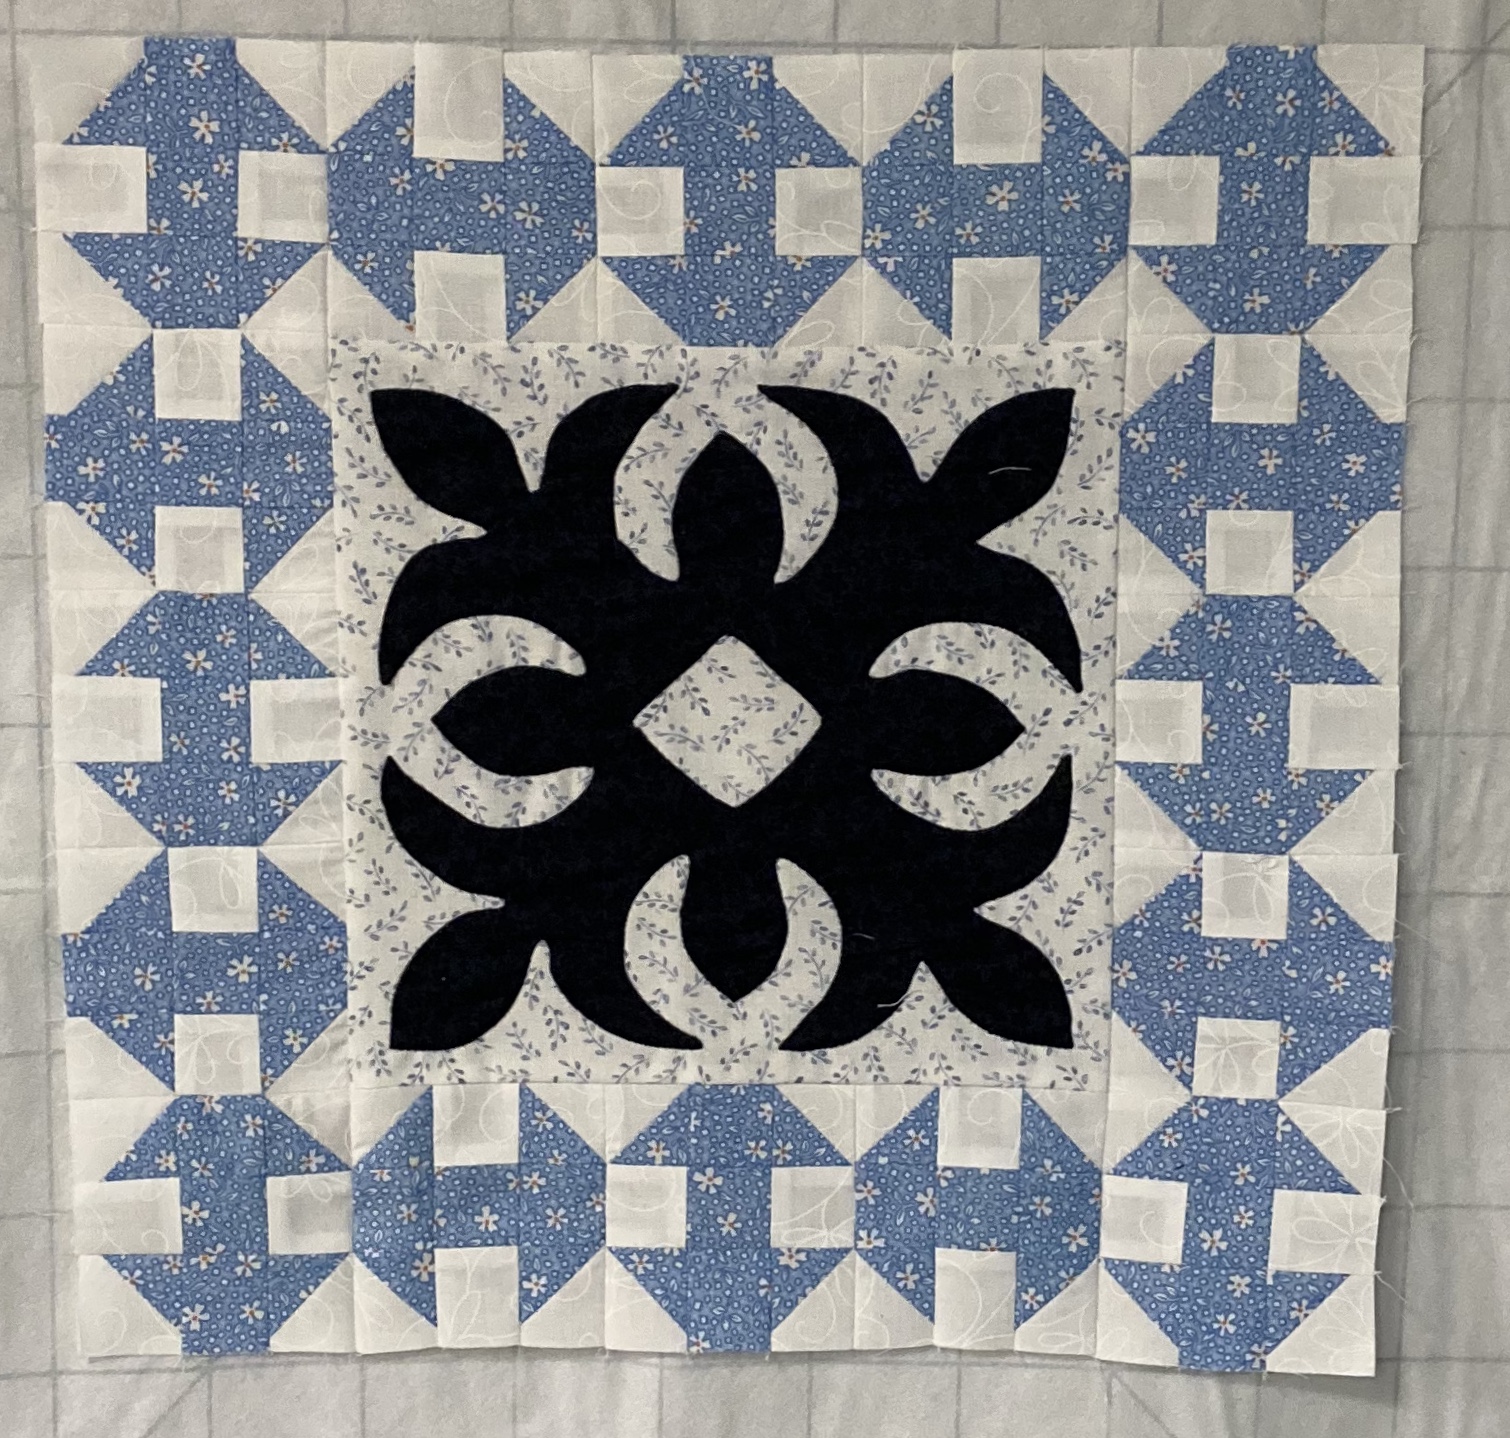
Roseanne has selected the spool block as the first round of the SAHRR (stay at home round robin). I have never been fond of the spool block and never made one before. I doubt I ever will again.

Rosemary shared the dimensions on her blog and gave suitable instructions.

I have fussed and messed with these blocks for 3 days which has been rather frustrating to me. I didn't think they looked right but I sewed them onto my center anyway.

After I took the picture to show you, I realized that ALL OF THE BLOCKS are incorrectly sewn!!! I DON'T CARE ANYMORE! I have never had such a problem piecing blocks!

So here is my center with the incorrectly sewn spool blocks.

I hope this is encouraging to beginning sewests, even long time quilters make mistakes!

Tuesday, January 24, 2023

Putting a Quilt in the Frame

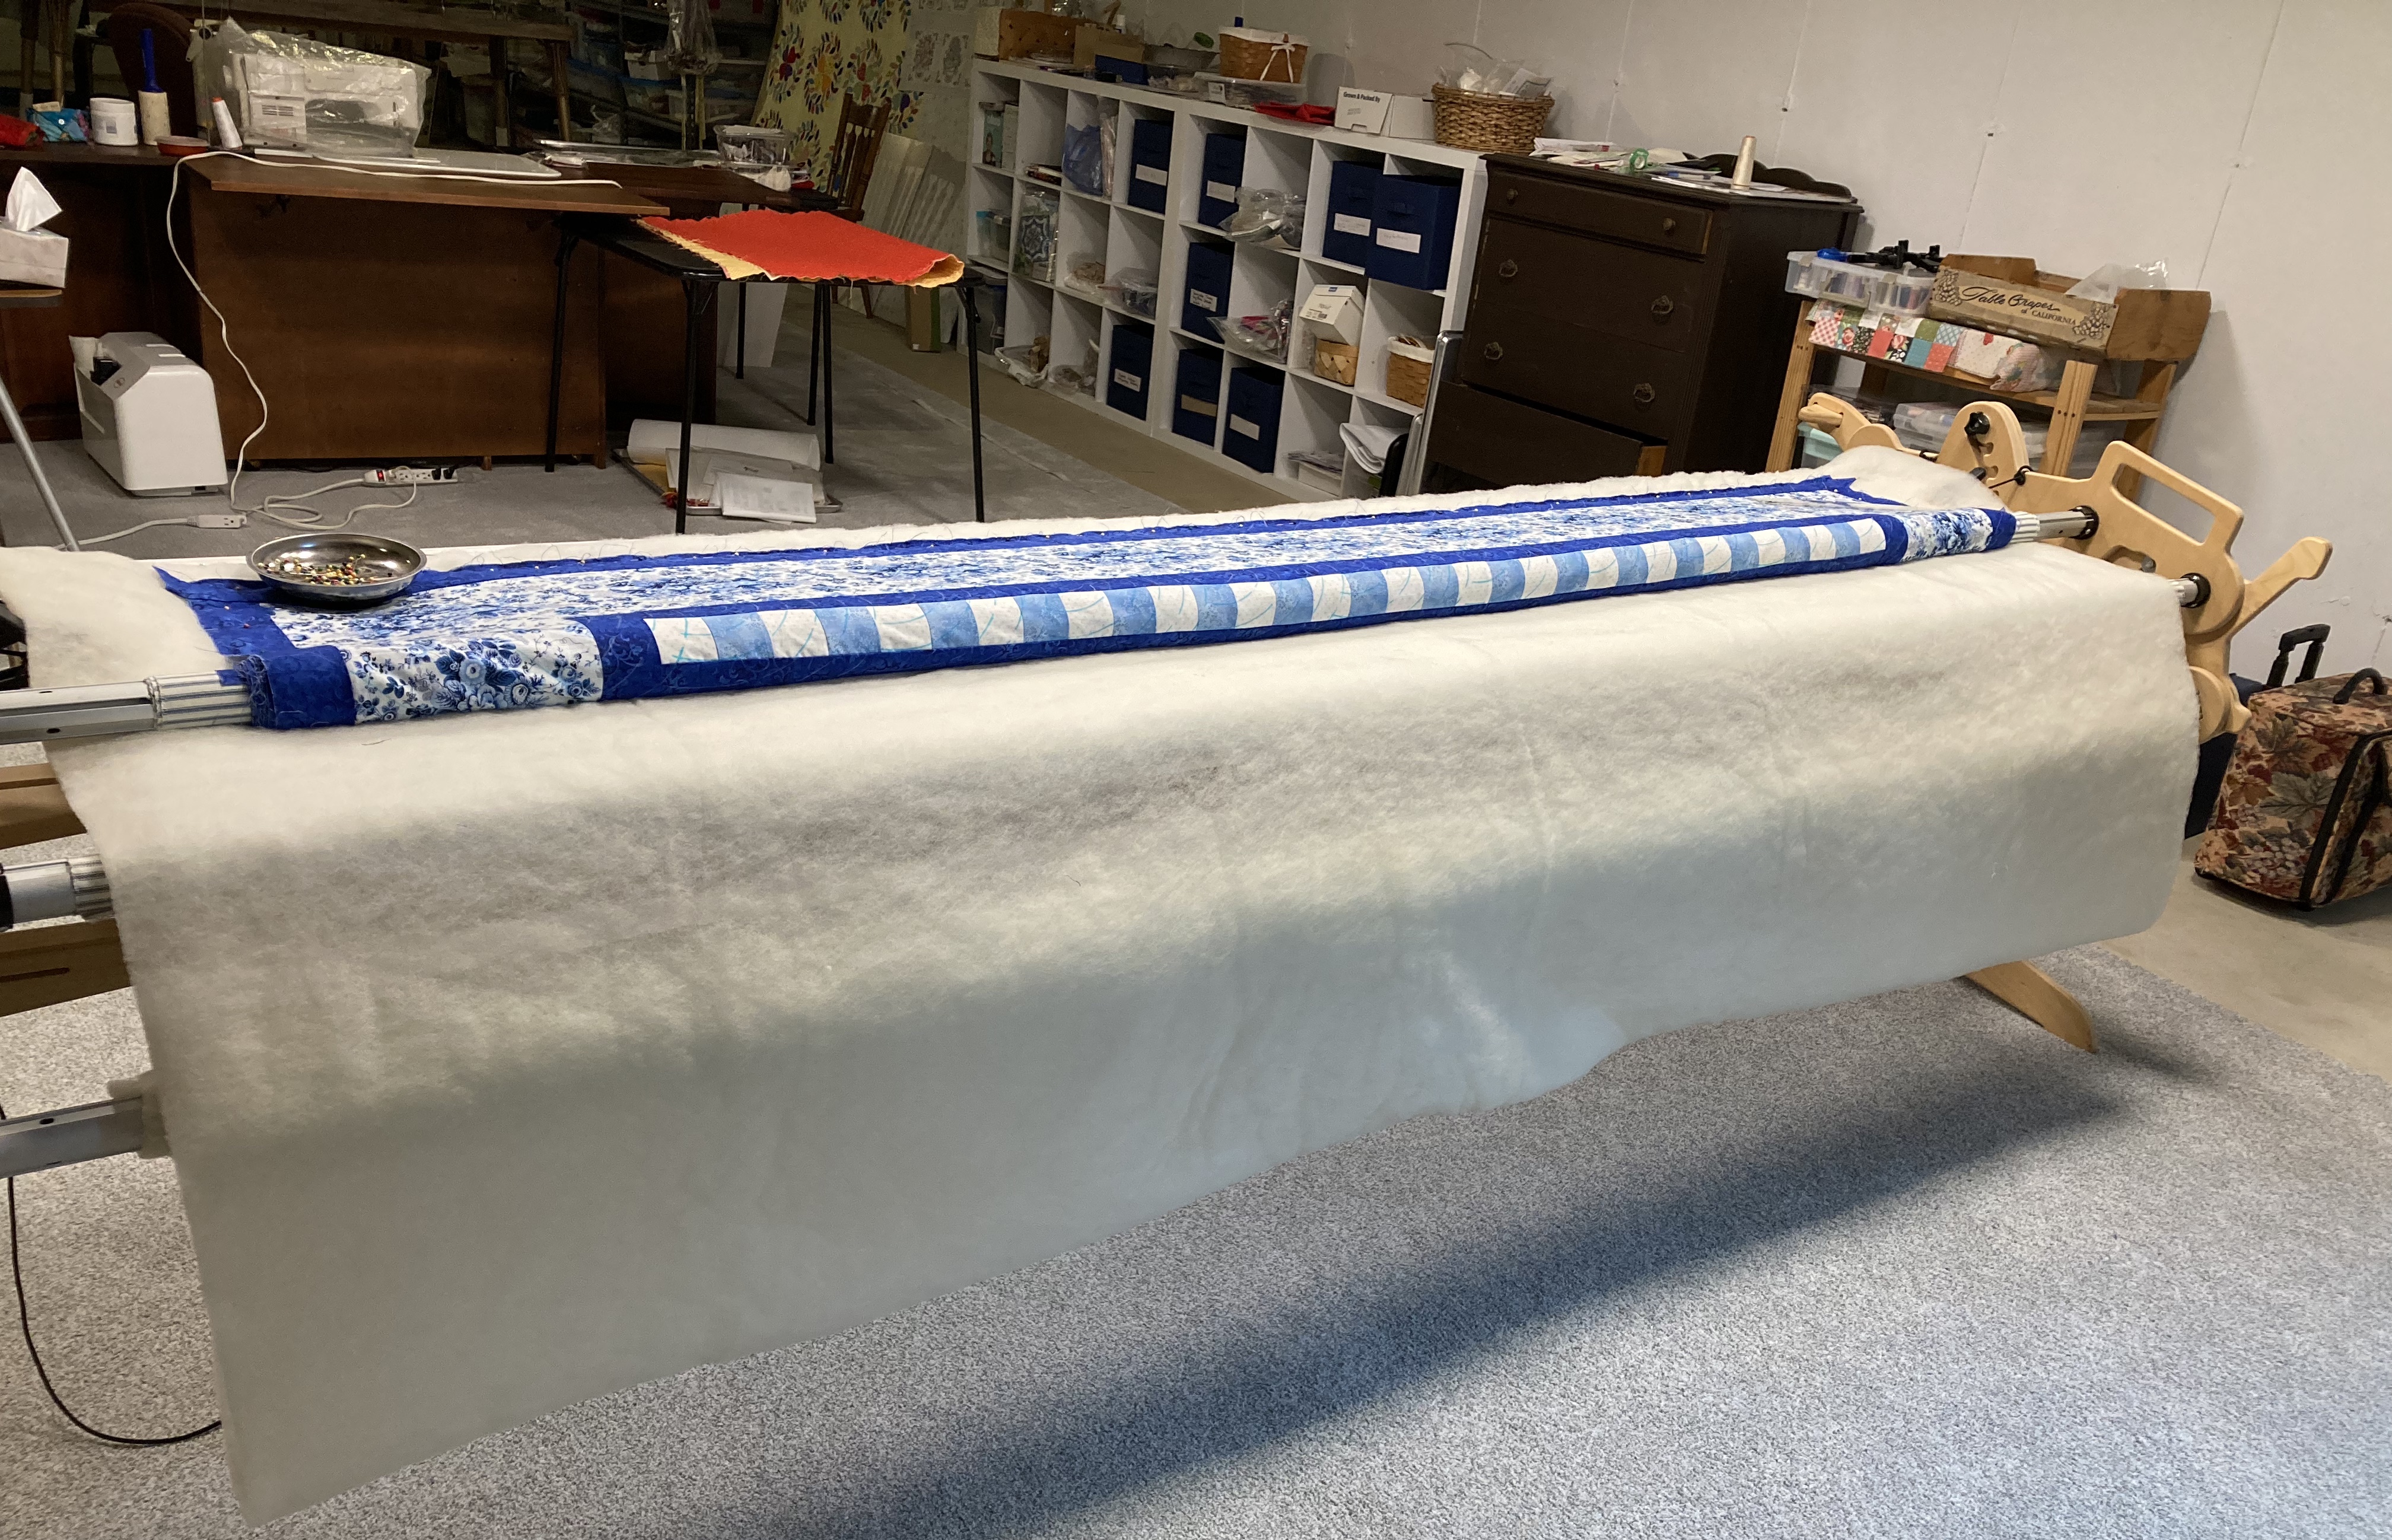
I am often asked questions about hand quilting and the frame I use so putting the quilt in the hand quilting frame is the focus of this post. This way when I'm asked, I can refer people to this post. Warning! This is going to be a very long picture heavy post.

First of all, there are many different types of hand quilting frames. Karen does a lot of hand quilting and her frame is different from mine. Kathi is also a hand quilter, she has pictures of her frame in this post. Our frames are similar in that they are stationary and we roll each section as it is completed but there are differences.

Our frames are very different from a person who sits in their easy chair and uses a hoop. For questions about hoop quilting, I suggest you contact Kathy.

My quilting frame is a Grace frame but they no longer make hand quilting frames. Hintenberg is another possible source for hand quilting frames, google it!

A stable quilting frame isn't better than a hoop, it's about what your preference is and whether you have room for the frame.

So follow along while I put Lady Jane into my quilting frame. This is a process that can take several hours. Time and care spent carefully installing your quilt is important, at least to me. I would imagine a long arm quilter would say the same thing.

 My frame has 4 rollers, roller 3 (going from the front of the frame towards the back) is for the backing fabric. 

Lay the backing fabric on the front roller then pull under the second roller. Start to pinning it in place on the 3rd roller. Make sure your fabric is wrong side up!

After it's pinned in place, I measure to make sure the sides of the roller are evenly space from each edge. Very important to have your fabrics centered!


Then I pin to the front roller, again making sure the fabric is centered and evenly space from the sides of the frame. After the front side is pinned, I carefully roll the front roller and roll the backing fabric onto the front roller. I'm smoothing the fabric as I roll and make sure it rolls evenly. One the fabric is on the front, I can adjust any unevenness onto the back roller.

The below picture show all the fabric rolled onto the front. The ticking fabric roller in the center is the roller the top of the quilt will pin onto. The ticking fabric in the back is for the batting.


Once you have all the unevenness pinned out, roll the fabric from the front roller onto the backing roller (roller #3).


See how nice and smooth the backing fabric is? This is what you are aiming for. Measure the front again and make sure it is centered.

Now you're going to add the batting layer. From the backing, pull the batting toward the front UNDER the top roller. Make sure the batting is centered then pin in place.


Evenly spread the batting in the back so it isn't wrinkled.


I don't pin the batting onto the 4th roller yet, that won't happen until the quilt top is is in place.

Now we're finally ready to install the quilt top. I mark my quilting before installing but some quilters mark as they quilt. Again, that is your preference and there is no right or wrong way.

First I pin the quilt onto the front roller, on top of the batting and backing fabric. I always let an inch or so of batting show because that's my preference.

Measure again and make sure you're keeping the front roller centered. I can't over stress how important it is to be centered for even rolling when you are quilting!

Once that is pinned in place, I pin the other end onto the 2nd quilt roller, again I measure to make sure it evenly centered. 


Now it's time to carefully roll the top onto the 2nd roller.


After the quilt top has been rolled onto the 2nd roller, you roll all 3 layers onto the front roller. If you have any fullness in the quilt top after rolling, repin the quilt top to the 2nd roller. After you are satisfied everything is smooth, roll the 3 layers back onto their respective roller. 

I told you this is time consuming but you will be so glad you spent this time being careful. It really makes a difference when you are quilting.

Now the side clamps are fastened and I baste through all 3 layers along the edge of the quilt top as far as I think I can reach.

Since the top has been loaded, now I can pin then roll the batting onto the 4th roller.


Do you trim your batting before you put your backing and quilt into the frame? I don't. I trim after the top is pinned into the frame but only where the quilt has been basted. I trim after each roll.

I don't cut the patting off, I just lay it to the back. When it gets too long, then I cut it off.


The quilt is ready to be quilted. I subscribe to Brit Box and decided Downton Abbey is the perfect drama to watch while quilting Lady Jane.

Here is a link to the Lady Jane pattern.

Thank you for reading my post if you've made it to the end.