Some people are challenged when it comes to mitering corners. I assume there are several different way to miter but this post is about my way. I don't have any problems and I can do a corner in 15 minutes.
I took pictures while I was mitering the corners of Hearts & Wreaths to show you my method.
Step 1. Sew two borders onto the center body. Stop stitching 1/4" from the end. Make sure you backstitch.

This is what is should look like. It's fine to have the borders longer than you need, in fact it's preferable to have a little extra fabric on the end.
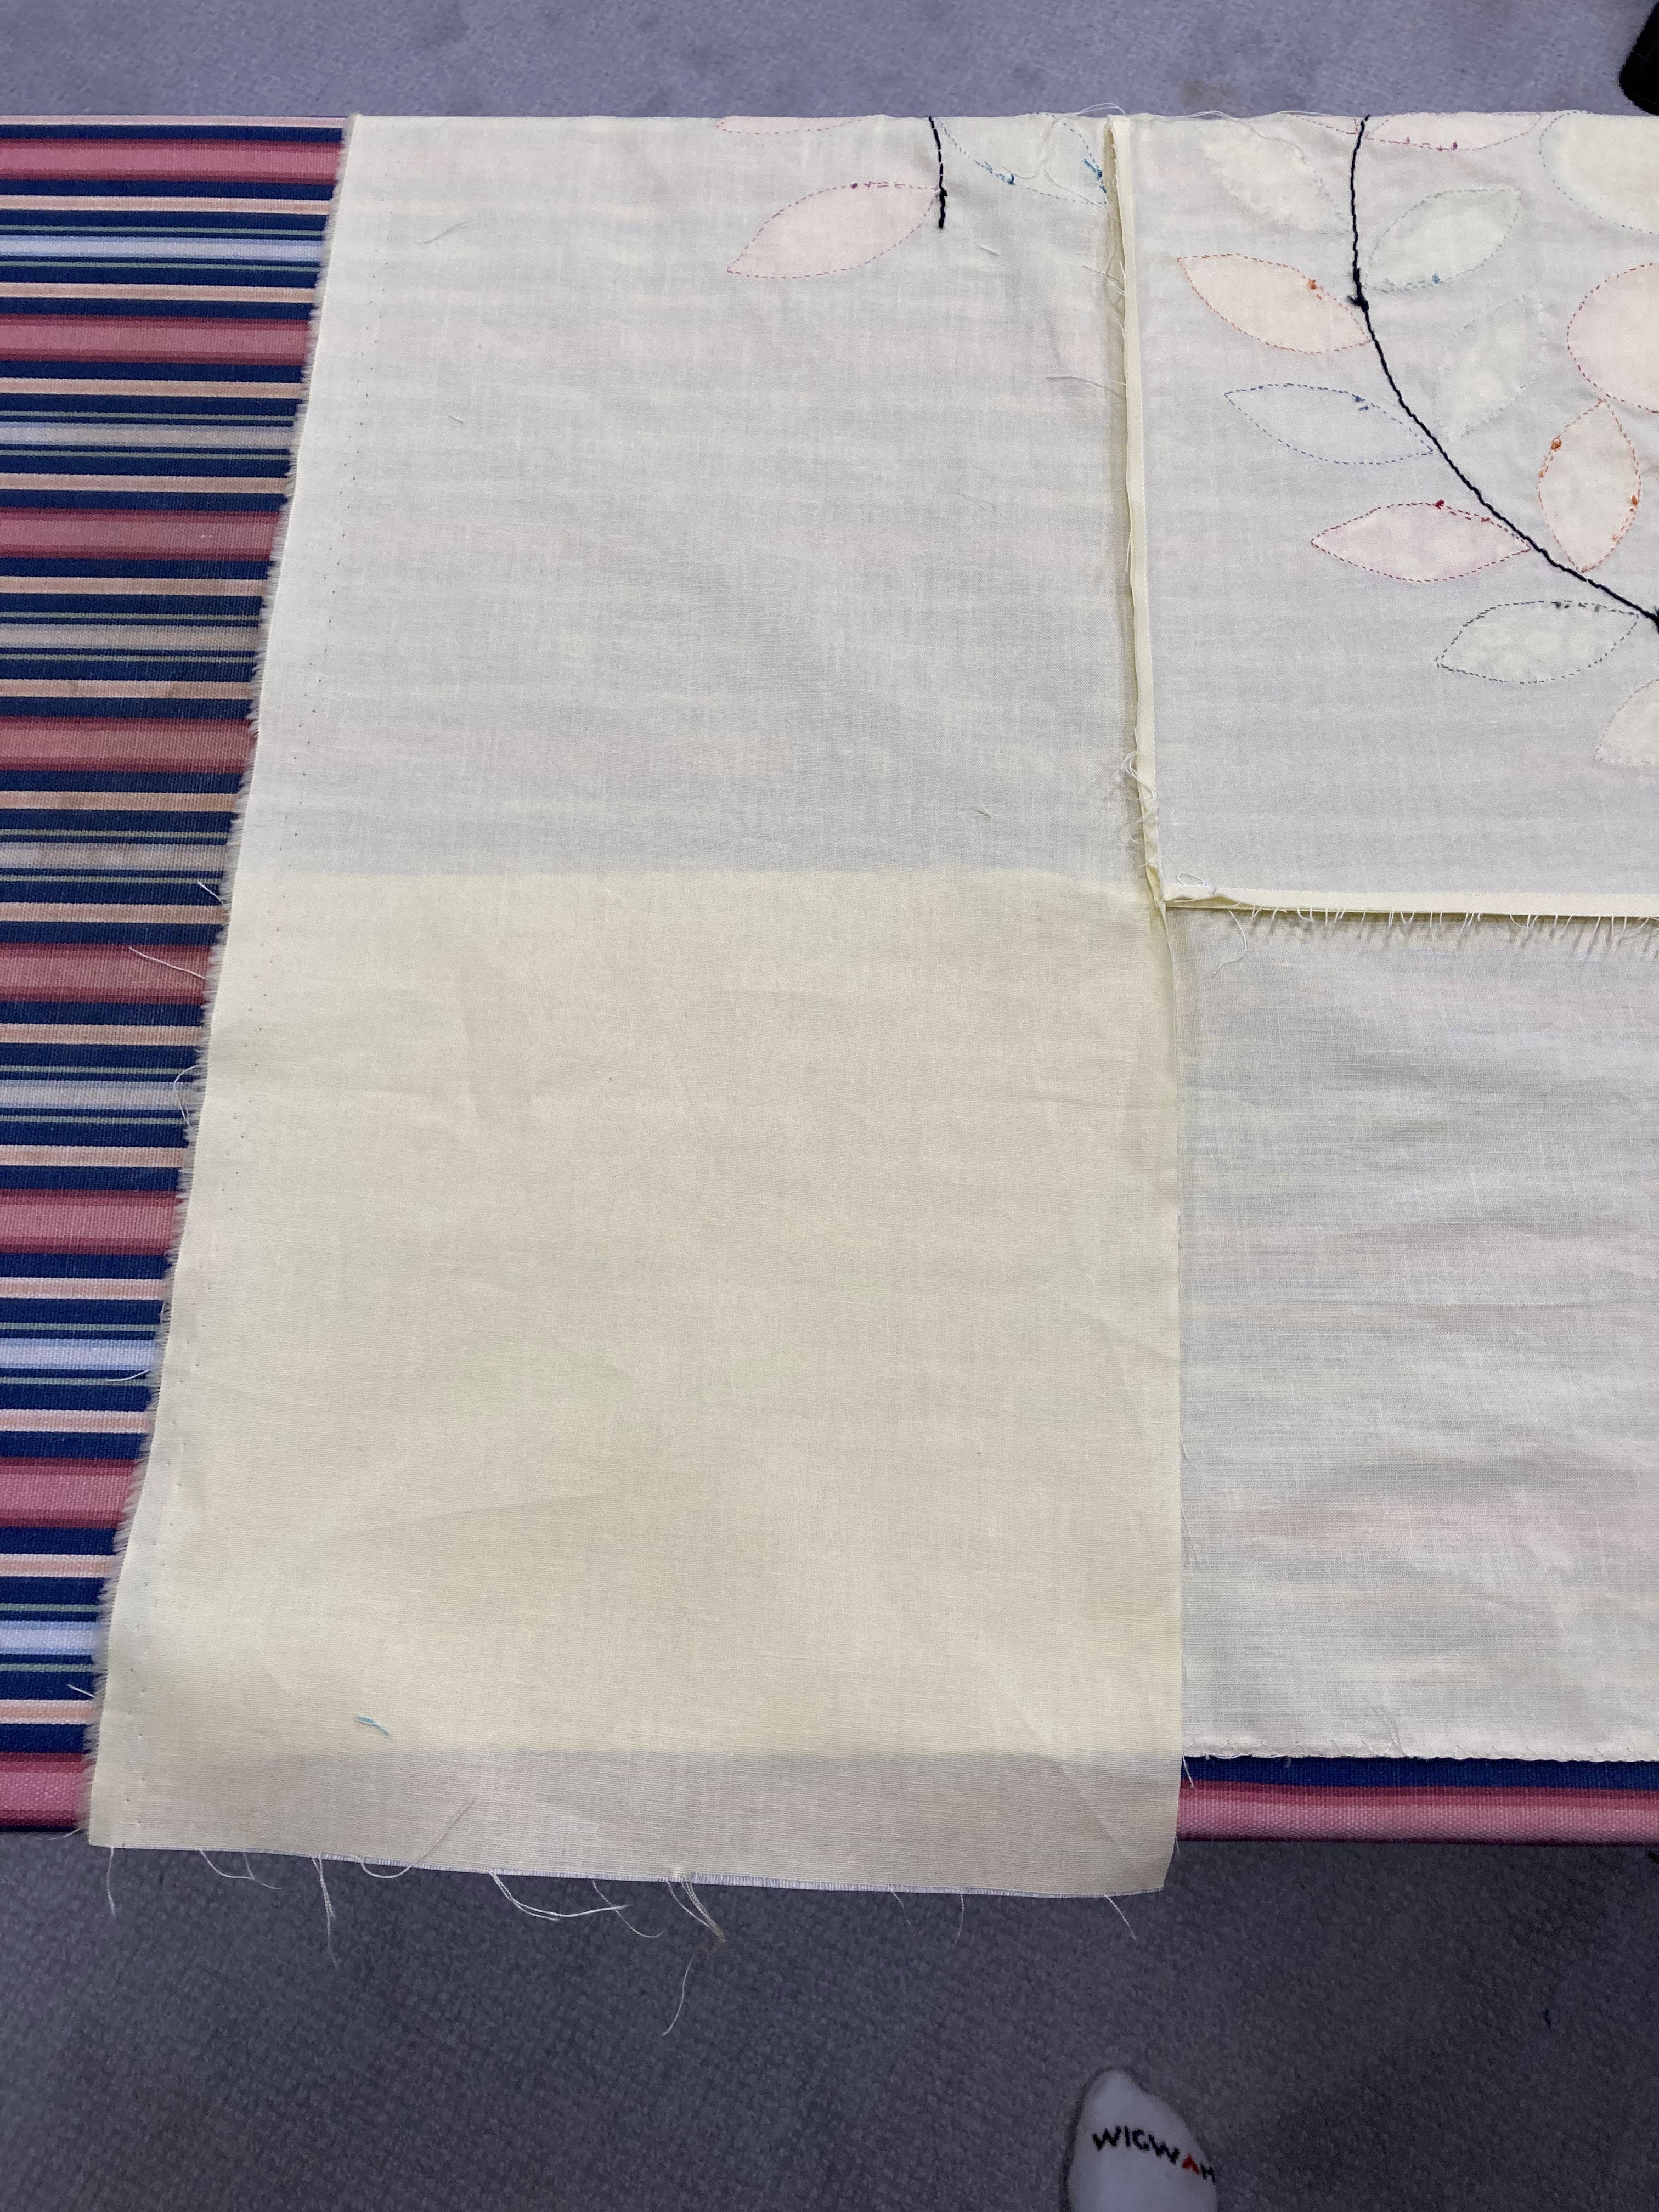
Step 2. Fold the center diagonally. Find the top edge of the border seam, pin the seam.
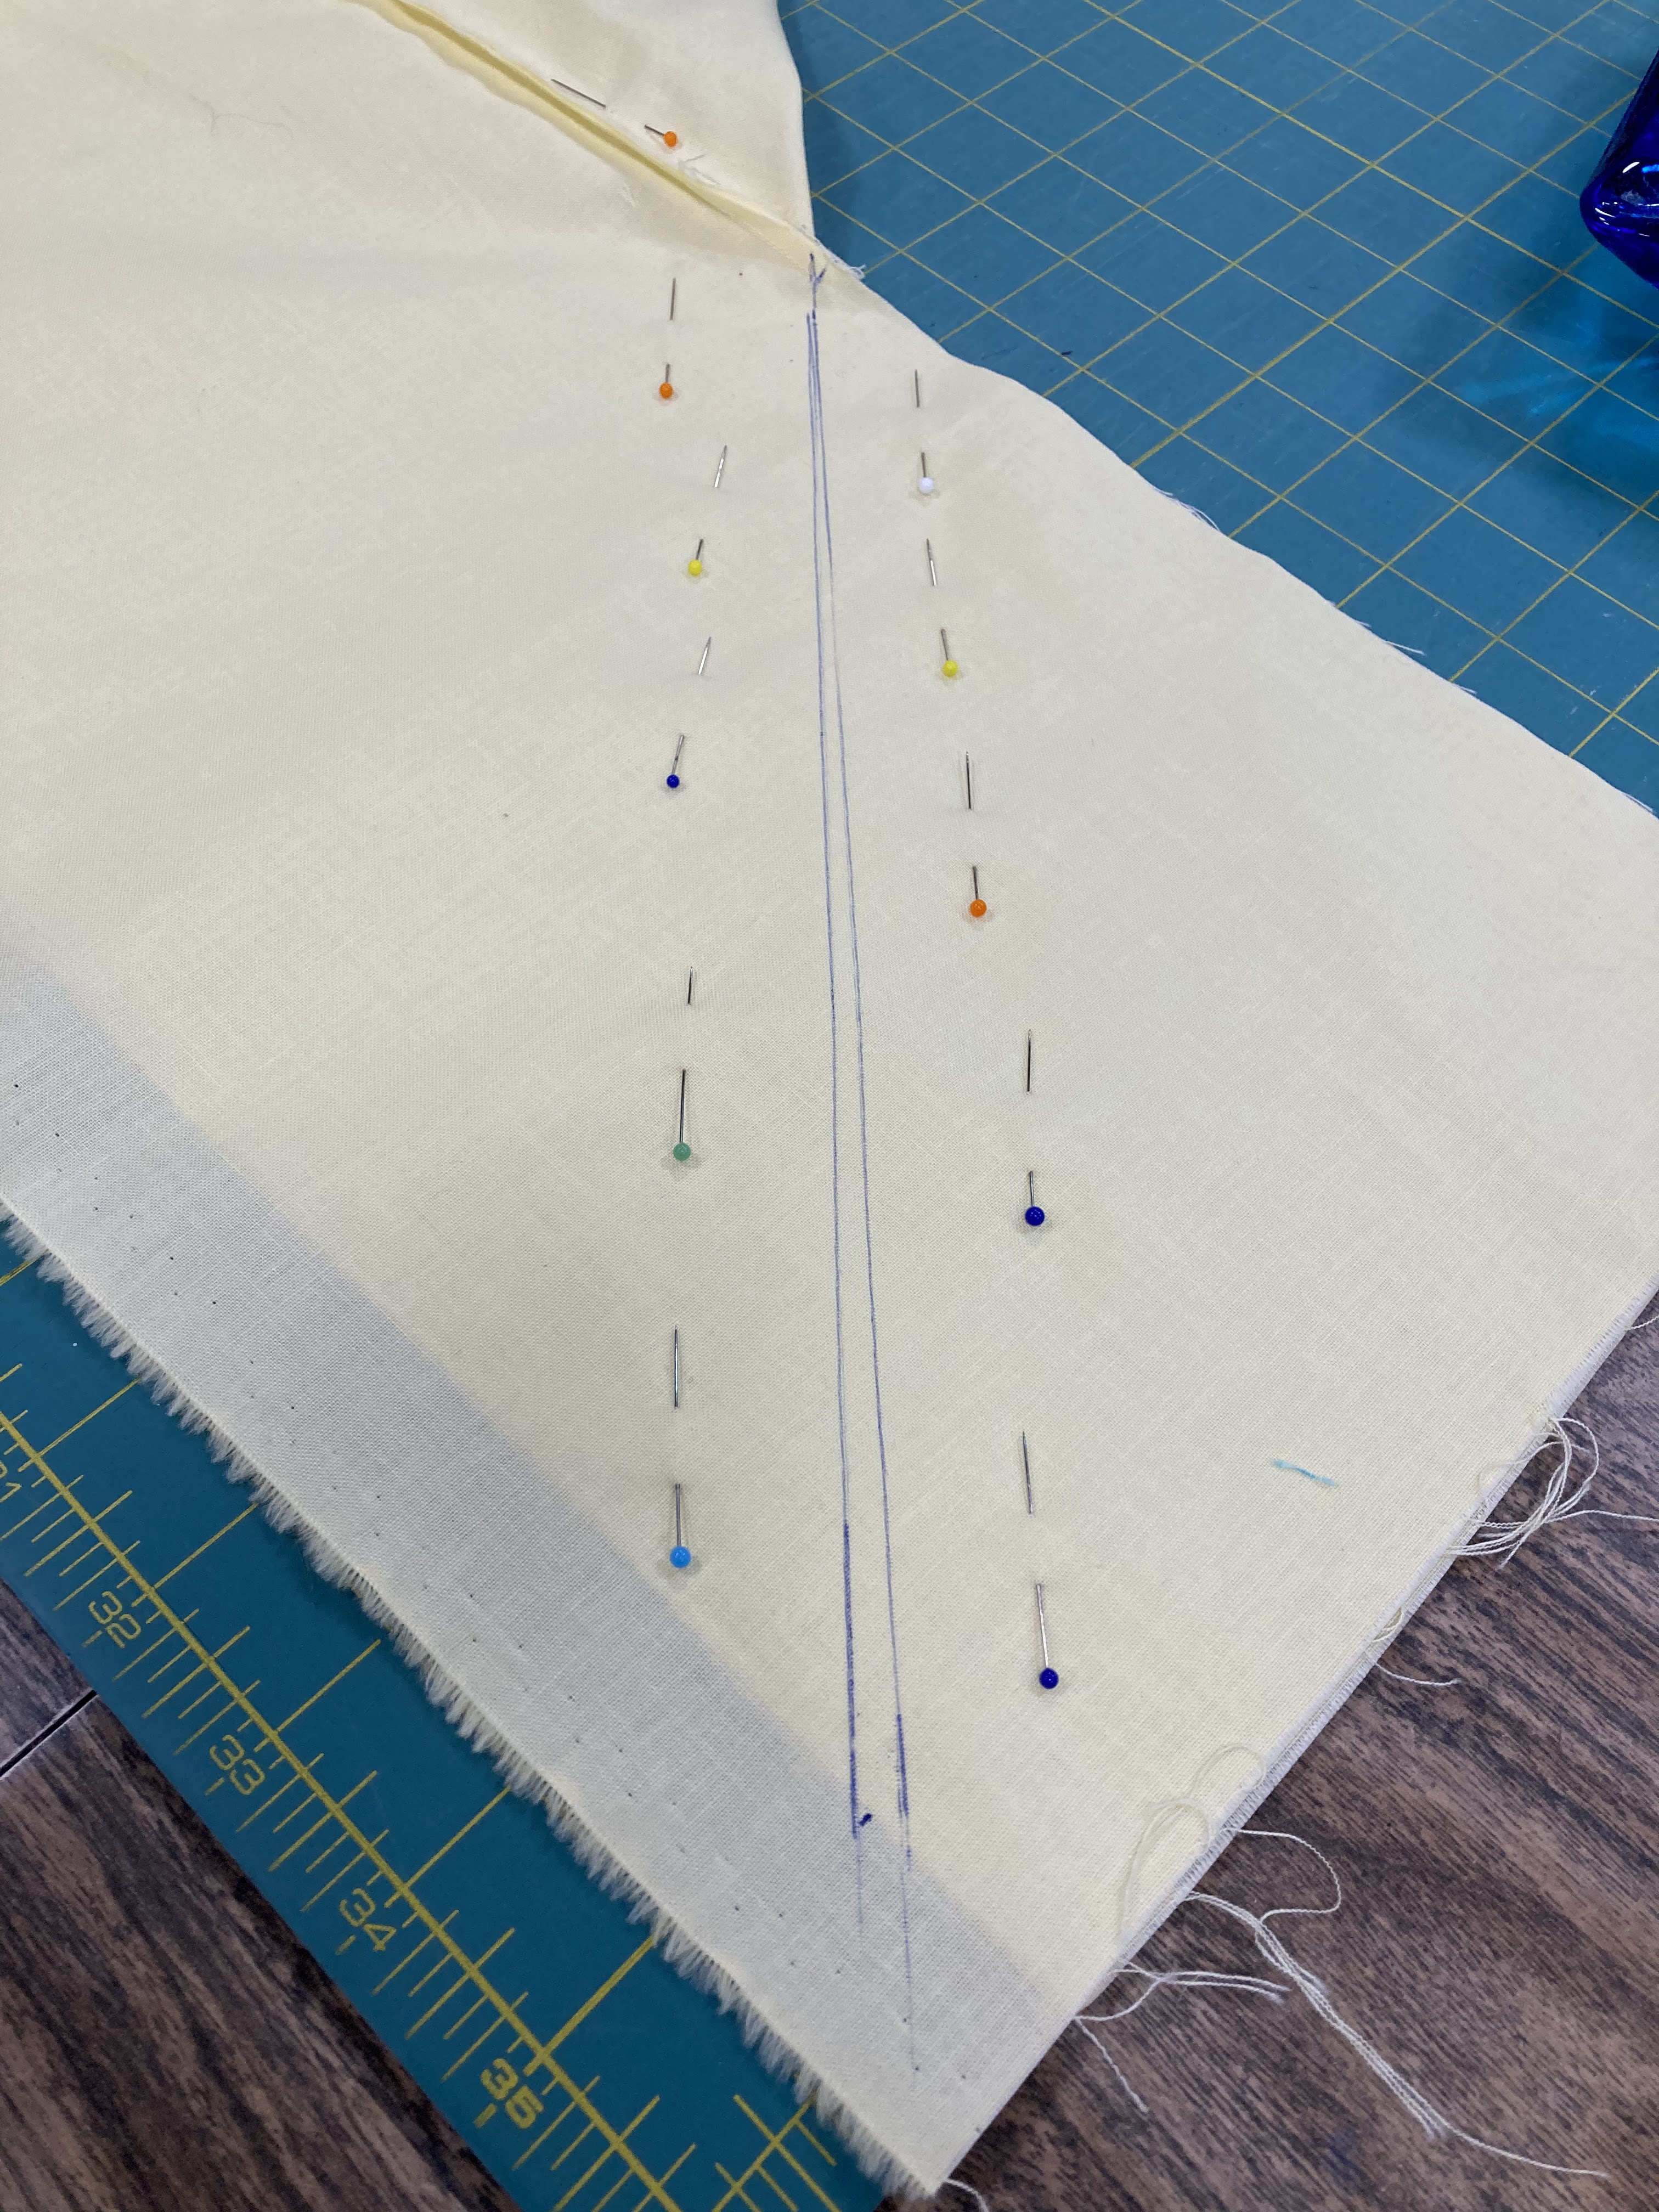

Step 4. Using a basting stitch, stitch along the line, don't backstitch. Turn the border over and check to see that the seam is smooth and not puckery. If you're satisfied, resew the seam using a smaller stitch. If not satisfied, remove the basting stitches and resew.

Step 5. Use your rotary cutter and trim the excess fabric. You could use scissors but if your fabric is a light color, crooked cut edge will show, smooth trims look more professional. Press the seam open.

See how nice and neat the corner looks?

Press the top side also. Now miter the other 3 corners.

I hope these instructions are clear.
Blogger no longer allows me to reply to your comments on the blog. I don't know why, that's the way Blogger does.
Linking to Put Your Foot Down, TGIFF!, Beauty Pageant, Patchwork & Quilts
